Manage agent sessions
The Agent Sessions tool window provides an overview of everything agents are doing across your projects. Use it to:
See all sessions in one tree – follow the sessions started in the IDE, the ones started in external tools, such as the Codex app, and the cloud runs started in the web interface or on another machine, grouped by project and by the session folders that you create.
Scope and search – keep the tree to the current project, attach other projects to follow their sessions in the same tree, and search the text of active and archived conversations.
Track the impact on your code – expand a session to see which files it changed and which commits are waiting to be pushed.
Manage the session lifecycle – rename sessions, move them into folders, mark a session as done to archive it, and reopen an archived session when you need to continue the work.
Open the Agent Sessions tool window
To open the Agent Sessions tool window, do either of the following:
Press the Alt+2 shortcut.
Select .
Click the
 Agent Sessions button in the left toolbar.
This opens the tool window listing the recently run sessions:
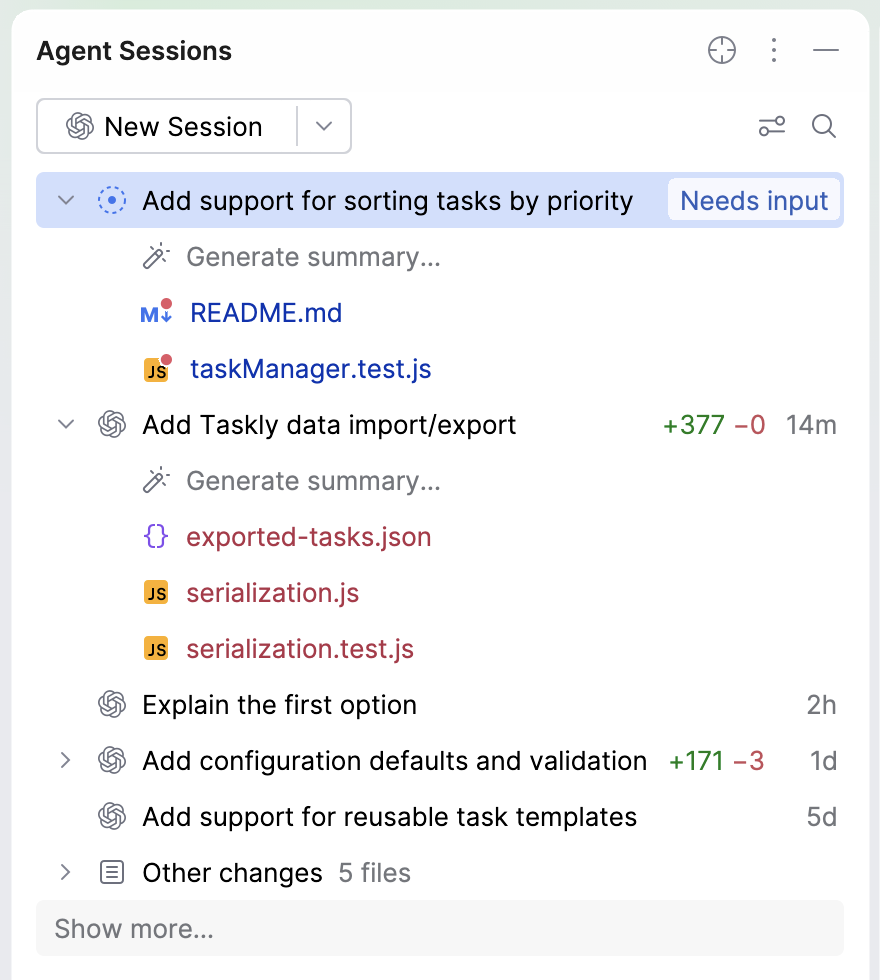
The tool window lists your sessions, most recent first. Each session takes its name from the first prompt you sent, carries the icon of the agent that runs it, and shows how long ago it was last active, as well as whether it is still running or waiting for your input. Sessions that run a plain shell are named Terminal.
The header of the tool window can also show counters of the sessions that are waiting for your input or review, the sessions that are currently processing, and the recently completed sessions:
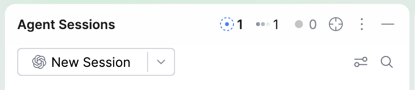
To show the counters, set Show agent activity to Agent Sessions Title Bar or Both in .
Configure the tool window
The  Options menu holds the settings that change how the session tree behaves:
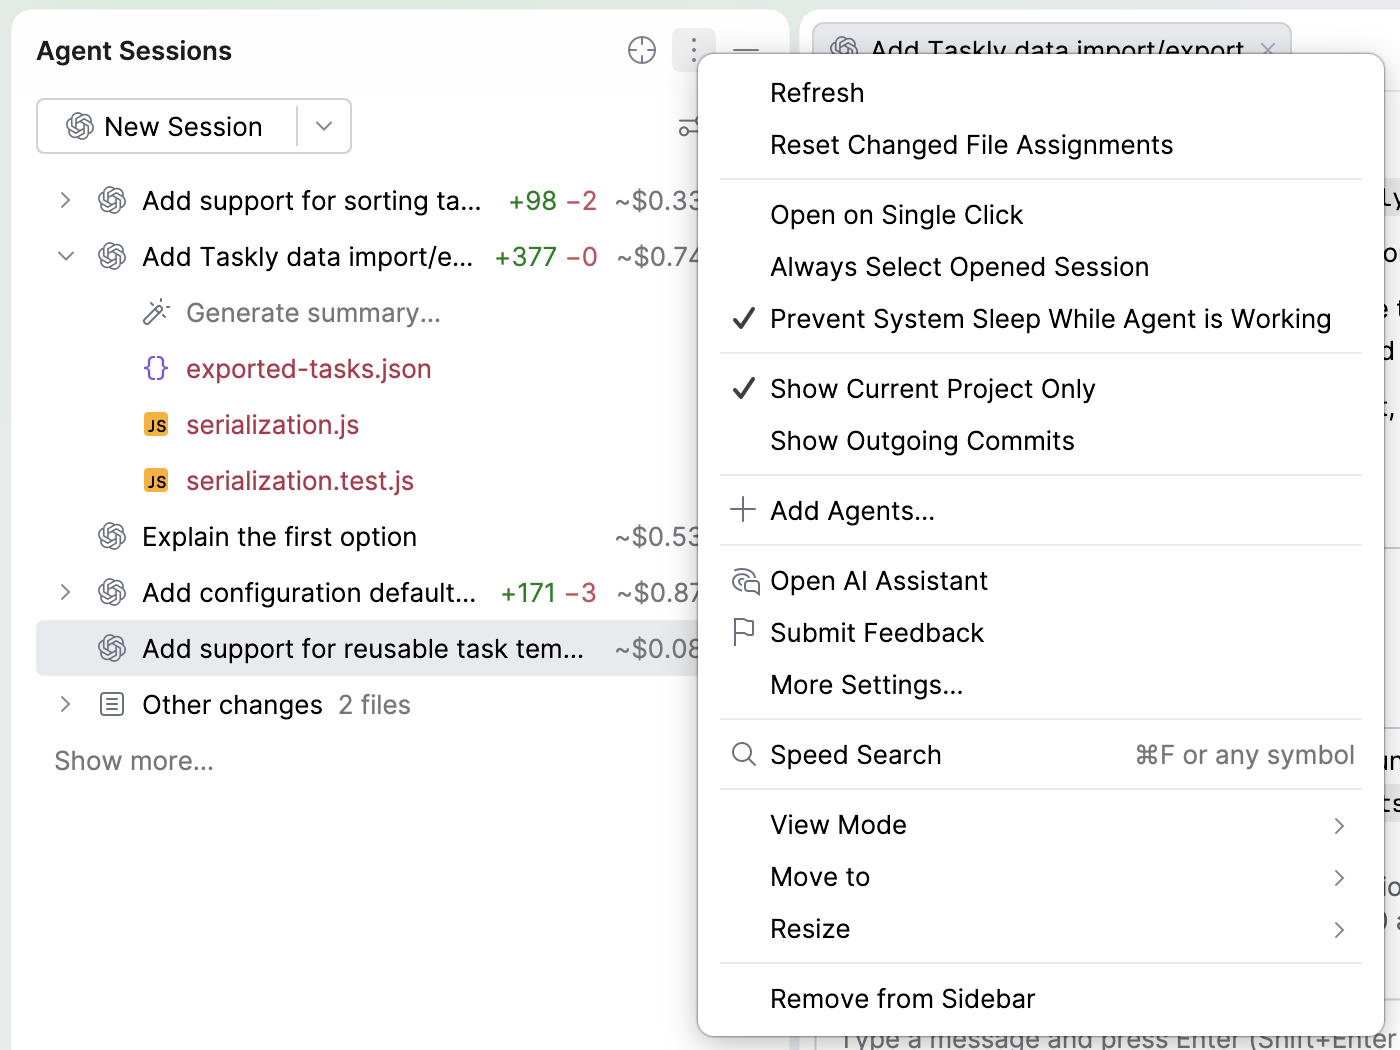
Open on Single Click – open a session with one click instead of a double-click.
Always Select Opened Session – select a session in the tree when you switch to its tab in the editor, so that the tree always points to the session you are working with.
Prevent System Sleep While Agent is Working – keep the system awake while an agent is working or while a session waits for your review.
Show Current Project Only – list the sessions of the current project alone, without the attached projects.
Show Outgoing Commits – show the panel with the commits that are waiting to be pushed.
There are also other settings that affect the view and behavior of the Agent Sessions tool window. For more information, refer to Sessions.
Open sessions in the Chat tool window
If you want to keep the conversation next to your code instead of switching between editor tabs, open sessions in the Chat tool window.
JetBrains Air in IDEs adds the Chat tool window to the right tool window bar, and every session that you start or open from then on opens in this tool window instead of an editor tab. To return to editor tabs, clear the checkbox.
Attach another project
By default, the tree shows the sessions of the current project. If you want to track the sessions that ran in another project without opening it in a separate window, do the following:
In the toolbar of the tool window, click
Options and disable the Show Current Project Only option.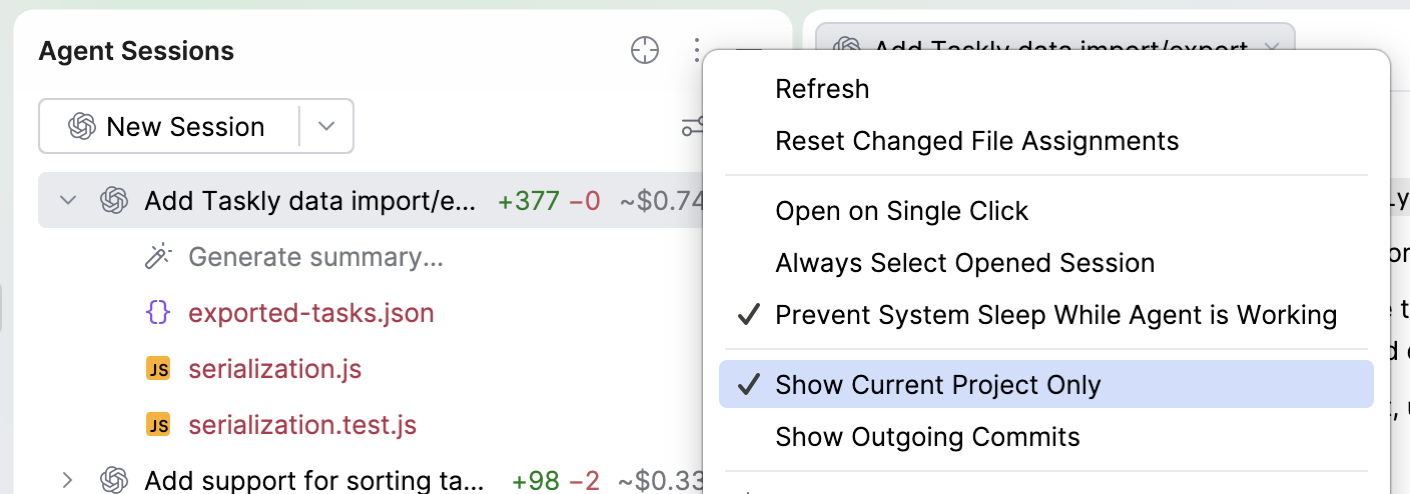
The Add Project button appears in the toolbar.
Click Add Project in the toolbar of the tool window.
Select the project to attach.
The sessions of that project appear under a node of their own and stay in the tree until you detach it. Double-clicking one of the attached project sessions opens the session in the editor of the window you are working in.
To manage the attached project, right-click its node in the tree and select one of the following actions:
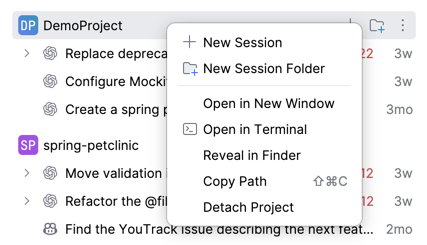
New Session – start a new session in the attached project without switching to its window.
New Session Folder – create a session folder in the attached project.
Open in New Window – open the attached project in a separate IDE window.
Open in Terminal – open a terminal in the root directory of the project.
Reveal in Finder – show the project directory in the file manager.
Copy Path (Ctrl+Shift+C) – copy the absolute path to the project directory.
Detach Project – remove the project and its sessions from the tree.
Find a session
To search for a specific session, do the following:
Click
 Search Sessions in the toolbar of the tool window. Alternatively, press the Ctrl+F shortcut.
Type the text to find.
Select the required search result.
The action searches what was said in a session, not only its name, and includes both active and archived sessions.
Filter sessions
You can filter the sessions listed in the Agent Sessions tool window according to a set of parameters, as well as change how the tree groups them. To do this:
Click
 Filter and View Options in the toolbar of the tool window.
Use Filter sessions to choose which sessions the tree lists:
Active – the sessions that are still in progress. This option is selected by default.
Done – the sessions that you archived with Mark as Done.
All – both the active and the archived sessions.
Use Show to choose the details that each session row carries:
Time – how long ago the session was last active.
Cost – the cost of the session, as described in Review session cost.
Sub-agents – shows agent child sessions nested under their parent session rather than as top-level rows.
Changes – the files that the agent changed, as described in Review the files an agent changed. This list is shown by default.
Use Statuses to keep only the sessions that are in a particular state:
In Progress – the sessions where the agent is still working on your prompt.
Input Required – the sessions that wait for your answer or your review.
Unread – the sessions with completed work that you have not opened yet.
Draft – an opened New Session with no prompt sent yet. JetBrains Air in IDEs keeps one reusable draft; selecting New Session again returns to it instead of creating another one.
Use Sessions visible to limit how many sessions the tree lists for each project: 5 sessions, 10 sessions, 15 sessions, or All sessions. The rest of the sessions of a project stay hidden behind the Show more button at the end of its list.
Use Group by to choose how the tree arranges the sessions:
Date – the sessions of the current week first, with all the older ones collected under Older.
Status – by the state of the session, such as the sessions in progress and the ones that wait for your input.
Unread – the sessions with completed work that you have not opened yet, separately from the rest.
Project – by the project and worktree that the session belongs to.
None – as a flat list, without groups.
Review the files an agent changed
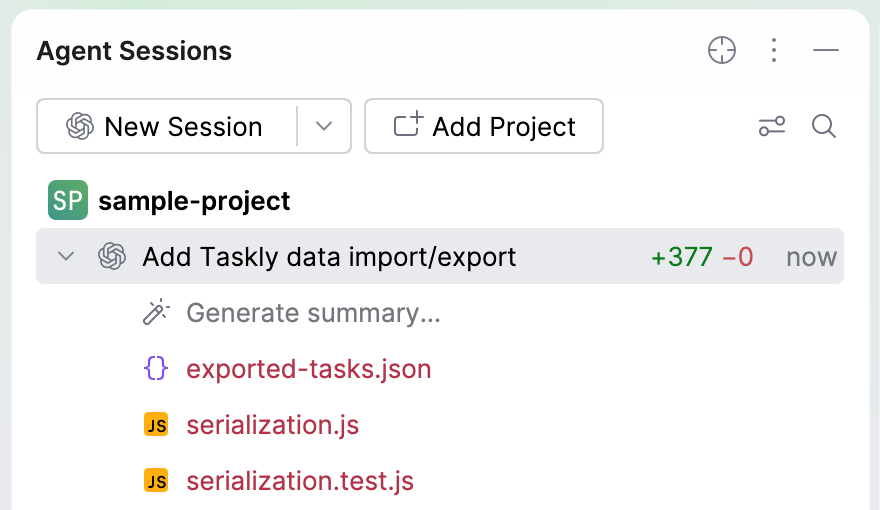
The changes made by the agent are grouped under a corresponding session node, which holds everything that the agent changed since the session started. You can expand it to review the full list, as well as perform certain actions with the modified files. To do this:
Expand the session row in the tree.
Right-click a file and select what you want to do:
Jump to Source – open the file in the editor.
Show Diff – compare the file with its state before the change.
Show Path – show where the file is in the project.
Group by Directory – group the changed files by their directories.
Commit – commit the change.
Revert – discard the change.
Copy Path/Reference – copy the path of the file or a reference to it.
Changes that no agent tool call accounts for, such as the result of a shell command, a formatter, or an updated lock file, are listed once per worktree under Other changes.
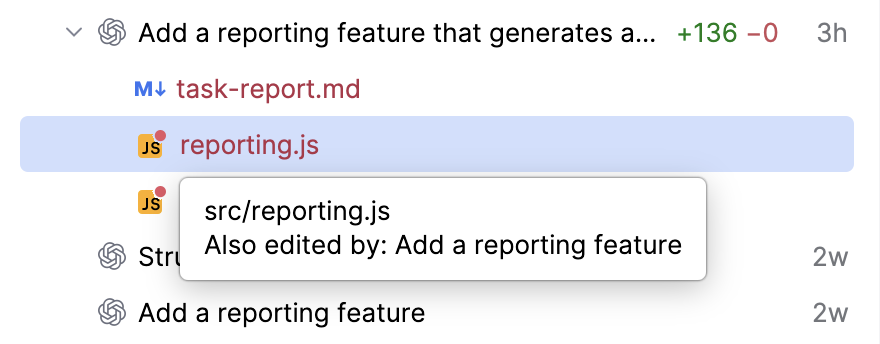
A file that was edited in several different sessions is marked with a red dot. You can get a popup with additional details on hovering over such a file.
If a changed file is assigned to the wrong session, select Reset Changed File Assignments in the Options menu to build the assignments again.
See the commits waiting to be pushed
Agents can create commits when allowed by their permissions or instructed in the prompt. To review the list of outgoing commits that are not yet pushed, do the following:
Select Show Outgoing Commits in the
Options menu.
The Outgoing commits section is added at the bottom of the tool window, listing the commits that are waiting to be pushed.
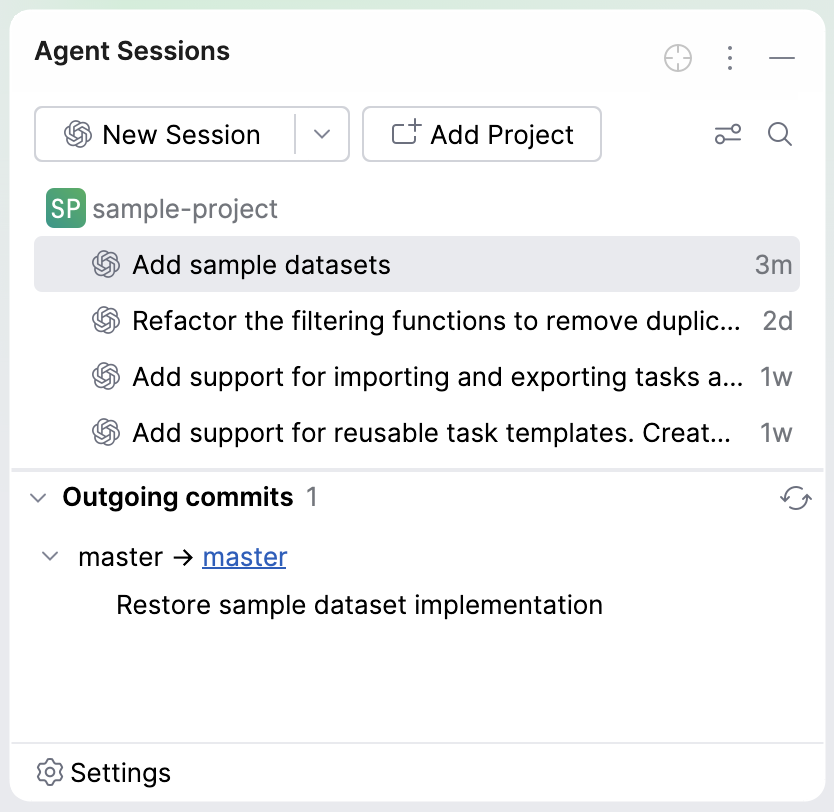
You can update the list by clicking the  Refresh button.
Rename, archive, and pin sessions
You can manage the session by right-clicking it in the tree and selecting an action that you want to apply to it:
Mark as Done – archive a session whose work is finished. An archived session stays in the search results and can be reopened in case you need to continue the work.
You can also mark a session as done with
 on its row.
Mark Unread – return the session to the unread state, so that it is listed again under the Unread status and group.
Add Color Label – mark the session with a specific color. The selected color is also applied to the corresponding tab in the editor.
Pin – move the session to the Pinned group at the top of the tree and lock its tab in the editor, so the tab can be neither closed nor moved.
You can also pin a session with
 on its row.
Rename – change the name that the session took from your first prompt. You can also press Shift+F6 to rename a session.
Move to Session Folder – put the session into a folder, as described in Group sessions into folders.
Fork Session – continue the conversation in a new session, in a new temporary worktree or in the same workspace, as described in Fork a session.
Copy Session Info – copy the identifier of the session, its full conversation log, or the path to it.
Report a Problem – report an issue that you hit in the session.
Group sessions into folders
A session folder organizes one unit of work: a task, a bug, a feature, or an investigation. Create a folder per such unit to keep together everything that the work produced, even when it took several attempts or several agents:
The task description and the metadata of the sessions that worked on it.
The issue-tracker ID, when the work has one.
Notes, decisions, plans, and records of the progress.
The outputs and artifacts that the sessions produced.
The context needed to resume the work later or to audit how it was done.
To create a folder and add a session to it:
Right-click a session in the tree, select Move to Session Folder, then New Session Folder.
In the New Session Folder dialog, enter a name for the folder and click Create.
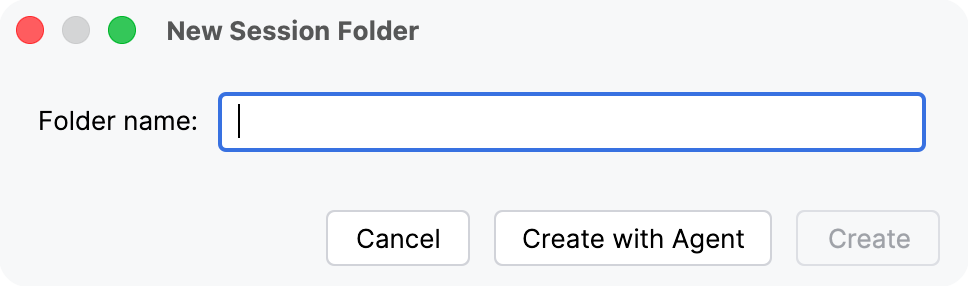
Alternatively, you can click Create with Agent – this action starts a new session with an agent that asks you to provide the details about the folder and then creates it for you.
As a result, a folder is created, so you can move the related sessions in and out of it and mark the whole folder as done.
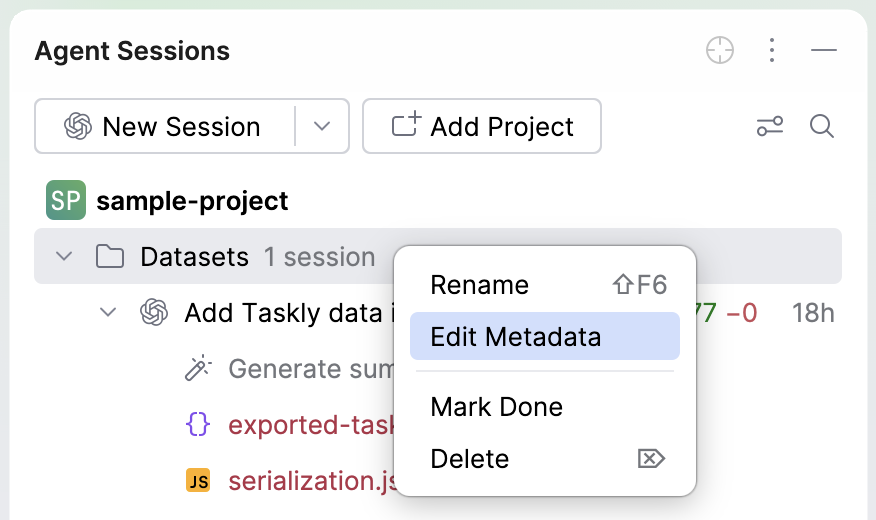
You can also edit the metadata of the folder, attaching higher-level information to that work item, such as an issue or review.
Right-click the folder in the tree and select Edit Metadata.
In the Edit Task Metadata dialog, click the
 Add button to add a new piece of data.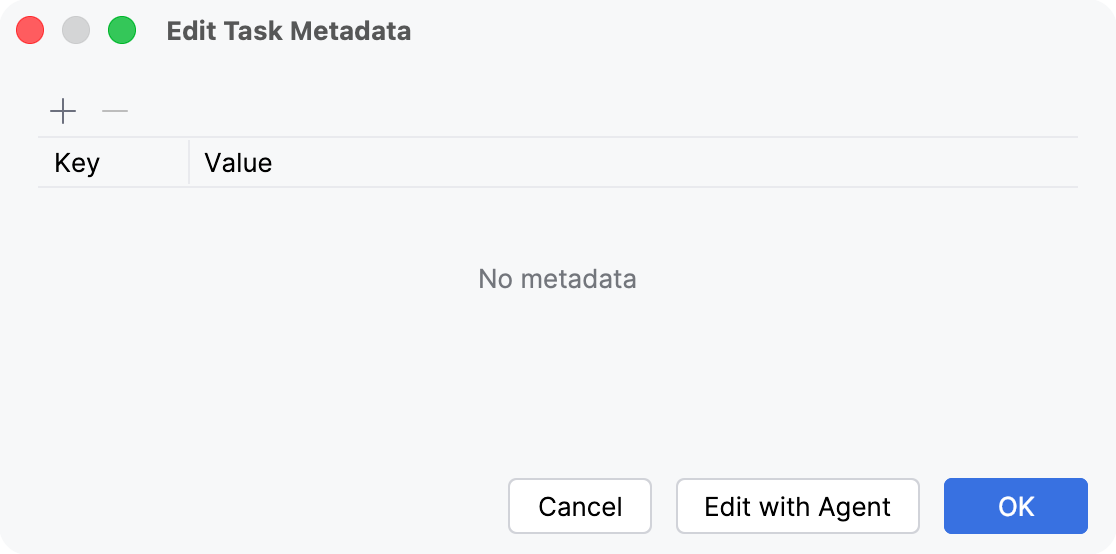
Alternatively, you can click Edit with Agent – this action starts a new session with an agent that asks you to provide the metadata details and updates it for you.
In the Key column, specify the type of the data. You can either choose from the list or enter a custom key:
issue – the issue-tracker ID of the work item.
review – the review ID of the work item.
In the Value column, enter the value of the data.
Click OK.
Review session cost
To see what each session costs, click Filter and View Options, select Show, then Cost. The session list displays a cost value next to each session, where available.
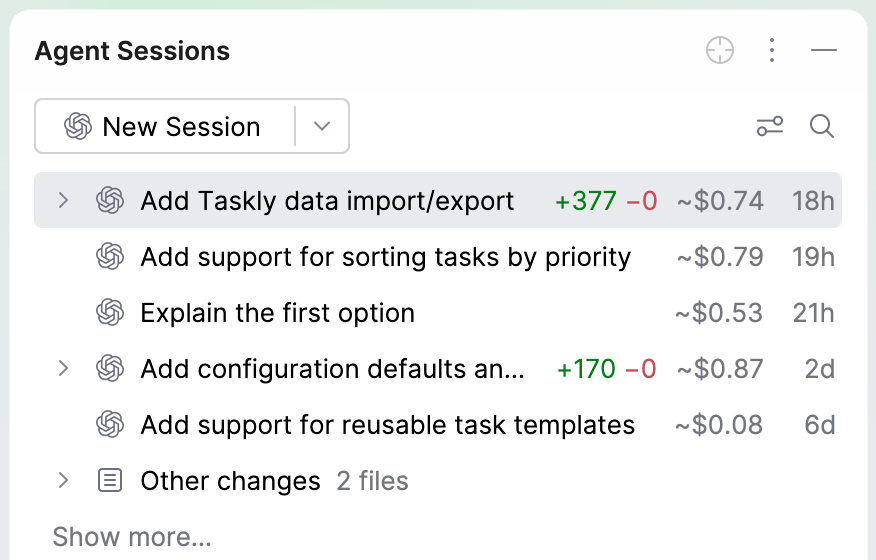
Cost information comes from the agent or provider. For some agents this is the exact amount they report for the session; for others it may be missing or only approximate. Use these values to compare runs and understand which tasks are most expensive.
Check the session outline
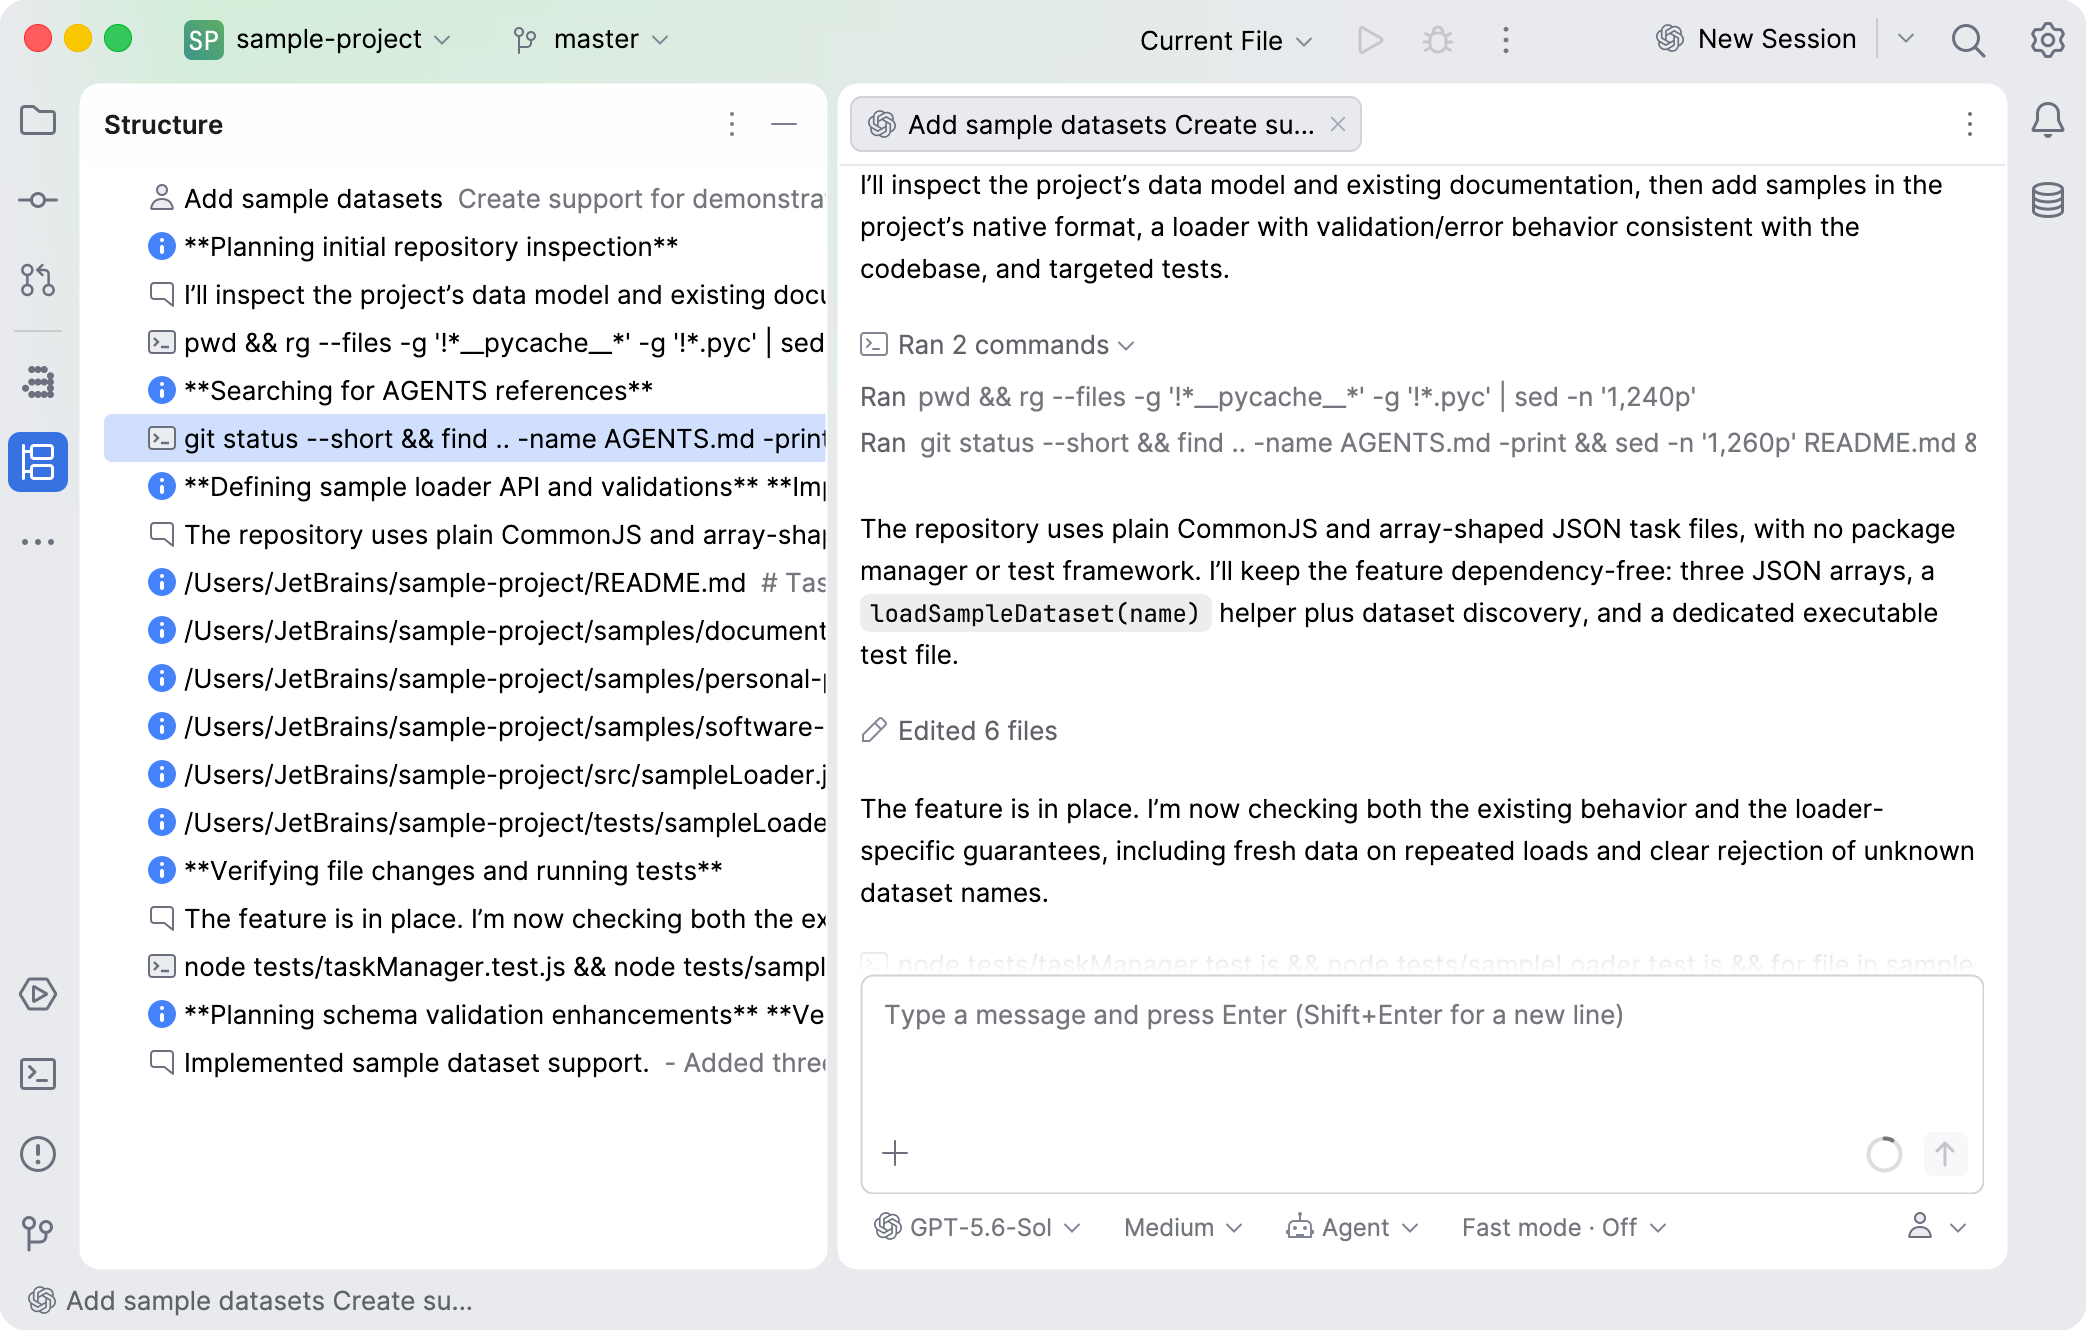
Open the Structure tool window while a session is opened in its tab in the editor to see an outline of its conversation and jump to any point in it.
Track agent activity without the tool window
To follow agent sessions while the Agent Sessions tool window is closed, show the session counters in the main toolbar: in , set Show agent activity to Main Toolbar or Both.
On compatible macOS keyboards, JetBrains Air in IDEs can reuse the LED of the Caps Lock key as a status indicator for agent sessions. To enable this behavior:
The LED patterns show the overall state of your agent sessions:
Slow blink – one or more sessions are still processing work.
Fast blink – at least one session needs your input or review.
Solid on – there is unread completed work from an agent.