Configure and manage presets
A preset is a reusable configuration for starting sessions with agents. It defines which agent the session runs, which model and reasoning effort the agent uses, and which mode it starts in.
There are two kinds of presets:
Default presets – JetBrains Air in IDEs supplies one automatically for every supported agent that it detects on your machine or that you install. You can change the settings of a default preset and reset them back, but the preset is protected from deletion and stays bound to its agent.
Custom presets – the presets that you add and configure yourself, independently of the default ones. Creating them is an advanced option: you need a custom preset when the settings of a default preset do not match the way you work.
You can configure several presets to have setups for different kinds of tasks instead of reconfiguring a session every time. For example, use a preset with a more capable model and higher reasoning effort for complex, multi-step tasks, and a preset with a lighter model for ordinary tasks.
For information about installing the agents that presets run, refer to Browse, install, and update agents.
Open the Manage Presets dialog
All presets are created and edited in the Manage Presets dialog, which you open from the Agents page.
Click
 next to the agent widget in the main toolbar and select Add Agents.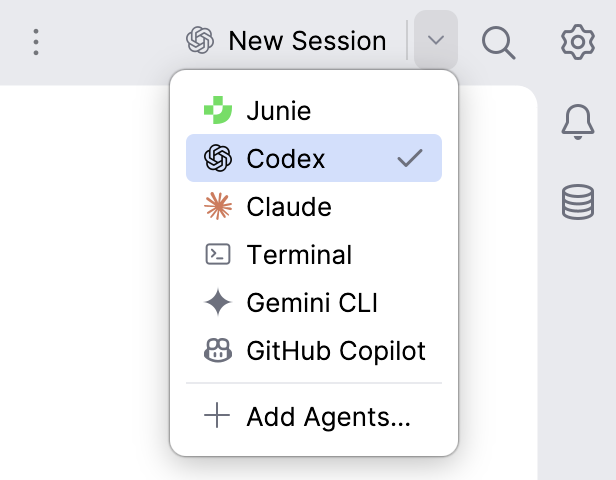
On the Agents page that opens, click Manage Presets next to the search field.
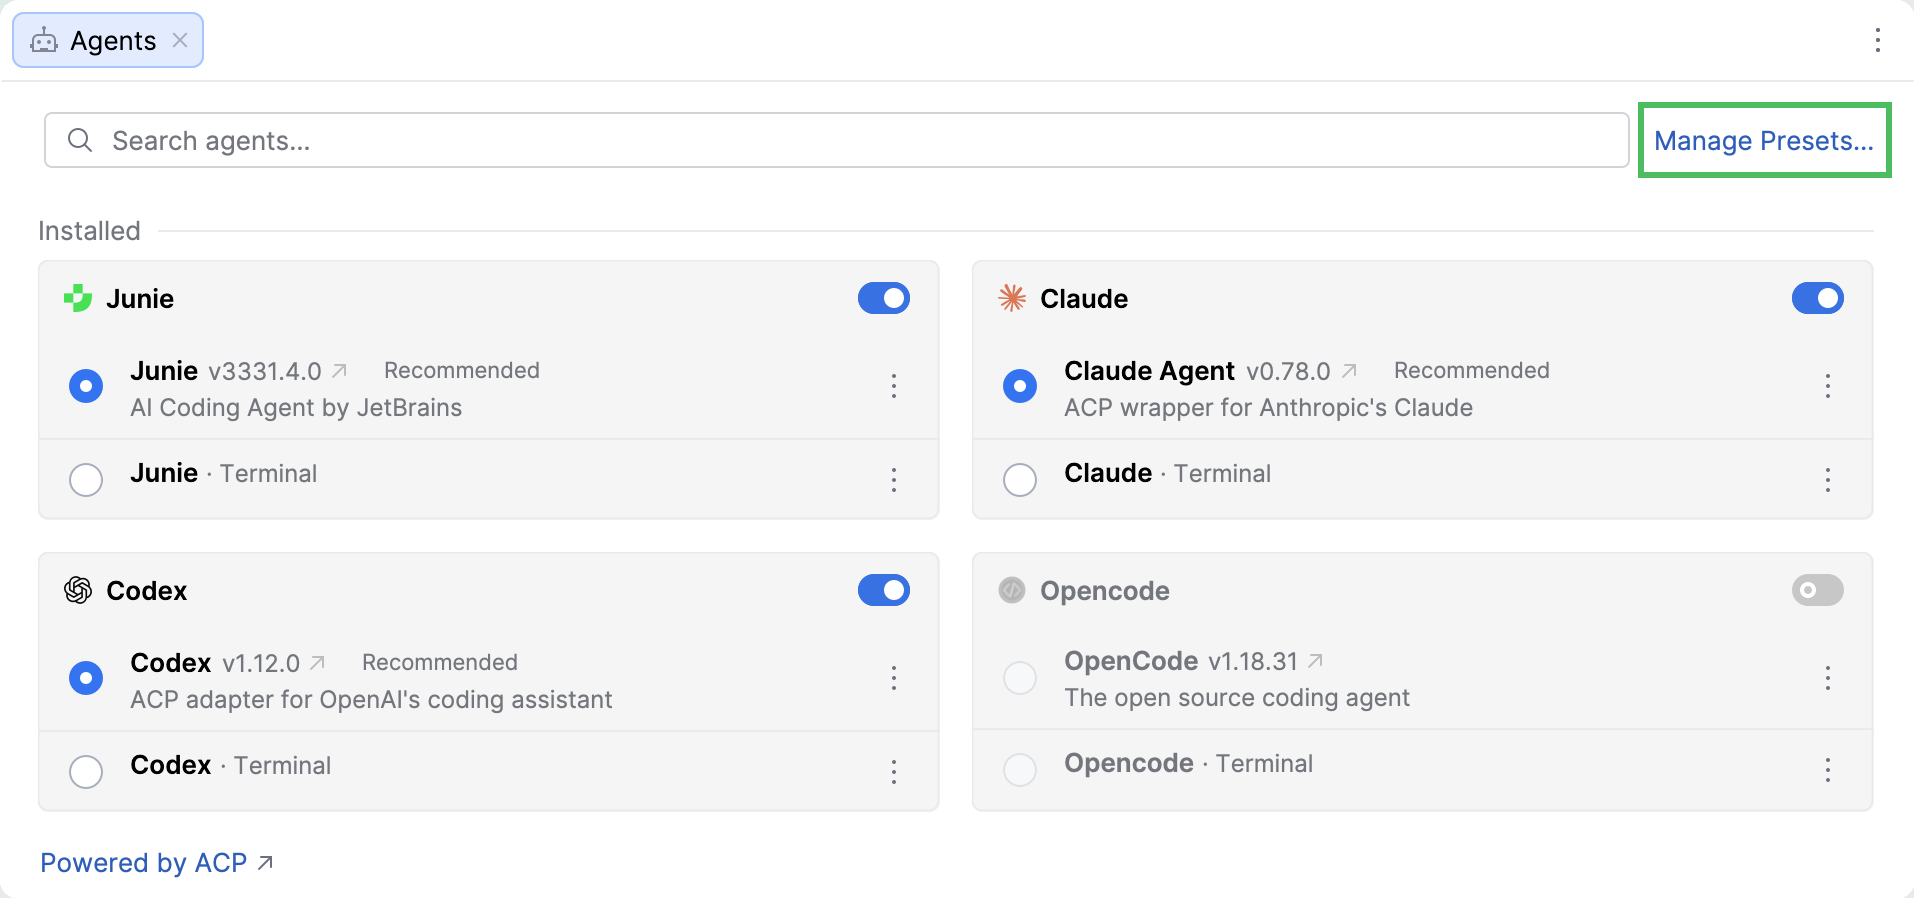
The dialog lists the available presets on the left and the settings of the selected preset on the right.
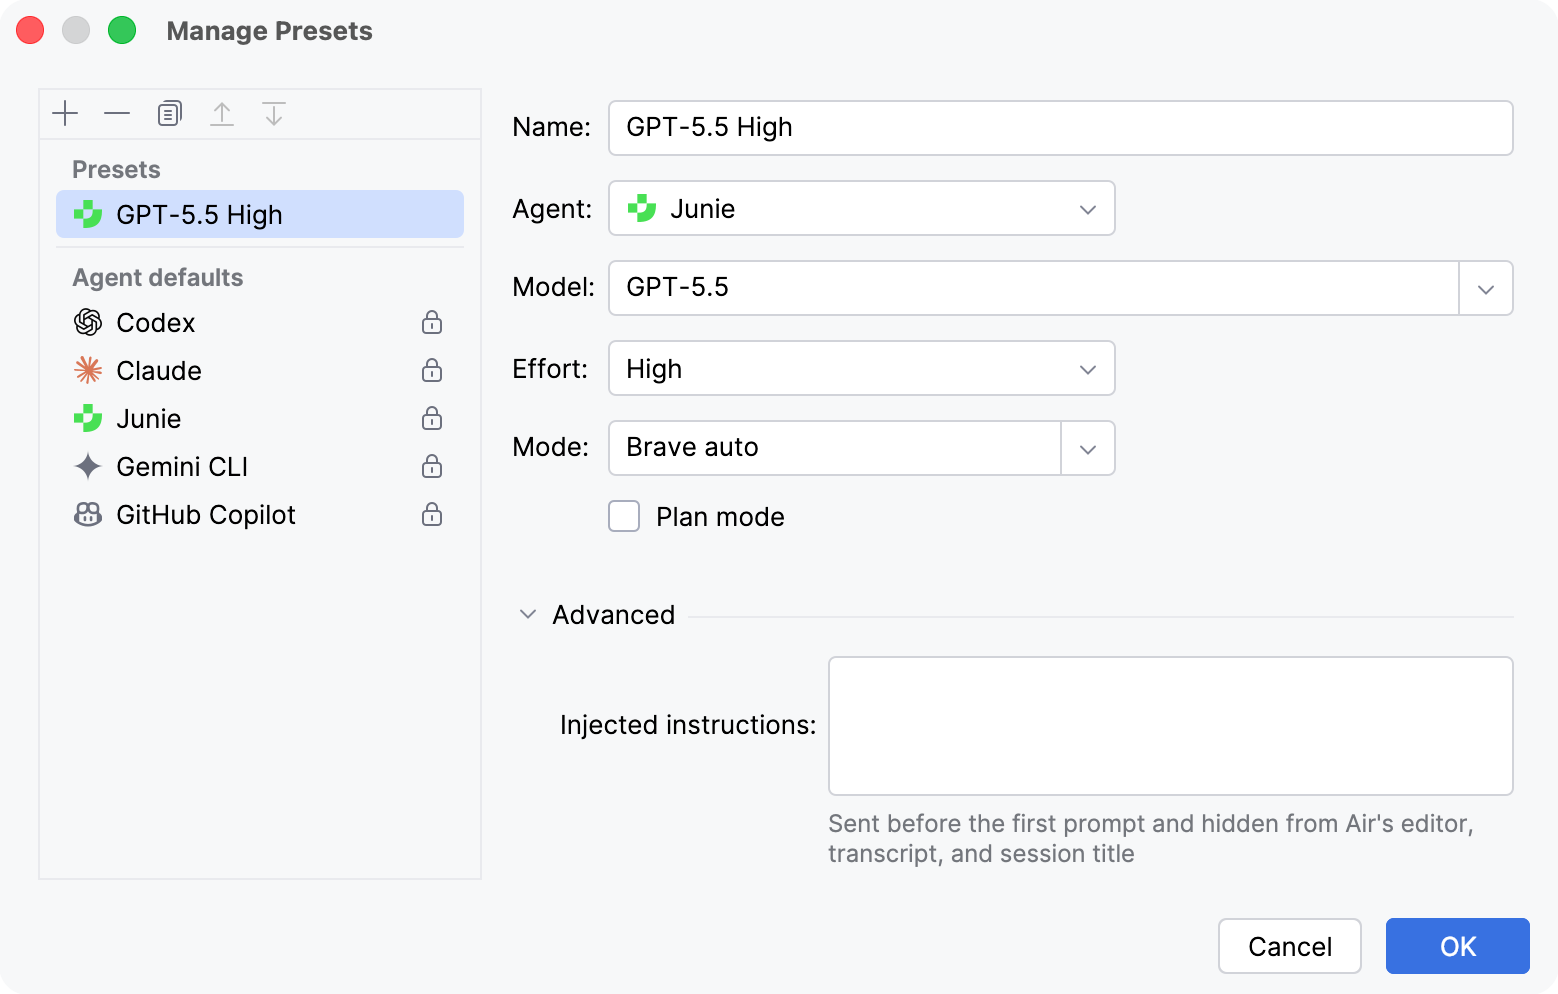
The list is split into two sections:
Presets – the custom presets that you created.
Agent defaults – the default presets that are automatically created for the detected supported agents or the agents that you install. Such a preset is marked with
 because it cannot be deleted or reassigned to another agent, but you can change its settings.
Changes to a preset apply as soon as you click OK and affect the sessions that you start afterward. Sessions that are already running keep the settings they started with.
Create a custom preset
In the Manage Presets dialog, click
 to add a new preset.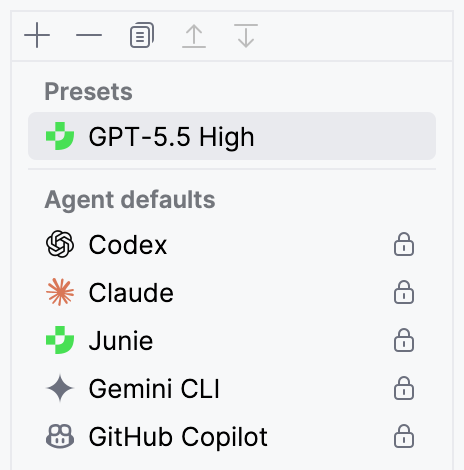
In the Add Preset popup, select New Preset.
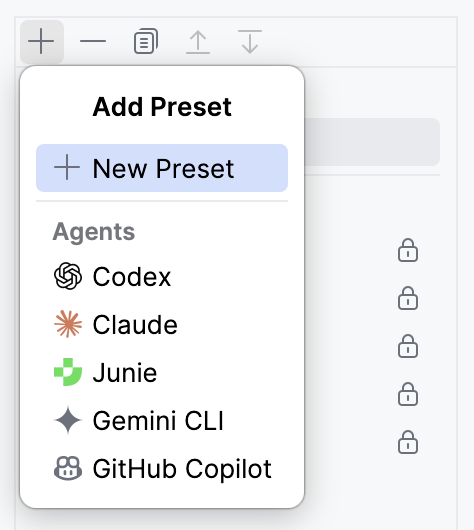
Configure the agent preset. The available settings depend on the selected agent, but usually you can configure the following:
Name – the name that describes the task the preset is for.
Agent – the agent that the session runs. The list holds the agents that are already installed.
Model – the model the agent uses. Keep Default Model to use whatever the agent selects for itself.
Effort – how much reasoning effort the agent spends on a request. Keep Default to use the effort the agent applies on its own.
Mode – the access mode the session starts in. The available values come from the agent.
Plan mode – select this checkbox to start the agent in plan mode, so that it proposes a plan for your task before making any changes.
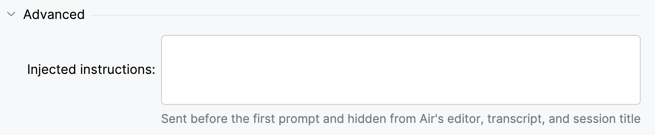
Expand the Advanced section and type the instructions that JetBrains Air in IDEs needs to pass to the agent before your first prompt, for example, coding conventions or a review checklist that every session with this preset needs to follow. The Injected instructions are applied separately and are not shown in the conversation with the agent.
Click OK to save the preset.
The configured preset becomes available in every launch entry point: the agent widget in the main toolbar, the New Session button in the Agent Sessions tool window, and the global prompt. For information about starting a session with it, refer to Start a new session.
Modify a default preset
JetBrains Air in IDEs supplies a default preset for every supported agent that it detects on your machine or that you install, and a new session uses that preset unless you select a custom one. Modify a default preset when you want every session with that agent to start with a specific model, effort, or mode.
In the Manage Presets dialog, select the required agent under Agent defaults.
Change the settings you need. The Agent field is read-only, because a default preset stays bound to the agent it was supplied for, but the model, effort, mode, and injected instructions can be changed.
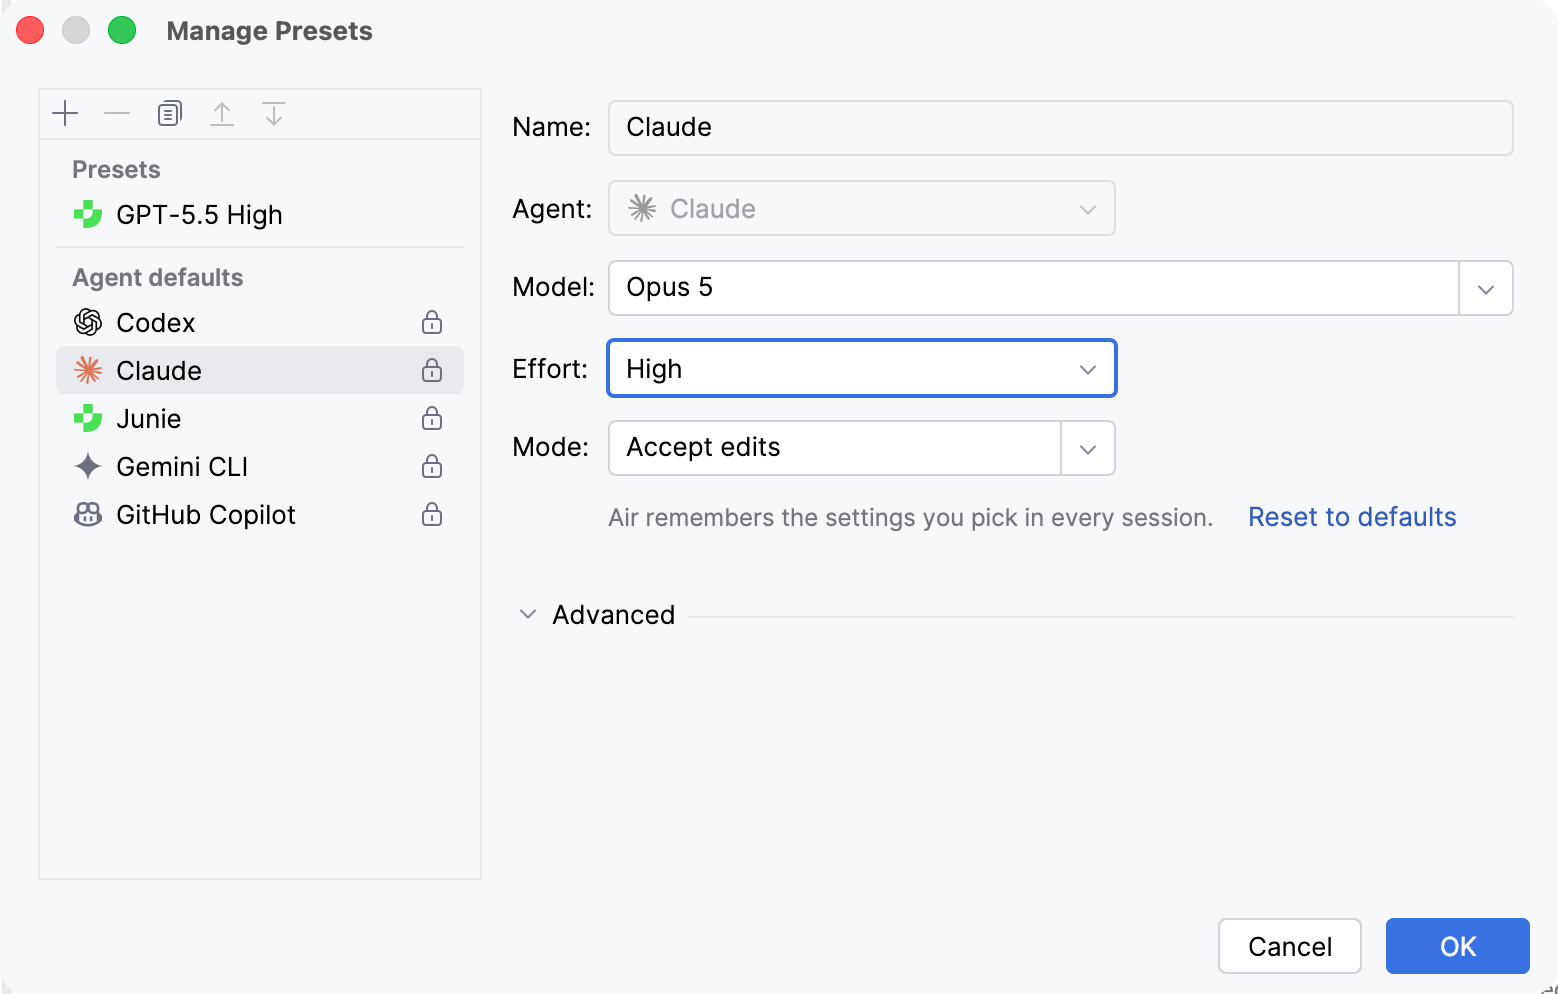
Click OK to apply the change.
To return a default preset to the settings it was supplied with, select it and click Reset to defaults.
Remove a preset
You can delete the custom presets that you created. A default preset under Agent defaults is protected from deletion and marked with : to undo the changes that you made to it, use Reset to defaults instead, as described in Modify a default preset.
In the Manage Presets dialog, select the custom preset that you want to delete under Presets.
Click
 above the list and confirm the deletion.
Click OK to apply the change.