Configure agent authorization
To work on a task, an agent needs an available authorization source. JetBrains Air in IDEs offers the following options:
Agent login – the authorization that the agent manages itself. JetBrains Air in IDEs reuses an existing login when it detects one on your machine; otherwise, the agent starts its own authorization flow.
JetBrains AI – an eligible JetBrains AI license or organization workspace associated with your JetBrains Account.
Configured provider – a third-party AI provider that you configure in JetBrains Air in IDEs with the credentials that it requires.
The source that you select also determines how the work of an agent is billed. When an agent works through JetBrains AI, your JetBrains AI access and subscription cover the usage. When an agent works through a configured provider or through its own authorization, the subscription, billing, and terms of that provider apply.
Use the agent login
JetBrains Air in IDEs detects the agents installed on your machine together with the configuration that they already use. If such an agent is already authorized, for example, because you have previously logged in to it, a session starts with that authorization, so you do not need to configure anything in the IDE. An agent that has no authorization yet starts its own authorization flow instead.
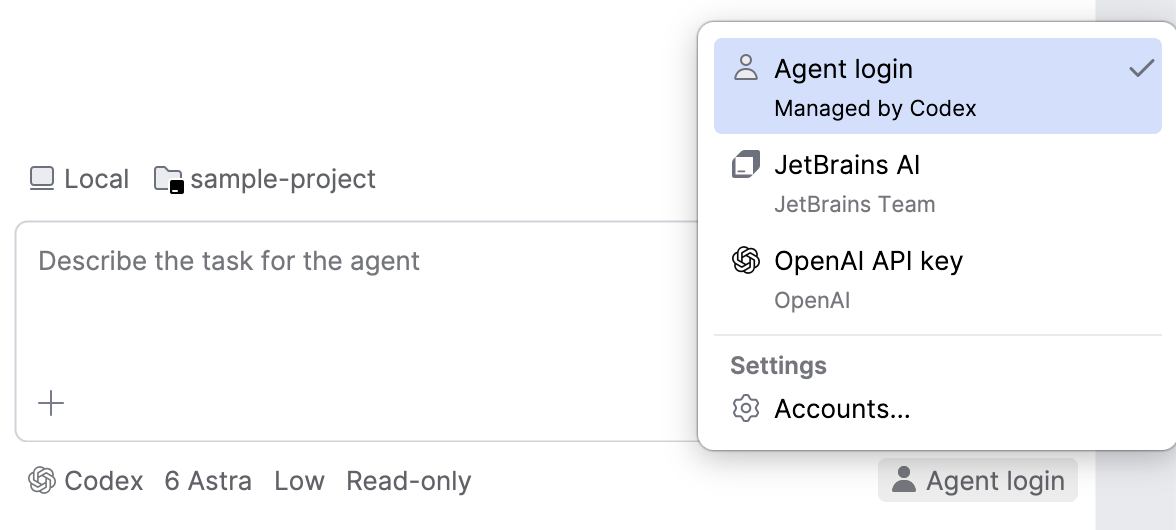
In a session, this source is represented by the Agent login entry in the list opened by clicking the  button.
Use JetBrains AI
If your JetBrains Account has an eligible JetBrains AI license or workspace assigned to it, you can use it with the agents that support JetBrains AI authorization. Currently, these are the following agents:
The JetBrains account entry at the top of the page holds this authorization. While you are logged out, the entry shows the Log in button: click it and complete the login in the browser.
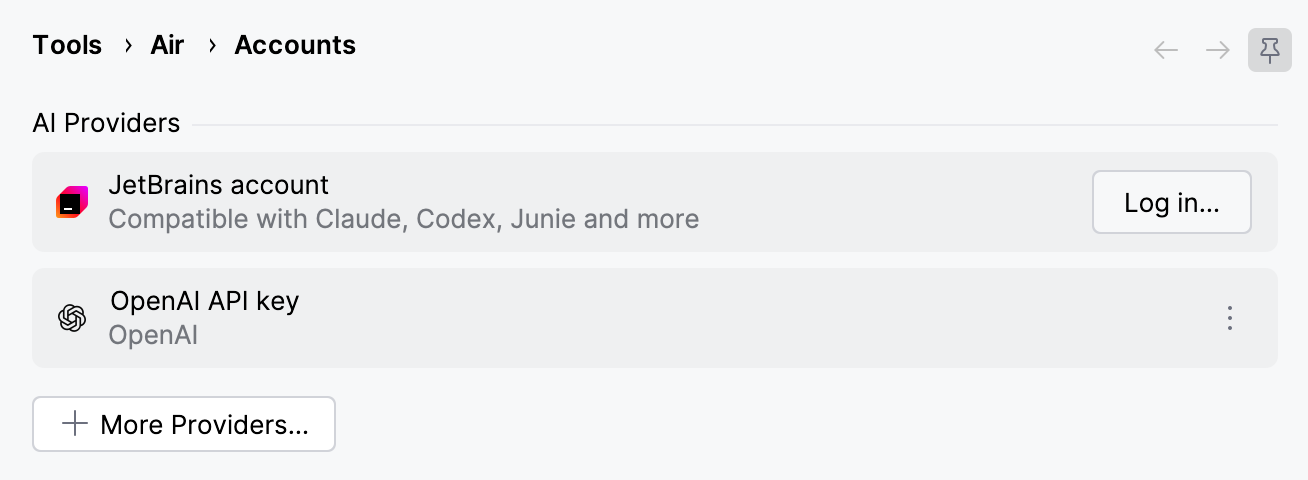
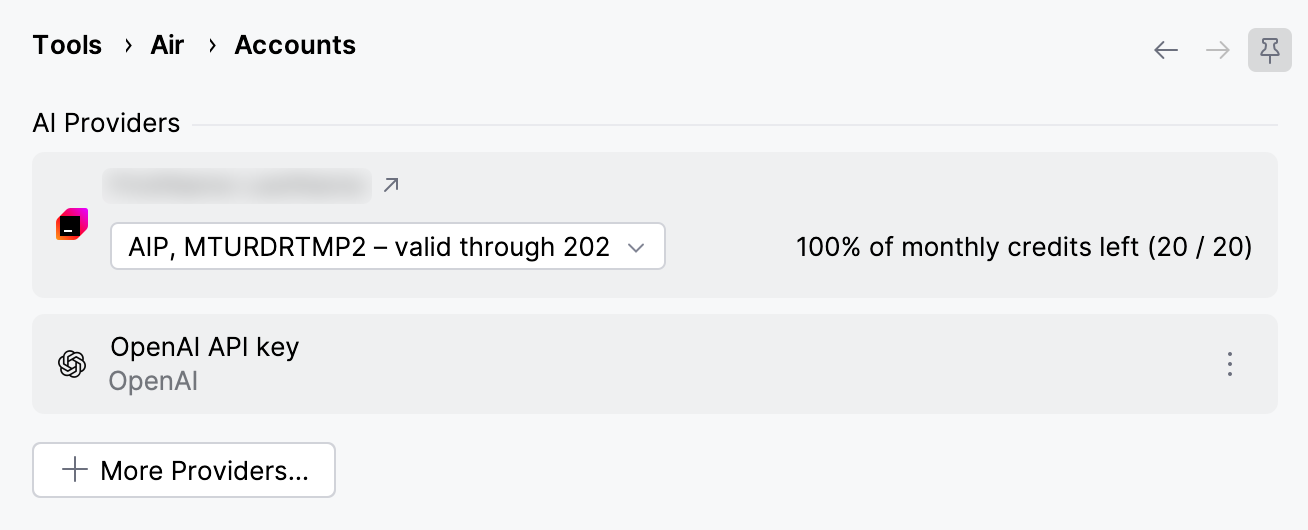
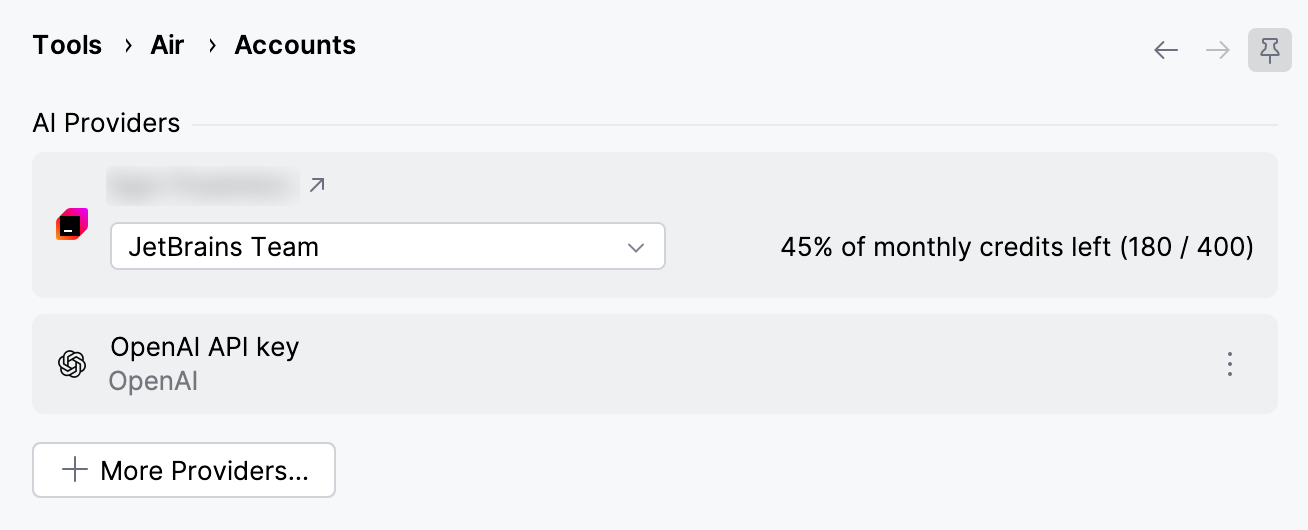
After you log in, the entry shows the name of your account, a list of available JetBrains AI licenses or organizations associated with your account, and how many of your monthly credits are left. To open the Manage Subscriptions dialog and review the licenses of your account, click  next to the account name.
Personal account
For an account that works with a subscription of its own, the list holds the eligible JetBrains AI licenses of that account. To select a specific license, click  and select the required one from the list.
Organization account
For an account that belongs to organizations which supply credits to it, the list holds these organizations. Click to select the organization to spend credits from.
An account without JetBrains AI access
If the account that you are logged in with has no JetBrains AI access, the entry shows No JetBrains AI access for this account and the Manage subscriptions link. However, the More Providers button stays available, so you can still add third-party providers and work through them instead.
Use a configured AI provider
JetBrains Air in IDEs supports several third-party AI providers. You can configure a provider using the credentials and settings that it requires, such as an API key, and switch between the configured providers as your tasks require.
Add an AI provider
Press Ctrl+Alt+S and select . Alternatively, click
in the session and select Accounts.Click More Providers and select the provider that you want to add.
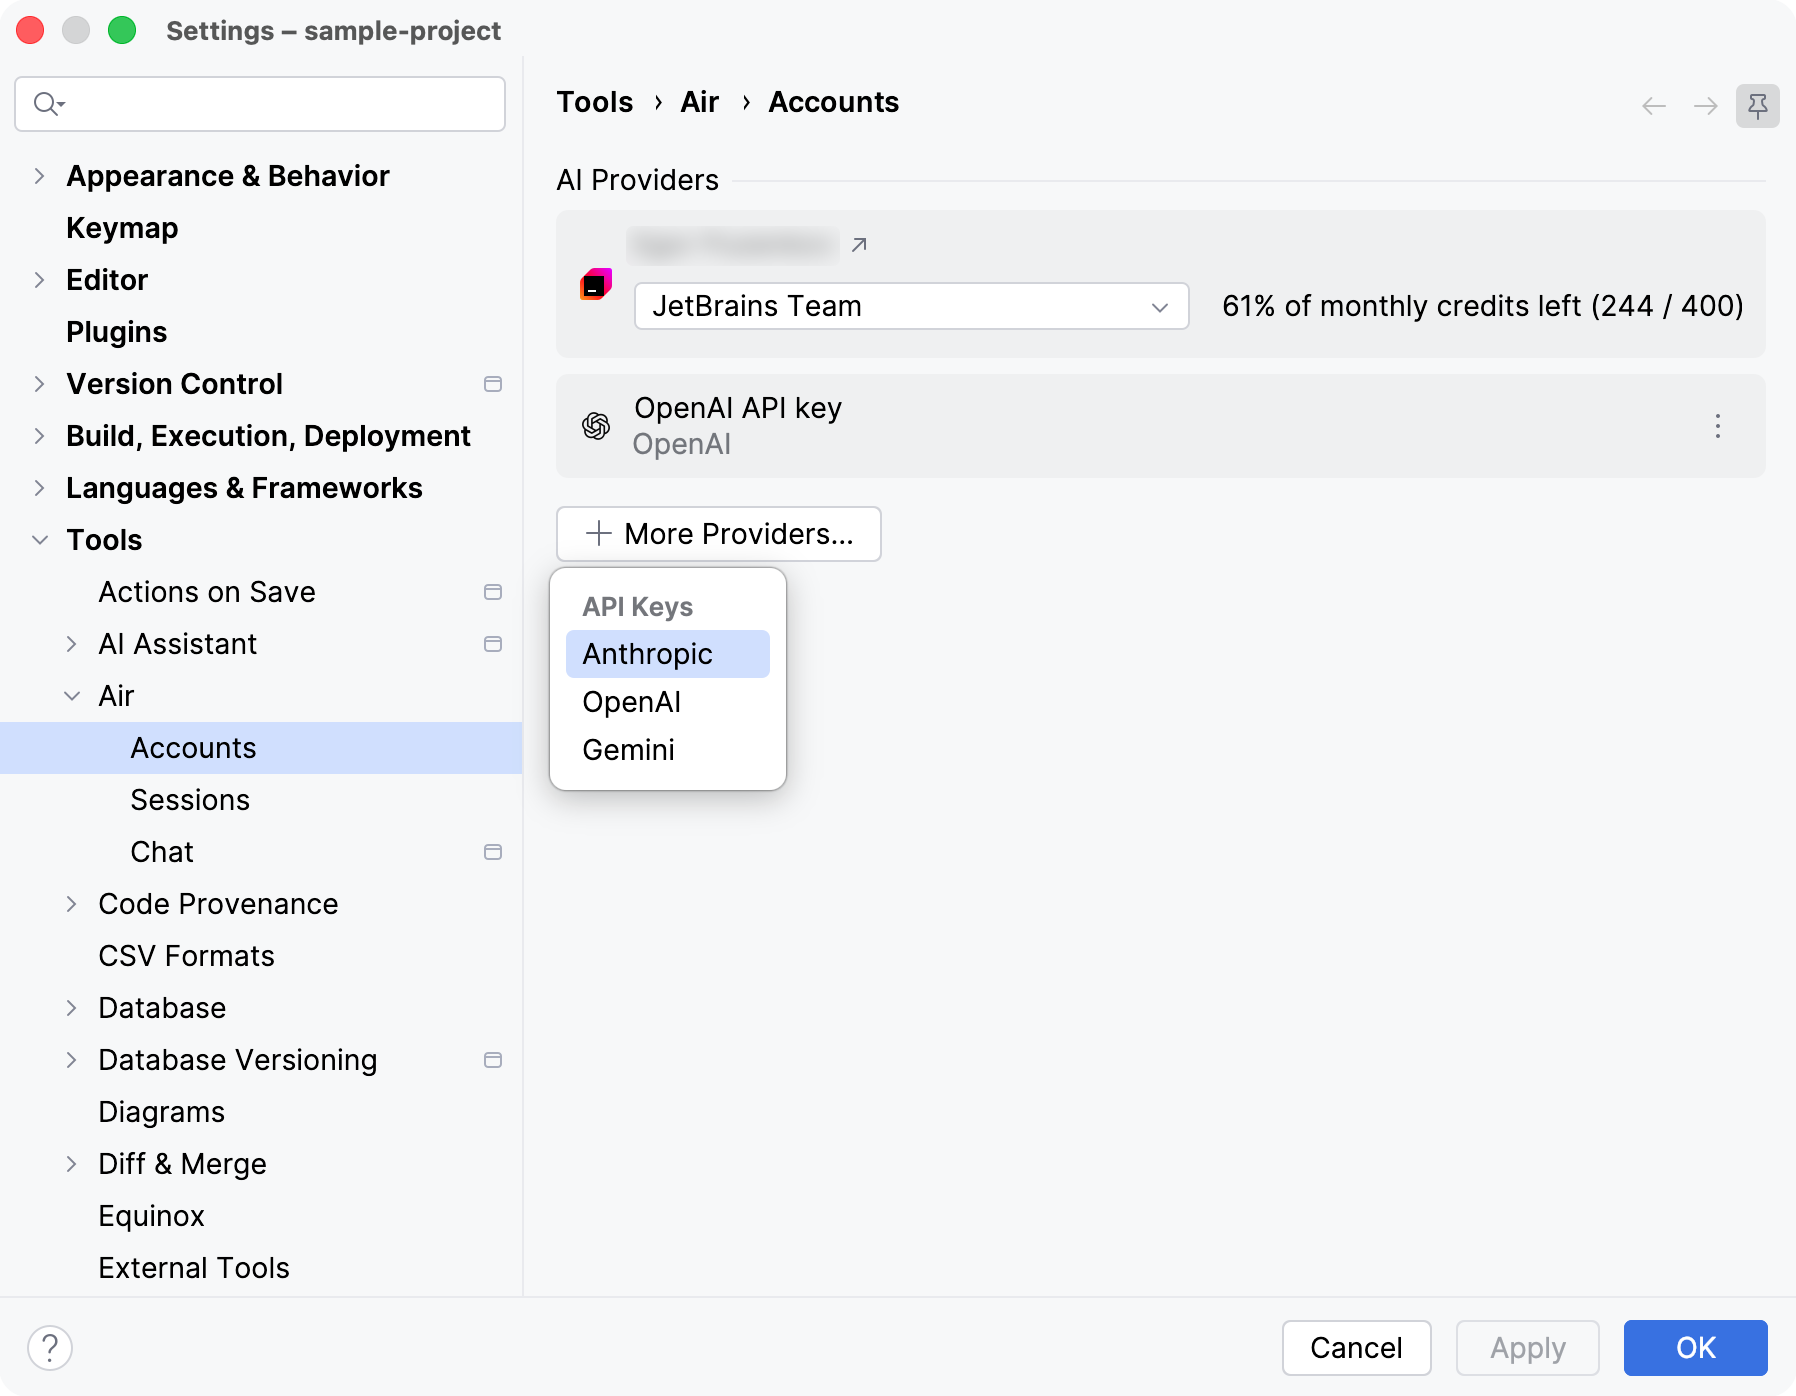
In the dialog that opens, enter the credentials that you obtained from the provider and configure any additional settings required to finish the configuration.
Click OK to save the settings.
The configured provider appears in the AI Providers list and becomes available for selection in sessions with the agents that support it.
Edit or remove a provider
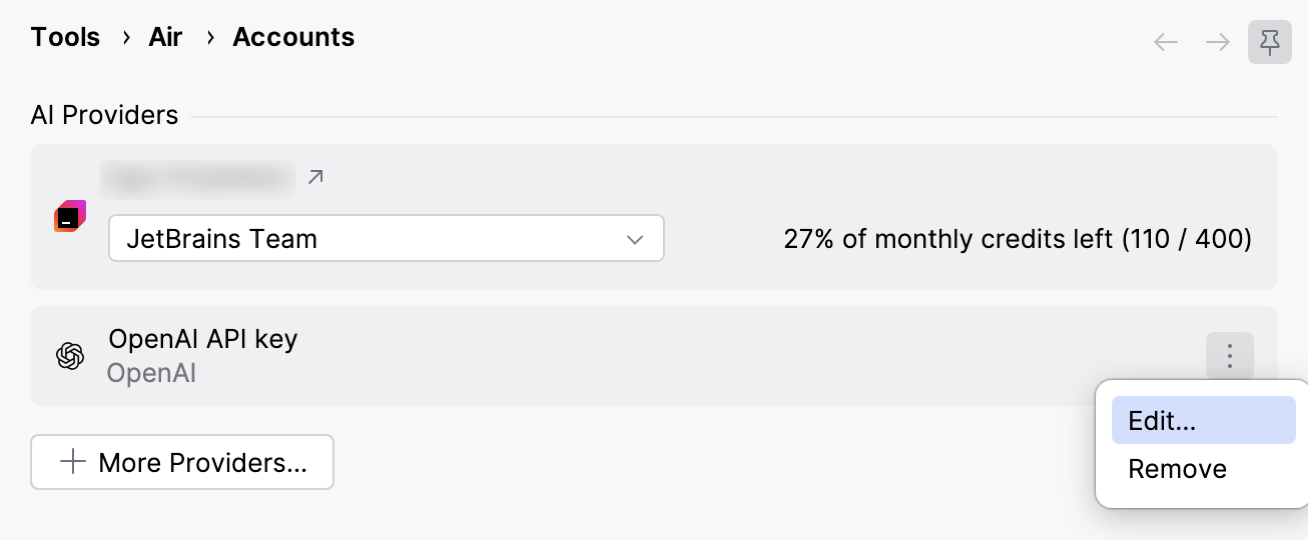
To change or delete the configuration of a provider, click  on its entry in the AI Providers list and select the action that you need.
Select the authorization for a session
Every authorization source is selected in the session. Click the button below the prompt field and select the source for the session:
Agent login – the authorization that the agent manages itself. Select this entry to let the agent handle authorization: if JetBrains Air in IDEs detects an existing login, it reuses it, and an authorized agent starts directly. Otherwise, the agent starts its own authorization flow.
JetBrains AI – your JetBrains Account, with access to JetBrains AI.
One entry for every compatible provider configured on the Accounts page.
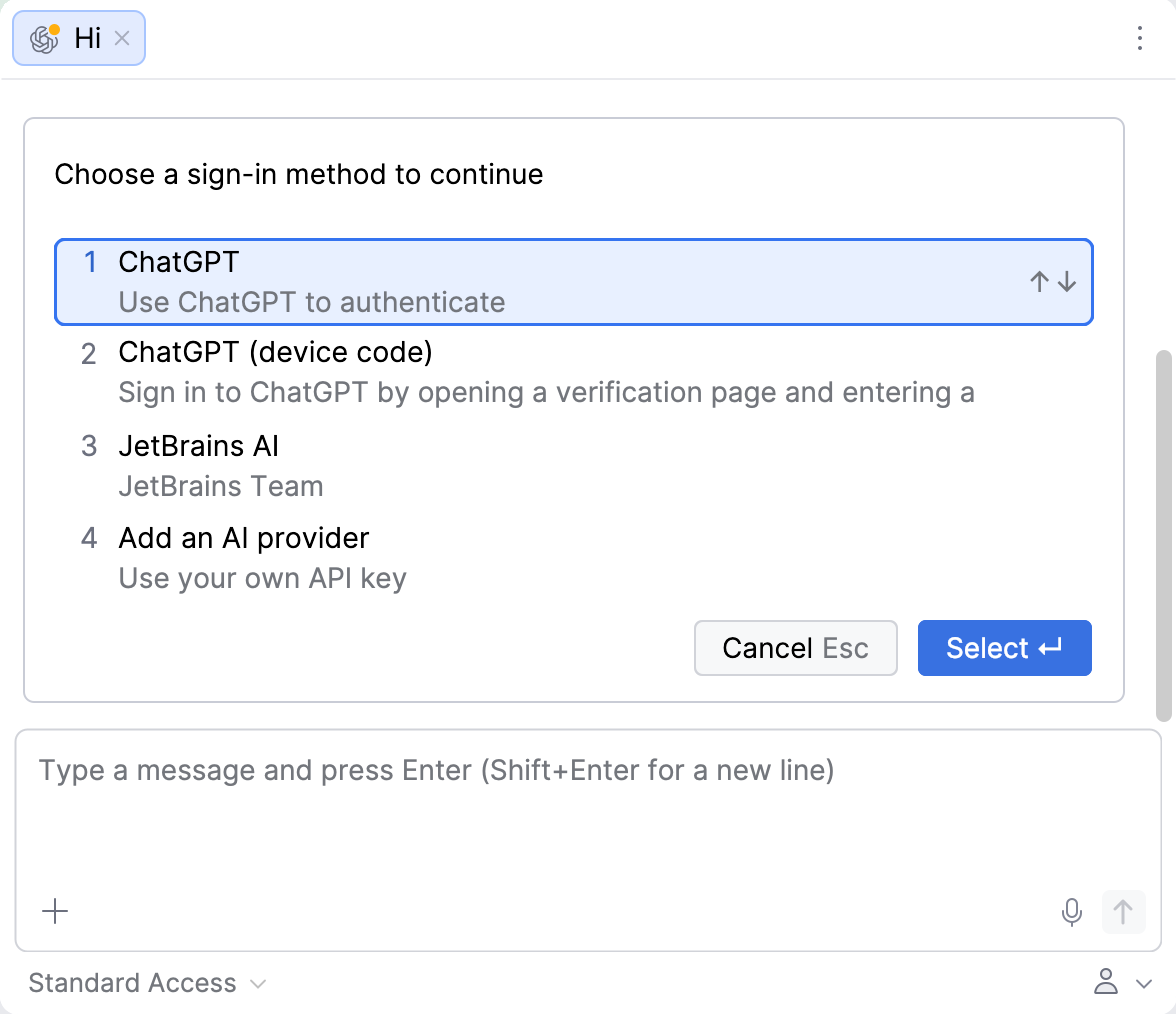
Sending a prompt in a session where the agent has no authorization yet also starts the authorization procedure. The agent responds with the Choose a sign-in method to continue list, which holds the same authorization sources. You can authorize the agent by selecting the preferred option from the list.