Organizations
Organizations provide top-level structuring of all entities in Qodana Cloud. Every organization is created on the basis of a specific JetBrains account. Depending on your choice, it will be either private or public. Every account in Qodana Cloud is based on the organization that becomes its default organization.
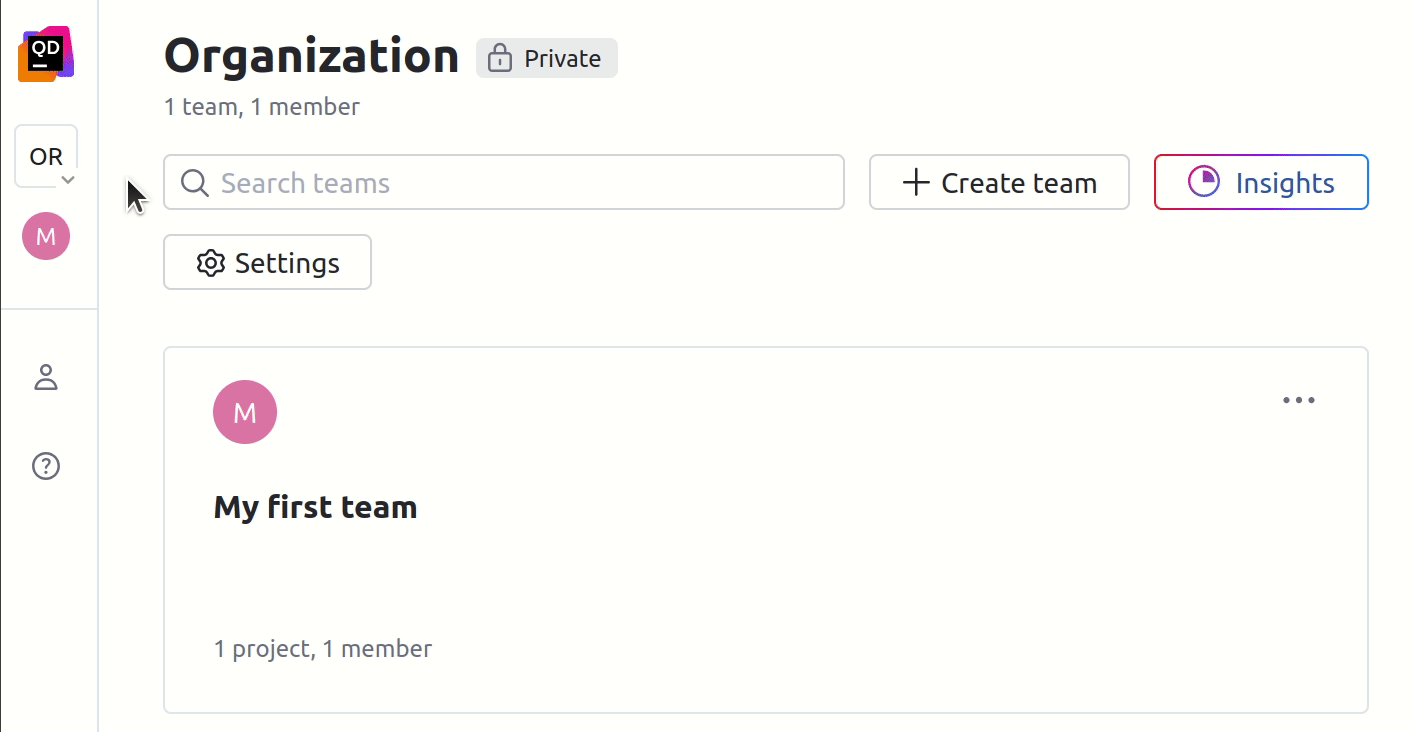
You can navigate between organizations using the list in the upper left part of the Qodana Cloud UI.
Create an organization
You can create private or public organizations. Reports stored in private organizations are accessible only by a user who created an organization and users who were invited to them. Reports stored in public organizations are available for all Qodana Cloud users, including unauthorized users with the viewer role.
Each organization is created on the basis of a specific JetBrains account.
In the sidebar, expand the list of organizations and then click .

Complete the project setup stage. You can read more about this stage in the Prerequisites section.
Configure organizations
You can configure membership and visibility of your organization or leave the organization.
In the sidebar, navigate to the organization that you wish to configure.
On the organization page, click the button in the upper-right corner.

Click the button in the upper-right corner of the UI to switch the status of your organization, rename it, leave it, or completely delete it.

On the settings page, you can find the following tabs:
provides a list of log entries for a specific time interval.
lets you configure the Single Sign-on functionality for Qodana Cloud.
lets you generate and manage a permanent organization token used by the public API of Qodana Cloud. This feature is available only under the Ultimate Plus license and only for Qodana Cloud users of the
OwnerandAdminroles.let you manage configurations used across many projects of your organization.
Subscription
Using the tab, you can see information about your Qodana license.

Logs
Using the tab, you can view Qodana Cloud log entries for a specific time interval.

Members
Using the tab, you can:
Invite new members to your organization using email addresses, and assign them user roles.
Change the roles of the existing organization members.
Exclude members from your organization.
On the settings page of the organization, navigate to the tab.
On the tab, click .

On the dialog that opens, you can manage members of your organization.

SSO
Using the tab, you can set up subdomains employed by third-party identity providers for authentication in Qodana Cloud and Qodana Self-Hosted. The details are available in the Single Sign-on section.
On the tab, enter the name of the subdomain that you would like to use for authentication, and then click the button.

On this tab, copy the URL and follow the recommendations.

In the linter configuration, assign the configured subdomain value to the
QODANA_ENDPOINTvariable. This subdomain will be reflected in comments and report links.
API token
Using the tab, you can generate and manage an organization API token. This token lets you have access to the Public API to create teams, projects, and obtain a list of Qodana Cloud and Qodana Self-Hosted organization users using your build pipelines.

Global configurations
Using the tab, you can manage global configurations. Here, you can find the list of configurations that can be used across multiple projects of your organization. For each configuration, you can view projects connected to it, the configuration description, and the time of the latest update.
Using the list of projects, you can:
View linked projects
Check usage statistics
Search for projects analyzed using the configuration
Assign or view global configurations for specific projects
Here, you can also modify the list of projects that use the specific global configuration.
This procedure explains how you can create your global configuration:
Connect a repository
On the tab, click the button.

On the page that opens, select your CI/CD tool and follow the instructions about how to set up a configuration token and CI/CD job.

Also on that page, you can find the snippets to configure your CI/CD pipelines.
name: Qodana Configuration Upload on: push: branches: [ main, dev ] pull_request: branches: [ main ] workflow_dispatch: jobs: upload-qodana-config: runs-on: ubuntu-latest steps: - name: Checkout repository uses: actions/checkout@v4 - name: Run Qodana Configuration Uploader env: QODANA_CONFIGURATIONS_TOKEN: ${{ secrets.QODANA_CONFIGURATIONS_TOKEN }} QODANA_ENDPOINT: 'https://qodana.cloud' run: | docker run --rm \ -v $(pwd):/workspace \ -w /workspace \ -e QODANA_CONFIGURATIONS_TOKEN=$QODANA_CONFIGURATIONS_TOKEN \ jetbrains/qodana-configuration-uploader:latest \ --global-configs-file qodana-global-configurations.yamlvariables: DOCKER_DRIVER: overlay2 services: - docker:dind run_uploader: image: docker:latest variables: QODANA_CONFIGURATIONS_TOKEN: $QODANA_CONFIGURATIONS_TOKEN QODANA_ENDPOINT: "https://qodana.cloud" script: - | docker run --rm \ -v $(pwd):/workspace \ -w /workspace \ -e QODANA_CONFIGURATIONS_TOKEN=$QODANA_CONFIGURATIONS_TOKEN \ jetbrains/qodana-configuration-uploader:latest \ --global-configs-file qodana-global-configurations.yamlversion: 2.1 jobs: run_uploader: machine: true steps: - checkout - run: name: Run Qodana Configuration Uploader command: | docker run --rm \ -v "$(pwd)":/workspace \ -w /workspace \ -e QODANA_CONFIGURATIONS_TOKEN="$QODANA_CONFIGURATIONS_TOKEN" \ -e QODANA_ENDPOINT="https://qodana.cloud" \ jetbrains/qodana-configuration-uploader:latest \ --global-configs-file qodana-global-configurations.yaml workflows: version: 2 main: jobs: - run_uploaderHere, the
--global-configs-fileargument specifies the path to the global configuration file, see the analysis report.
Once the first CI/CD run using the uploader is complete, the global configuration is uploaded and becomes visible on the tab.

View and modify a global configuration
On the tab, click the configuration that you would like to view. This will open a page displaying the files included in the configuration. Here, you can view the files that define the global configuration and obtain a link to the VCS to be able to edit them. To connect a configuration to your projects, click the button.

On the dialog, select the projects that you would like to connect your configuration to and then click the button.

Now you can see the list of connected projects in the lower part of the global configuration.

Modify the list of projects
On the project setup page, click the button to open the dialog containing the list of projects.

On the dialog you can view, assign, and unassign projects.
Manage configuration token
In case a configuration token is compromised, click the and then click to revoke the token and clear all configurations.

On the dialog, specify whether you would like to remove all global configurations after revoking the token.
