Figma Connect
Figma Connect lets you bring designs from Figma into GoLand and use them as context for Air. Select any layer in Figma Desktop — a frame, a component, or a group, reference it from an Air chat or terminal without switching back and forth between the design and GoLand.
The Bring Your Own Key (BYOK) approach is also supported, so you can use models from compatible AI providers with your own API keys.
GoLand connects to Figma Desktop through the JetBrains Connect plugin for Figma, which streams your current selection to the Figma Layers tool window in real time.
Before you start
Install the Figma Connect plugin
This functionality relies on the Figma Connect plugin, which you need to install and enable.
Press Ctrl+Alt+S to open settings and then select .
Find the Figma Connect plugin, and click Install. Restart the IDE if prompted.
Make sure you have a paid Figma seat with Dev Mode or Full Design access. Figma Connect relies on the Figma Desktop MCP server, which cannot be enabled on View, Collab, or Starter seats.
Optionally
Install the Figma Desktop application and open the design file you want to work with.
Make sure the Air bundled plugin is enabled in the Settings | Plugins page as described in Plugins.
To use the Bring Your Own API Key (BYOK) approach, press Ctrl+Alt+S to open the Settings dialog, go to , and then specify the provider's API billing account. Refer to Connect AI providers for details.
You can also install the Figma desktop application and enable the Air plugin during the setup process, as described in Set up Figma Connect in GoLand and in Configure code generation with Air from Figma designs respectively.
Set up Figma Connect in GoLand
GoLand provides you with a Figma Connect setup wizard that guides you through the setup process, including installation of the Figma Desktop application, installing the JetBrains Connect plugin in Figma, and connecting the Figma Desktop application to GoLand.
Open the Figma Layers tool window () and click Set Up.
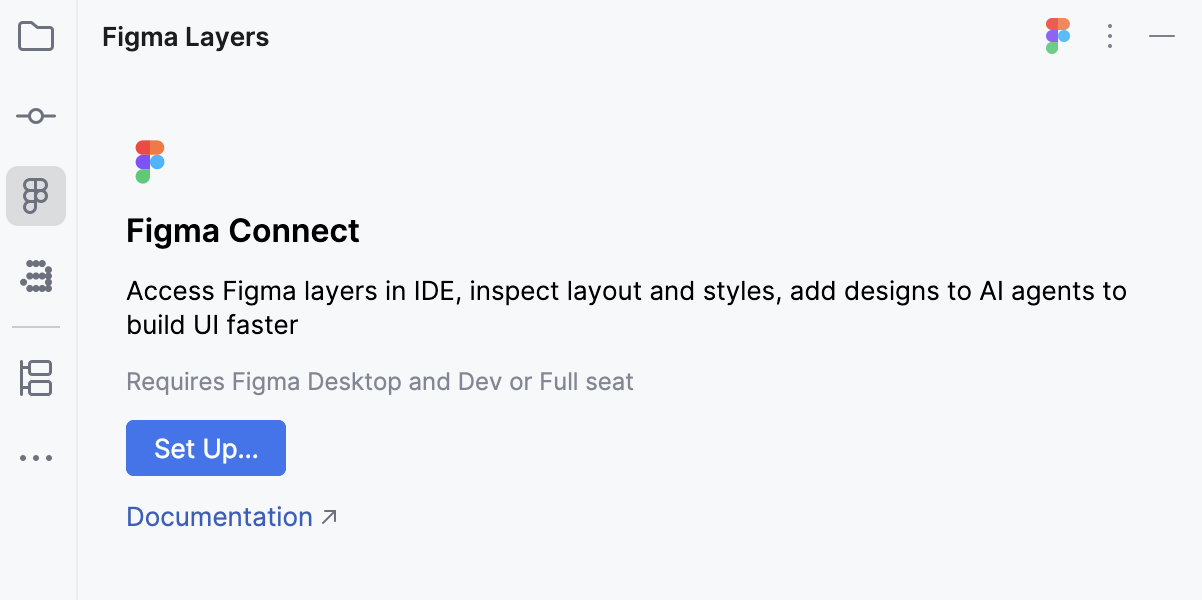
Follow the on-screen instructions to set up Figma Connect.
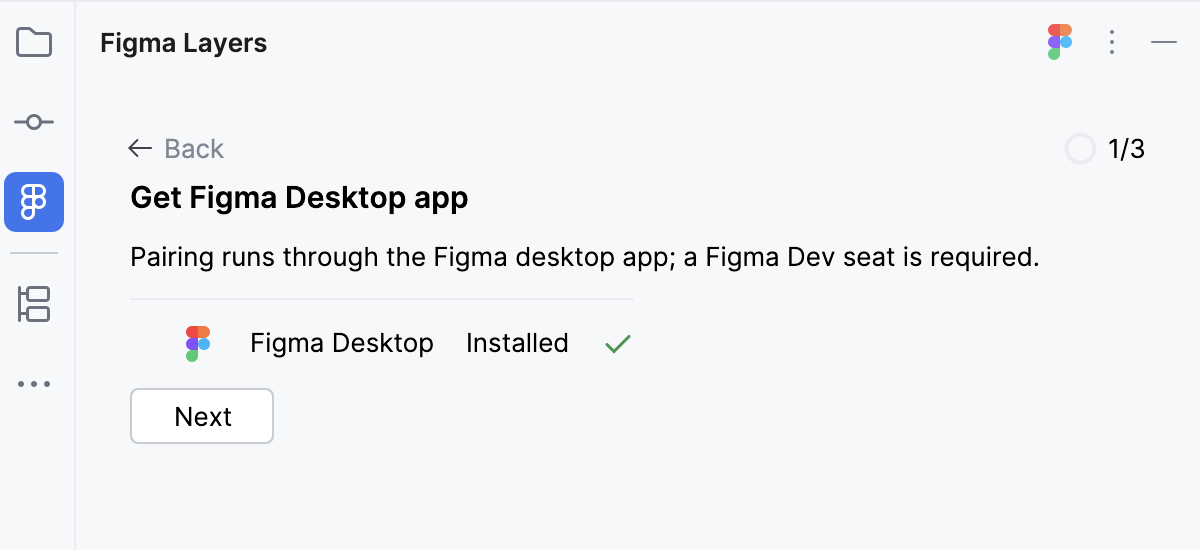
On the Get Figma Desktop app page of the wizard, click I have the App if you already have a Figma Desktop application, then click Next. Otherwise, click Download.
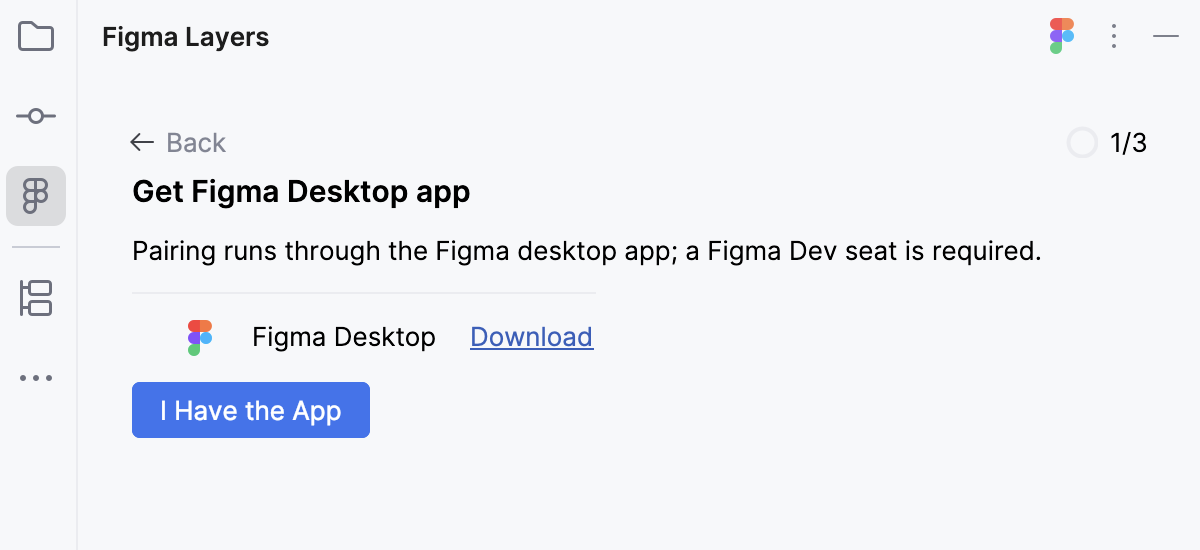
GoLand opens the Figma Downloads page. Download and install the Figma Desktop application. Click Next when ready.
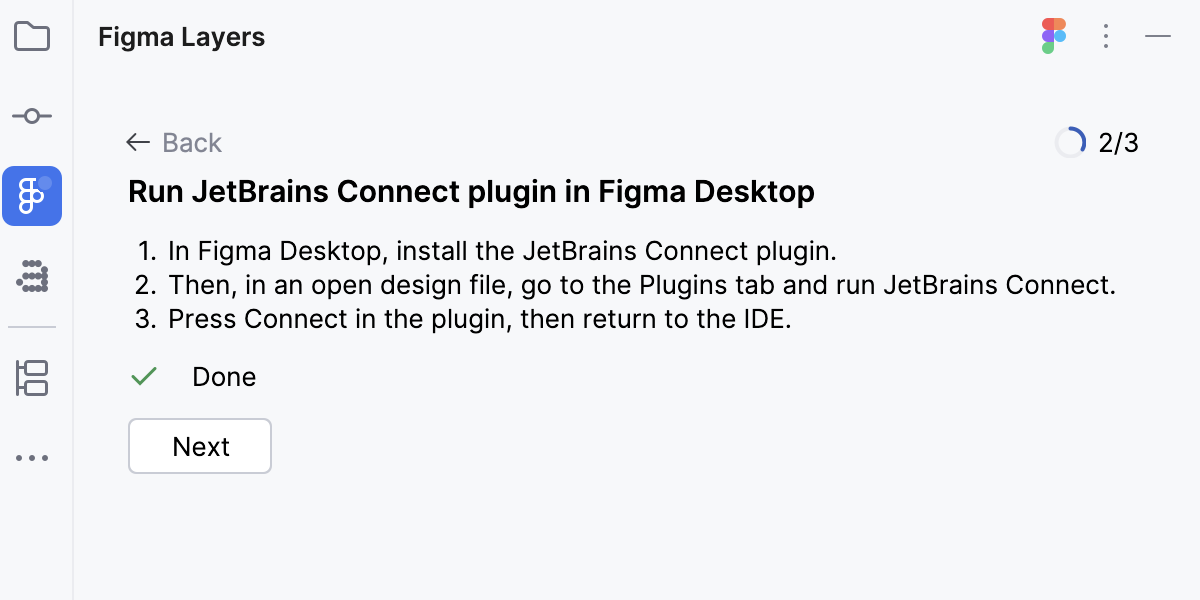
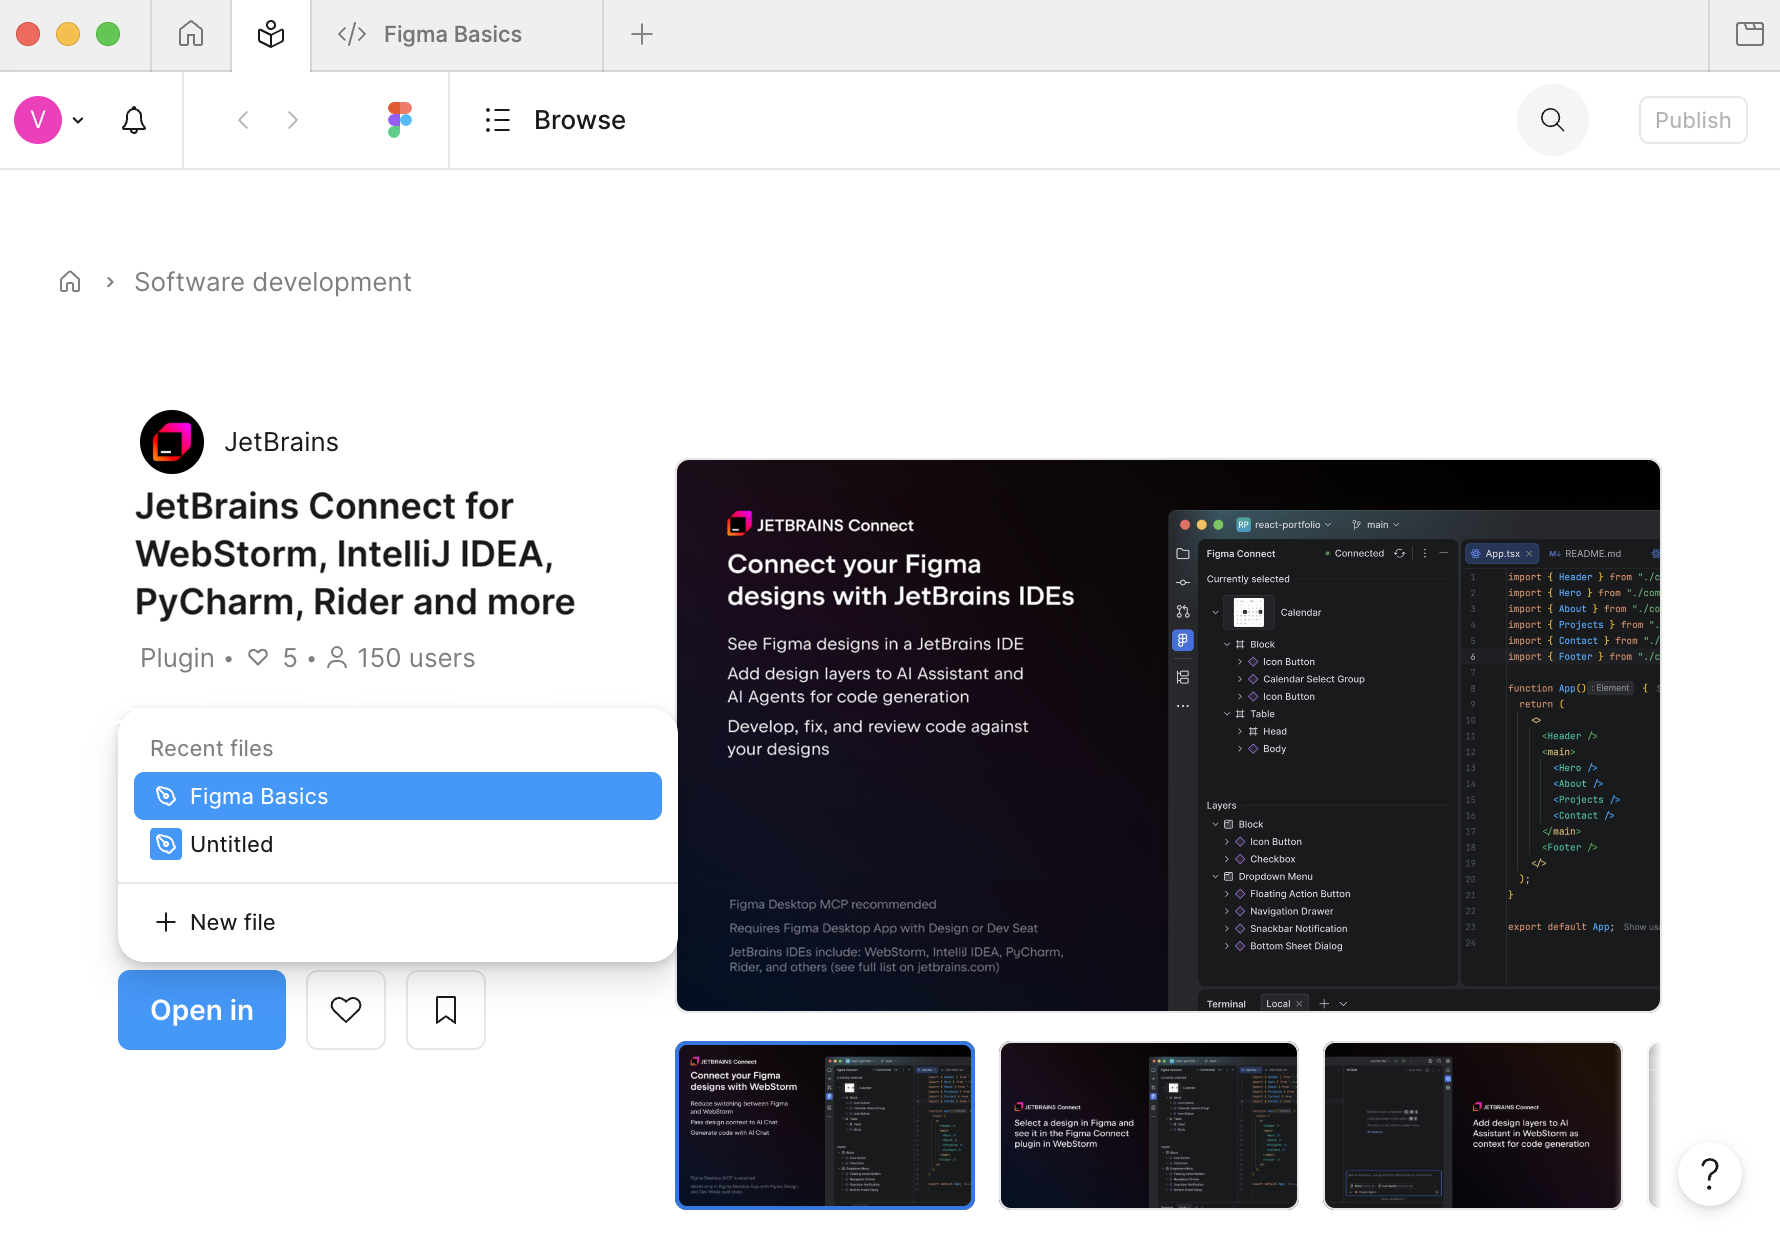
On the Run JetBrains Connect plugin in Figma Desktop page, click Open JetBrains Connect.
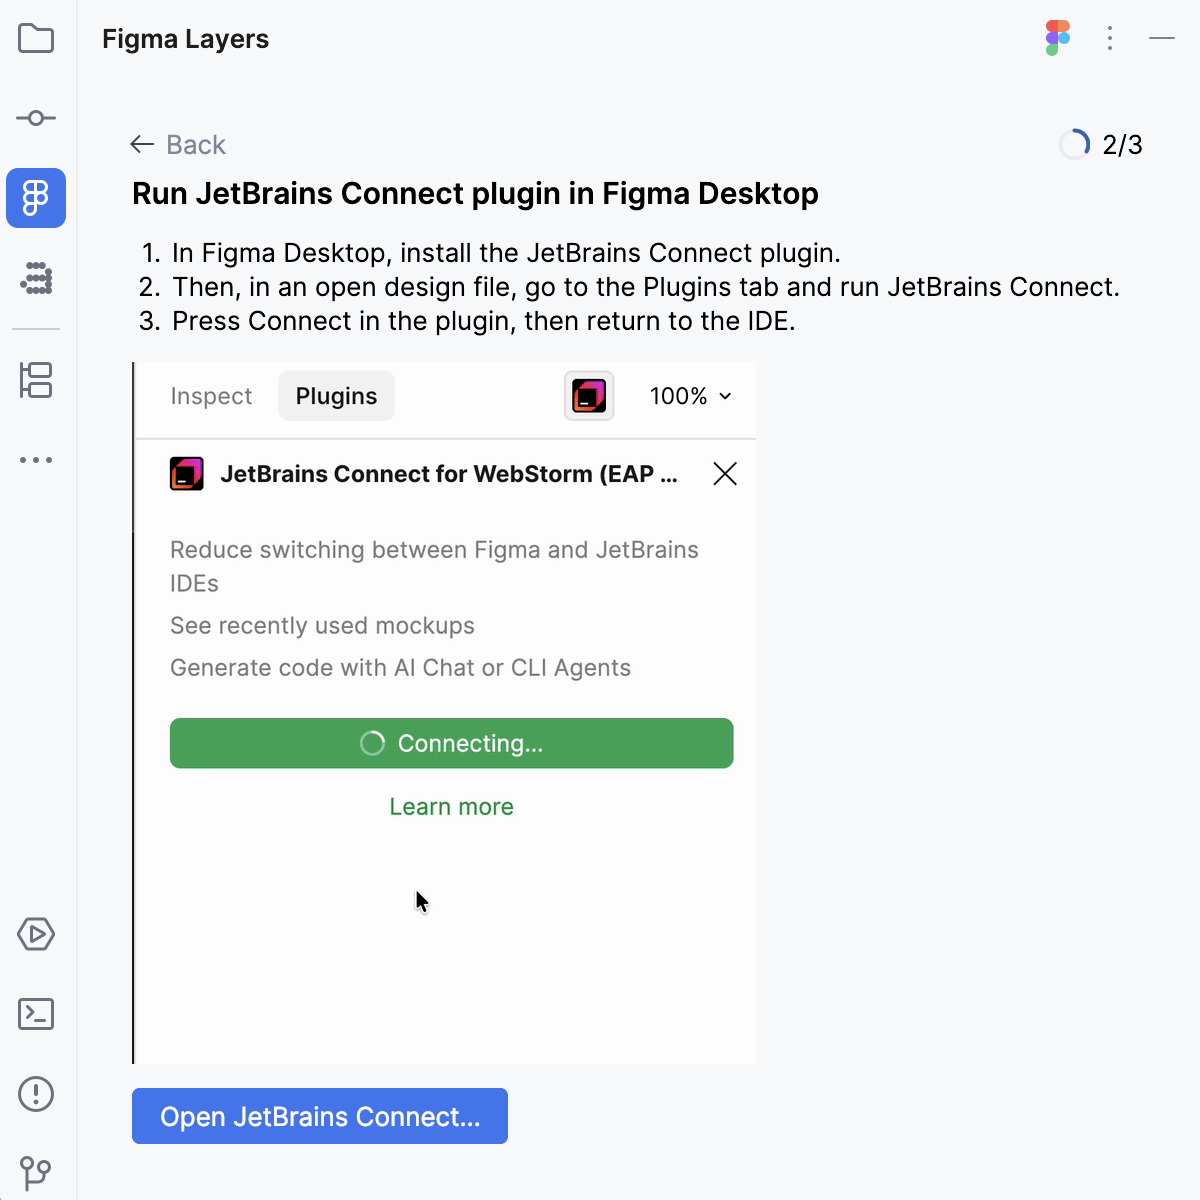
On the JetBrains Connect page, click Open in and select the design file to open the plugin in.
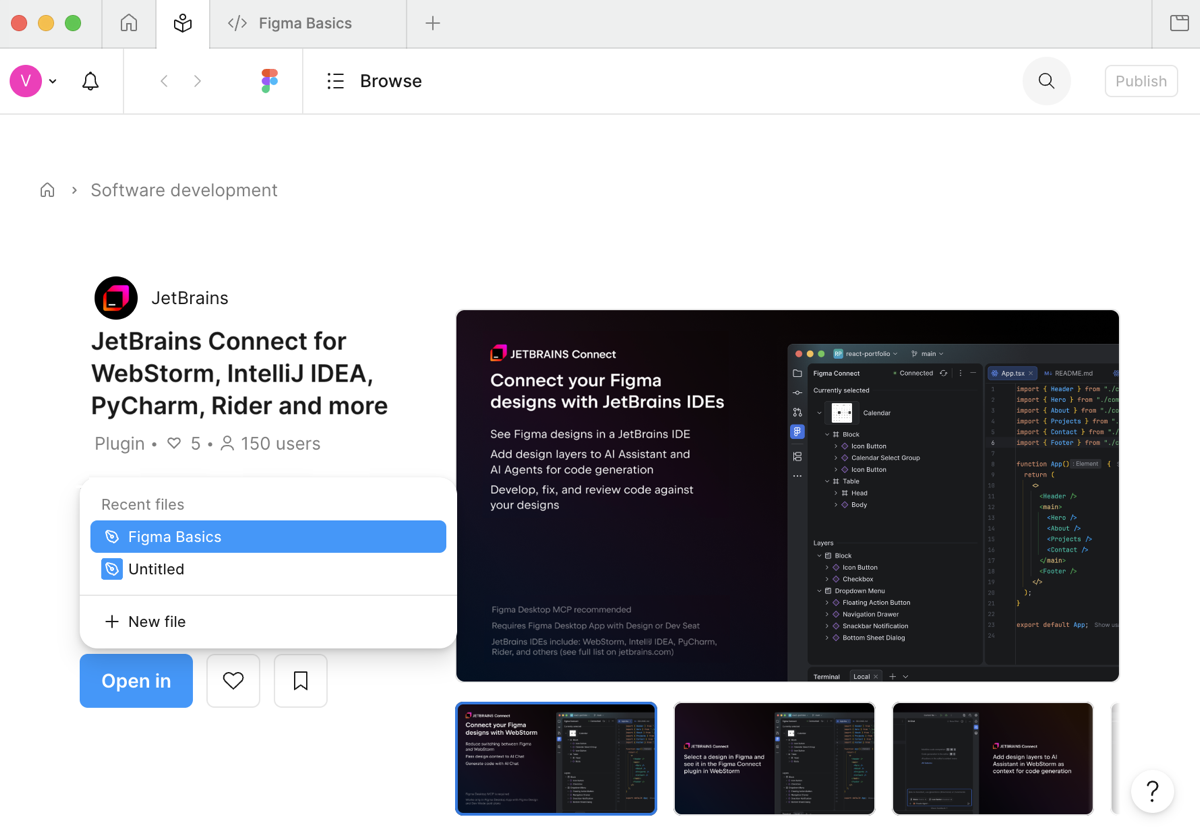
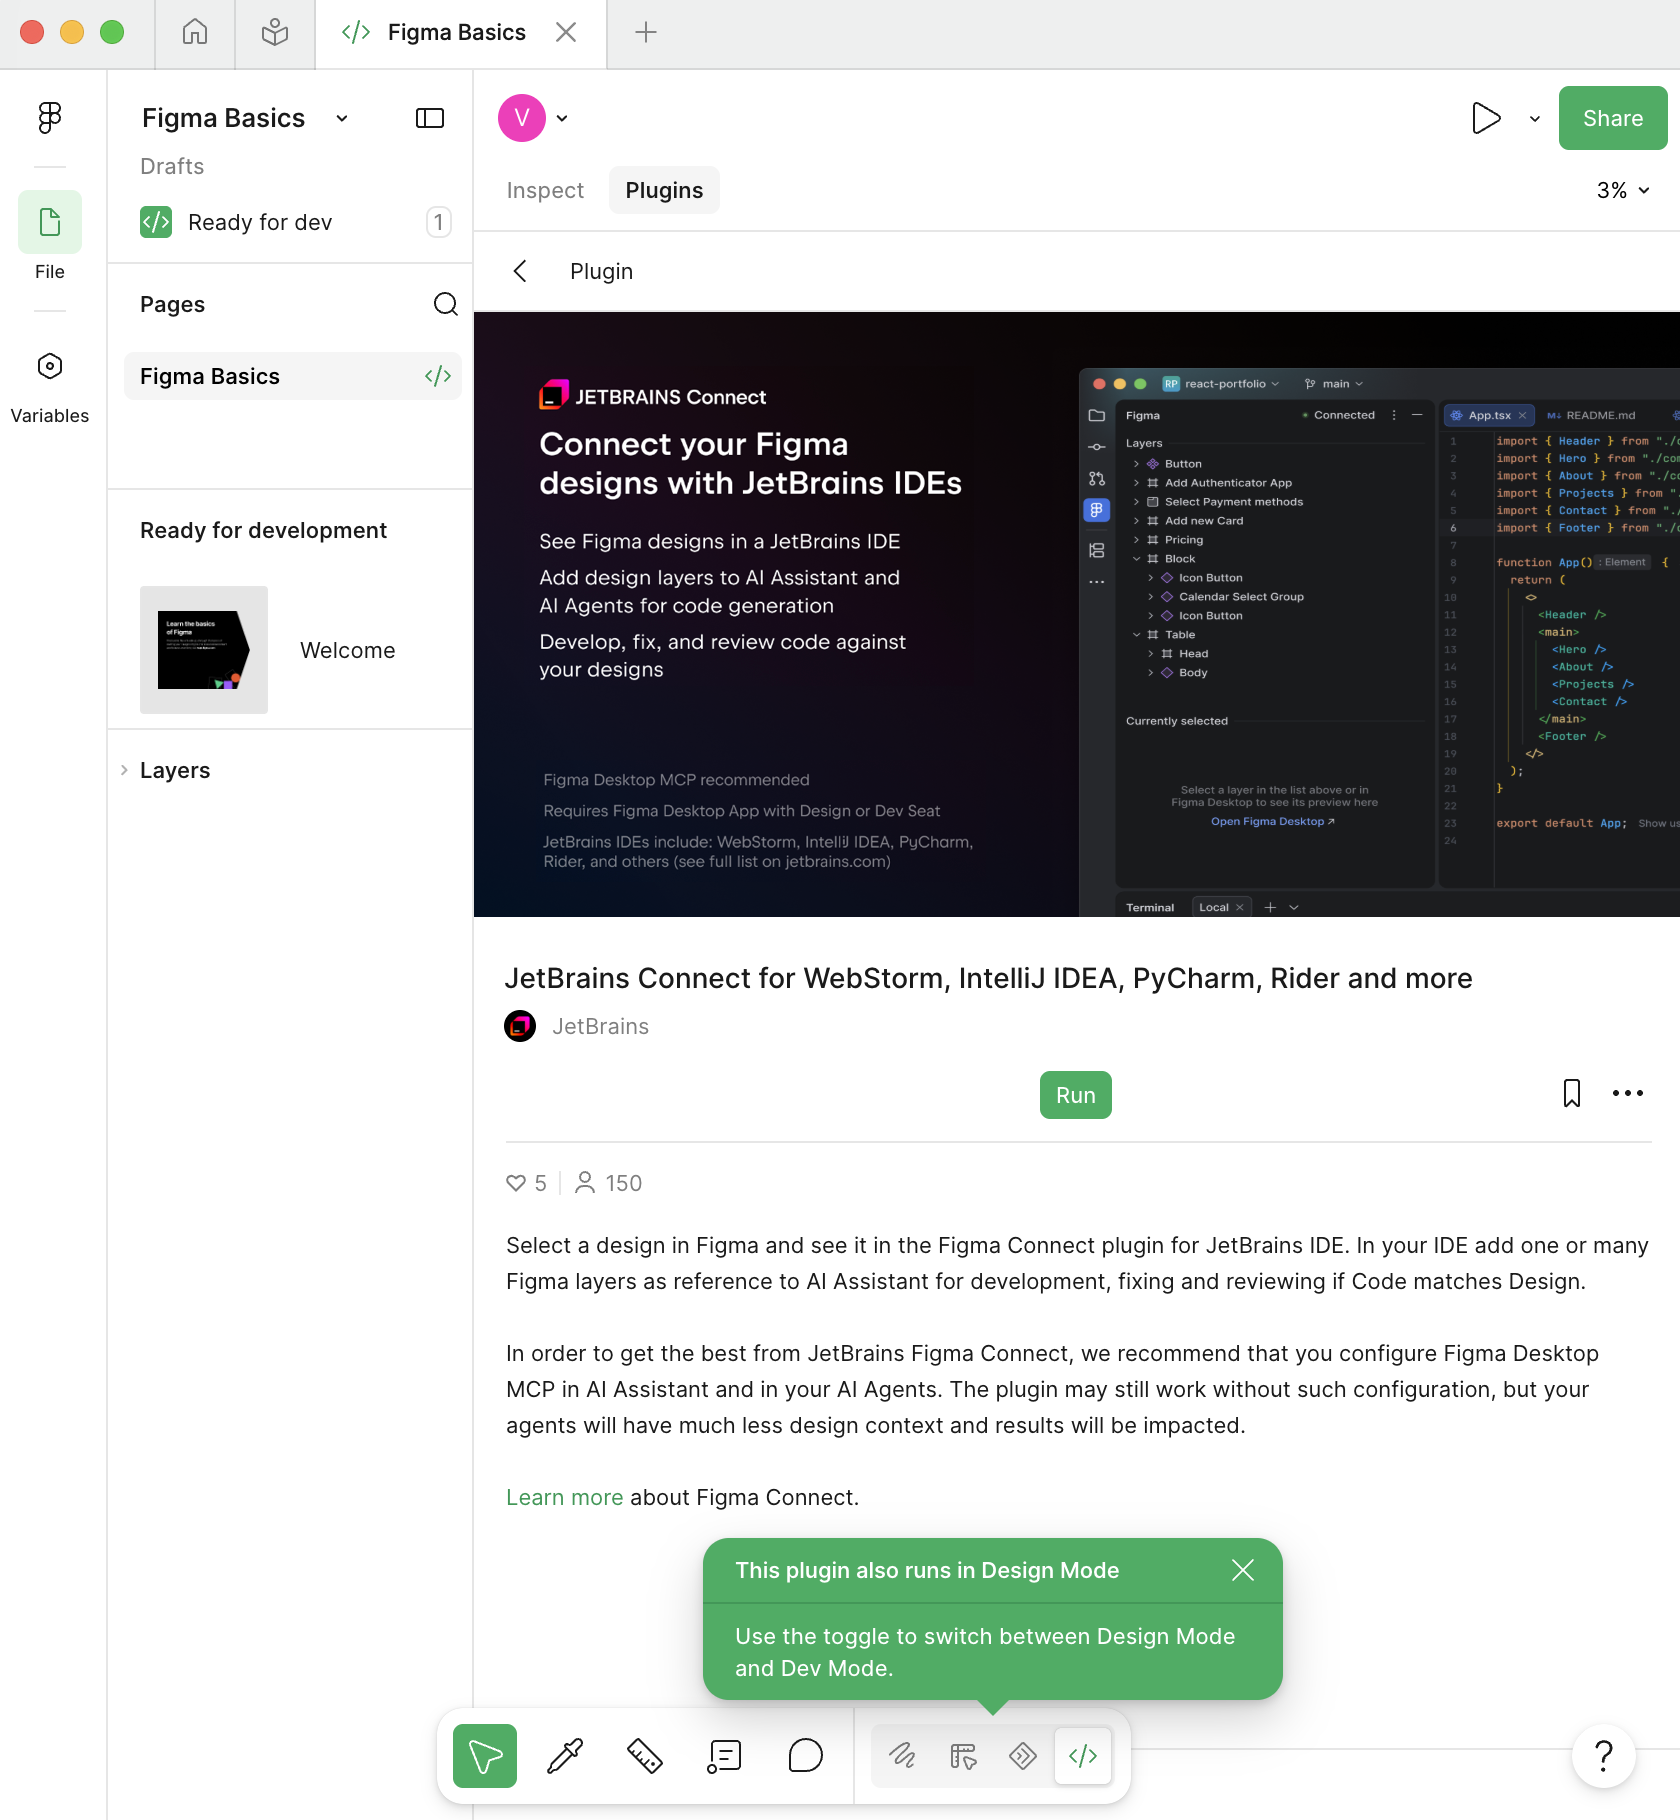
In the right-hand, Plugins, pane, click Run.
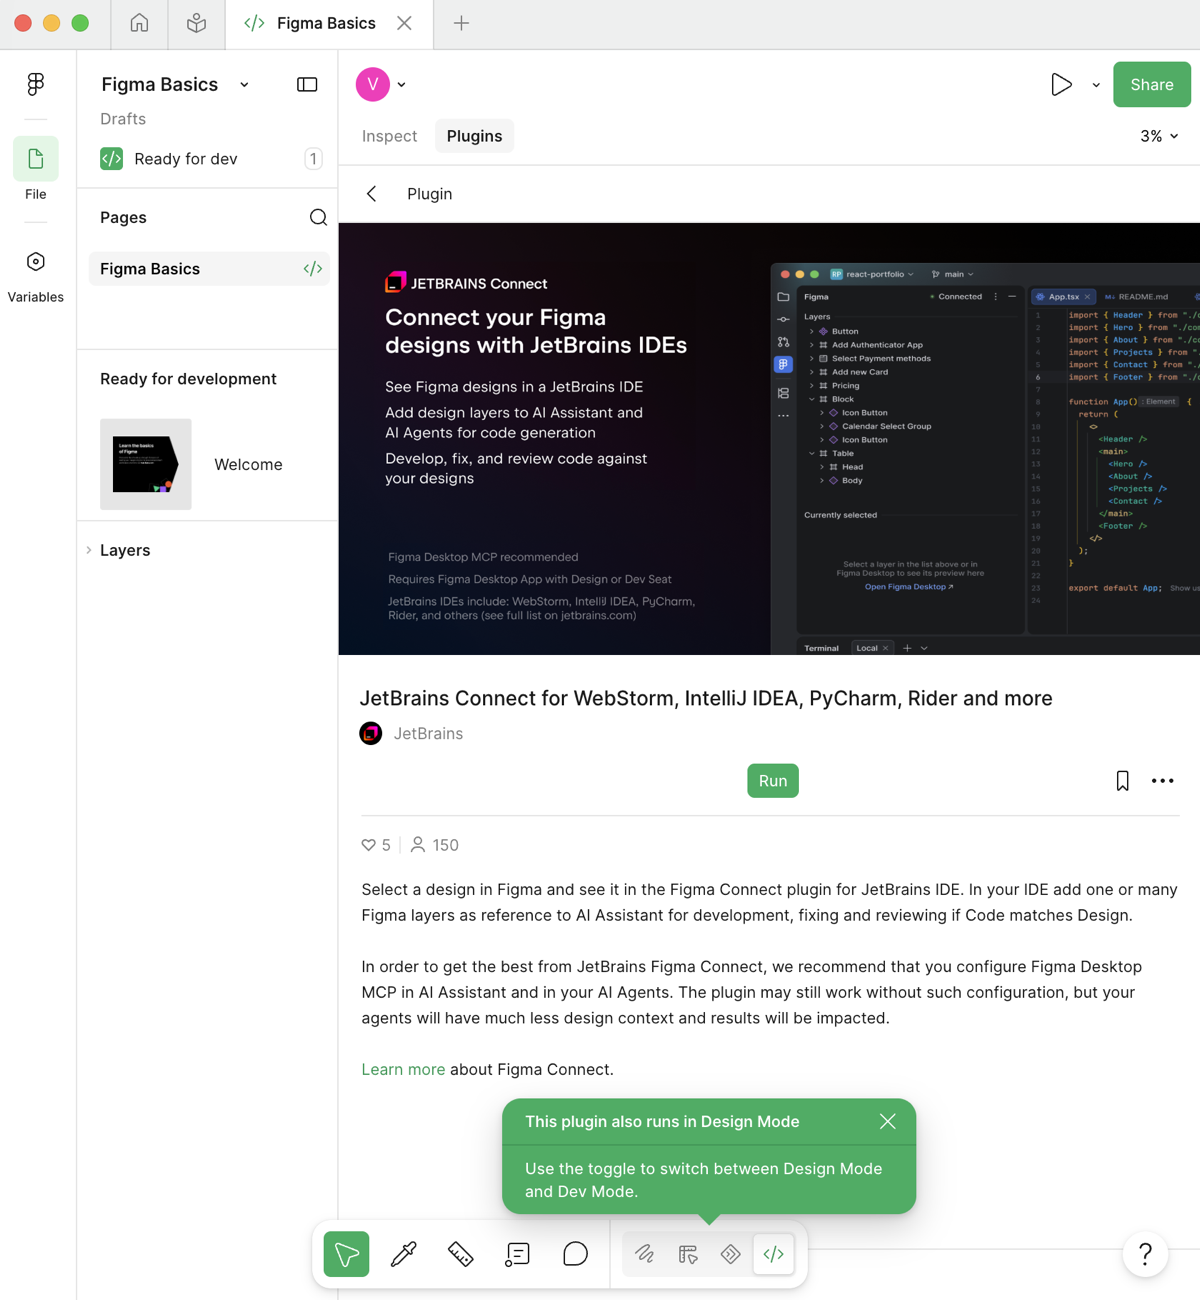
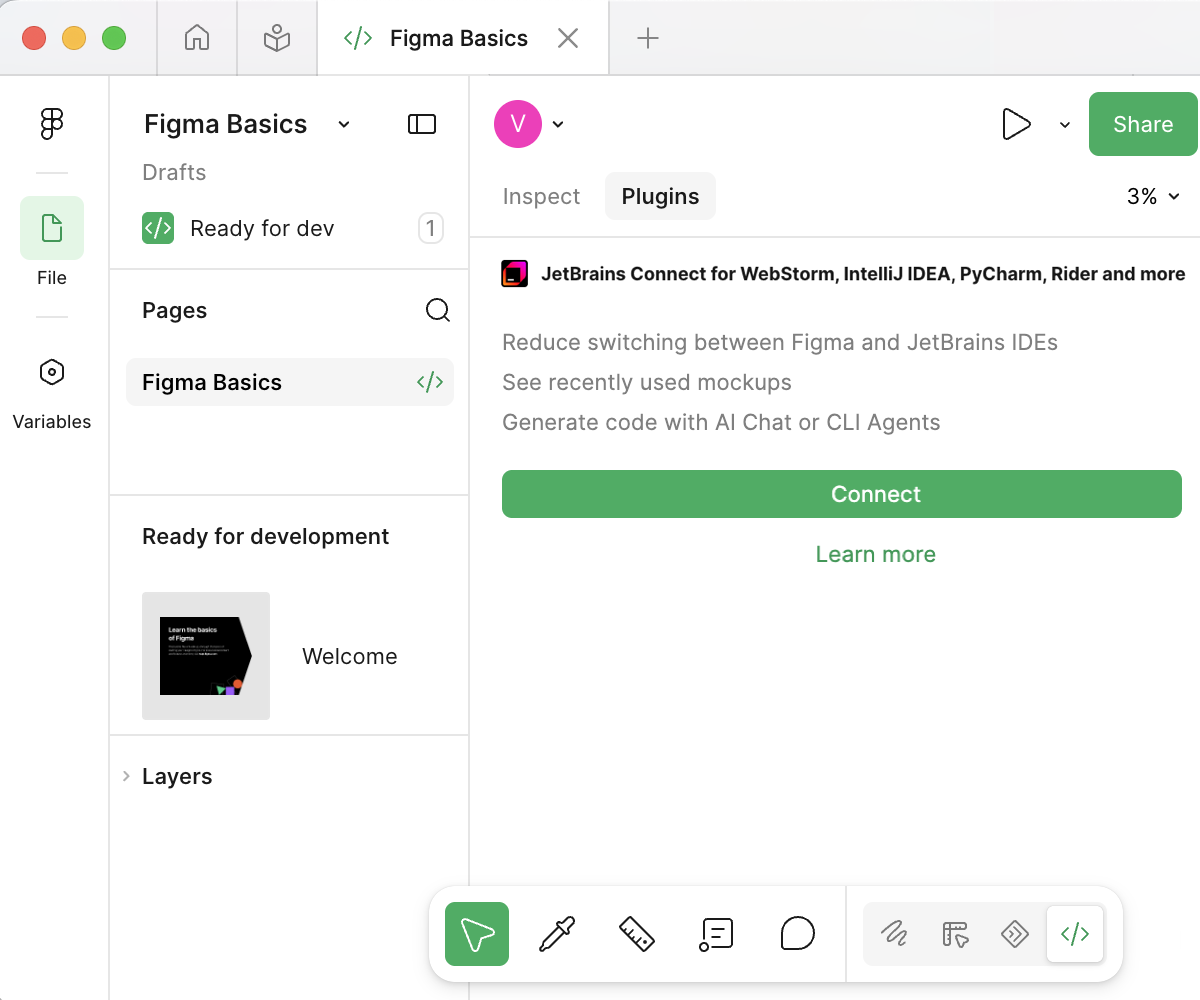
In the Plugins pane, click Connect.
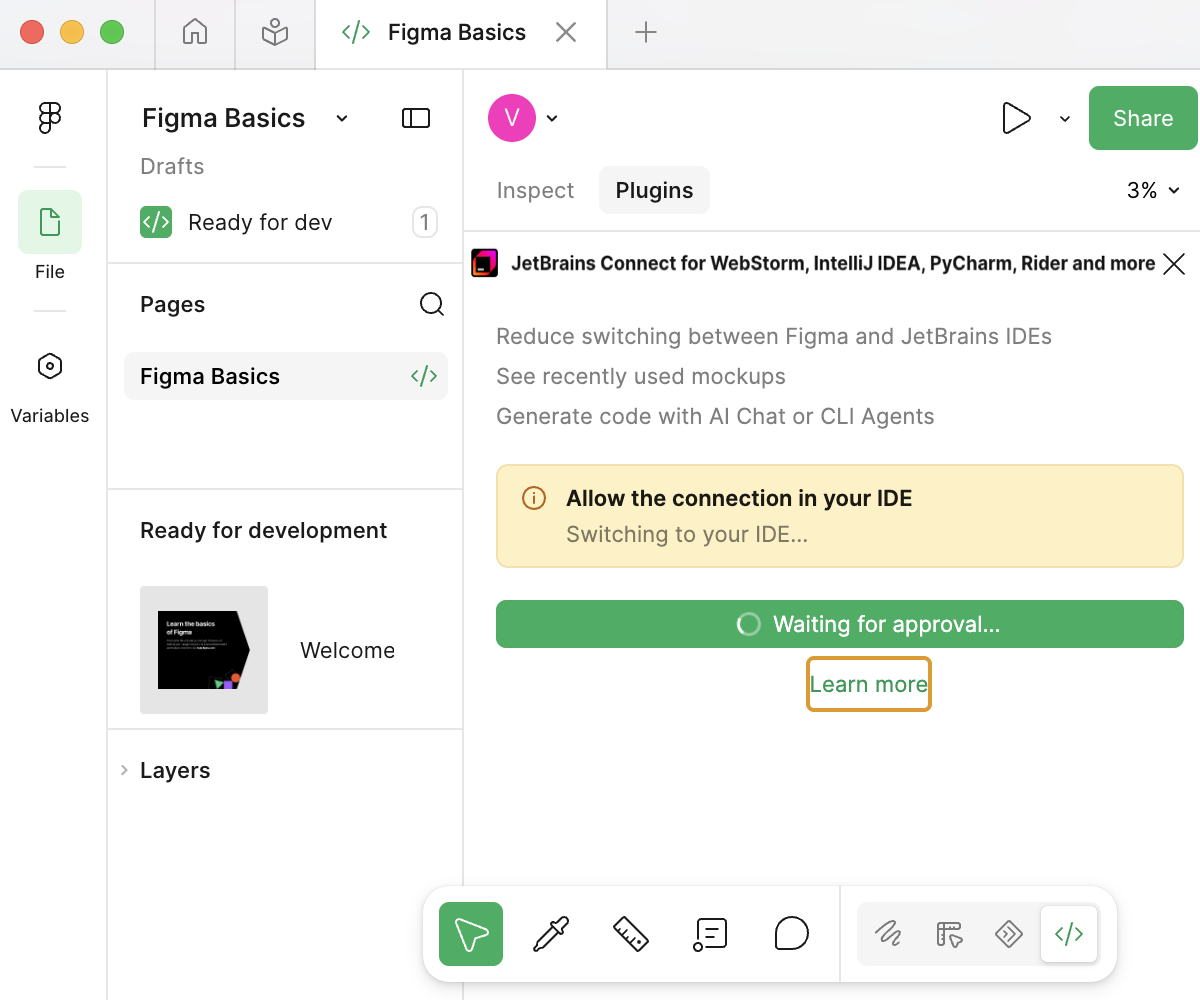
After that the plugin stays waiting for your approval from GoLand to establish connection.
On the Run JetBrains Connect plugin in Figma Desktop page, click Next.
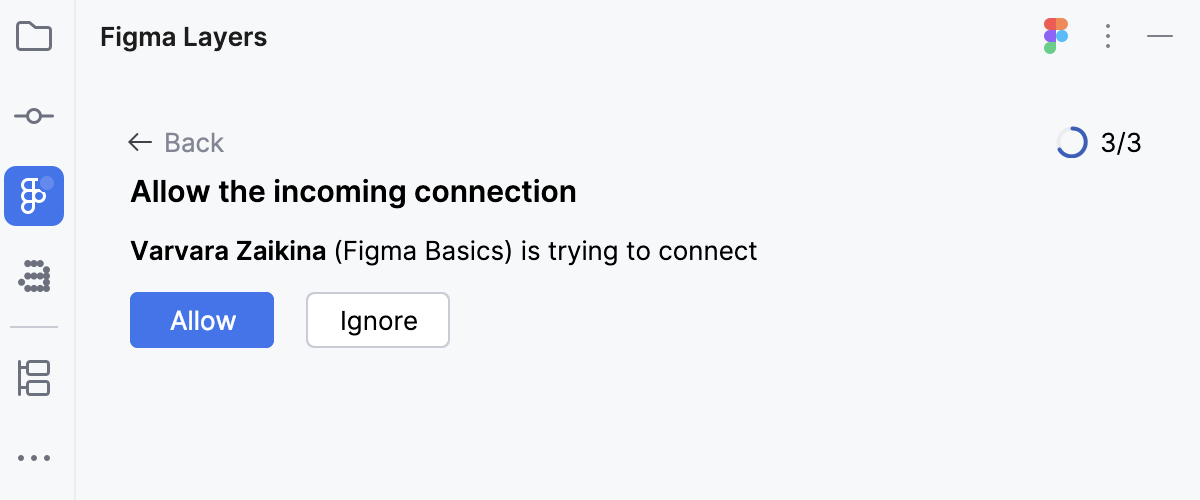
On the Allow the incoming connection page of the wizard, click Allow and then click Next.
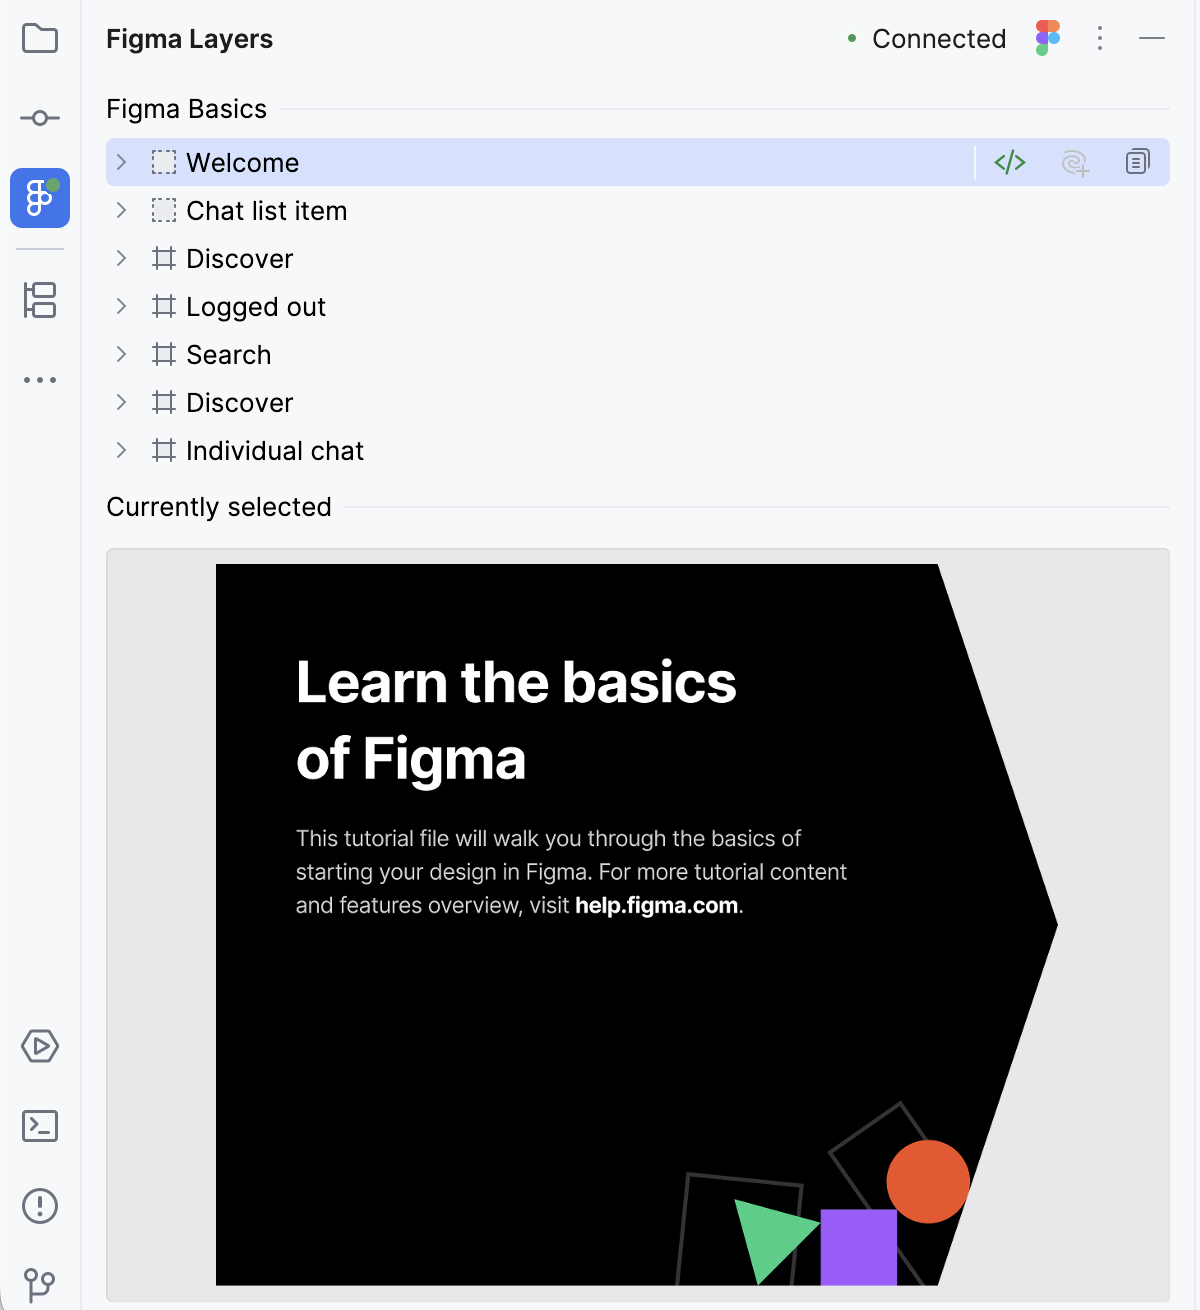
After the setup is complete, the state of the tool window changes to Connected.
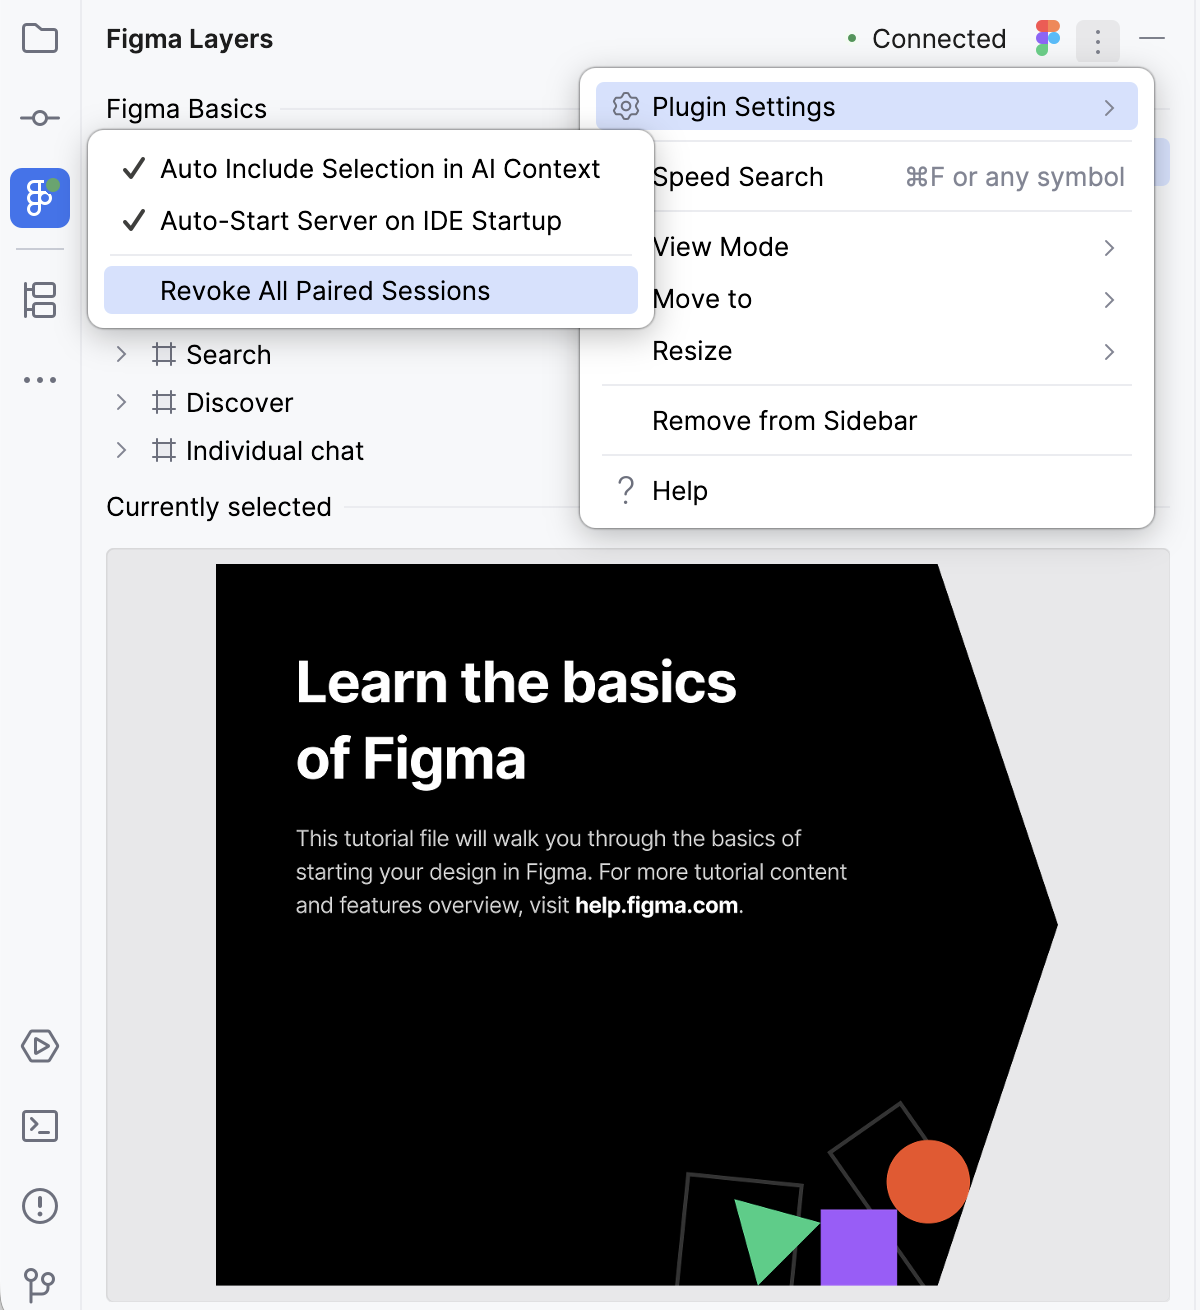
GoLand remembers the approval, so in the future connection is accepted automatically. To require approval again, use Revoke All Paired Sessions in the tool window settings (click
 on the toolbar, select , and then select ).
Configure code generation with Air from Figma designs
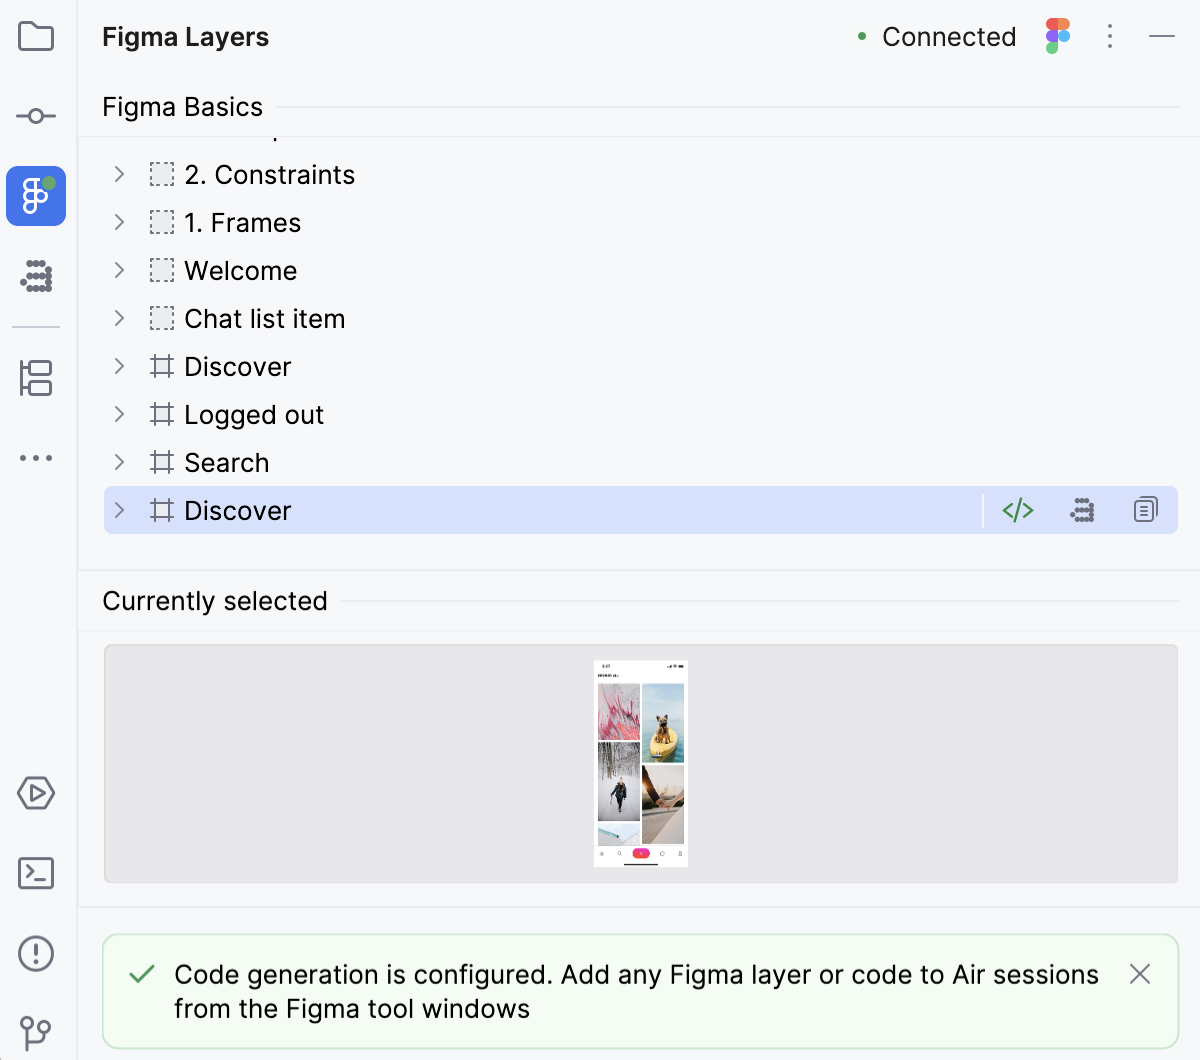
When you complete the Figma Connect setup wizard, GoLand suggests setting up interaction between Figma Connect and JetBrains Air.
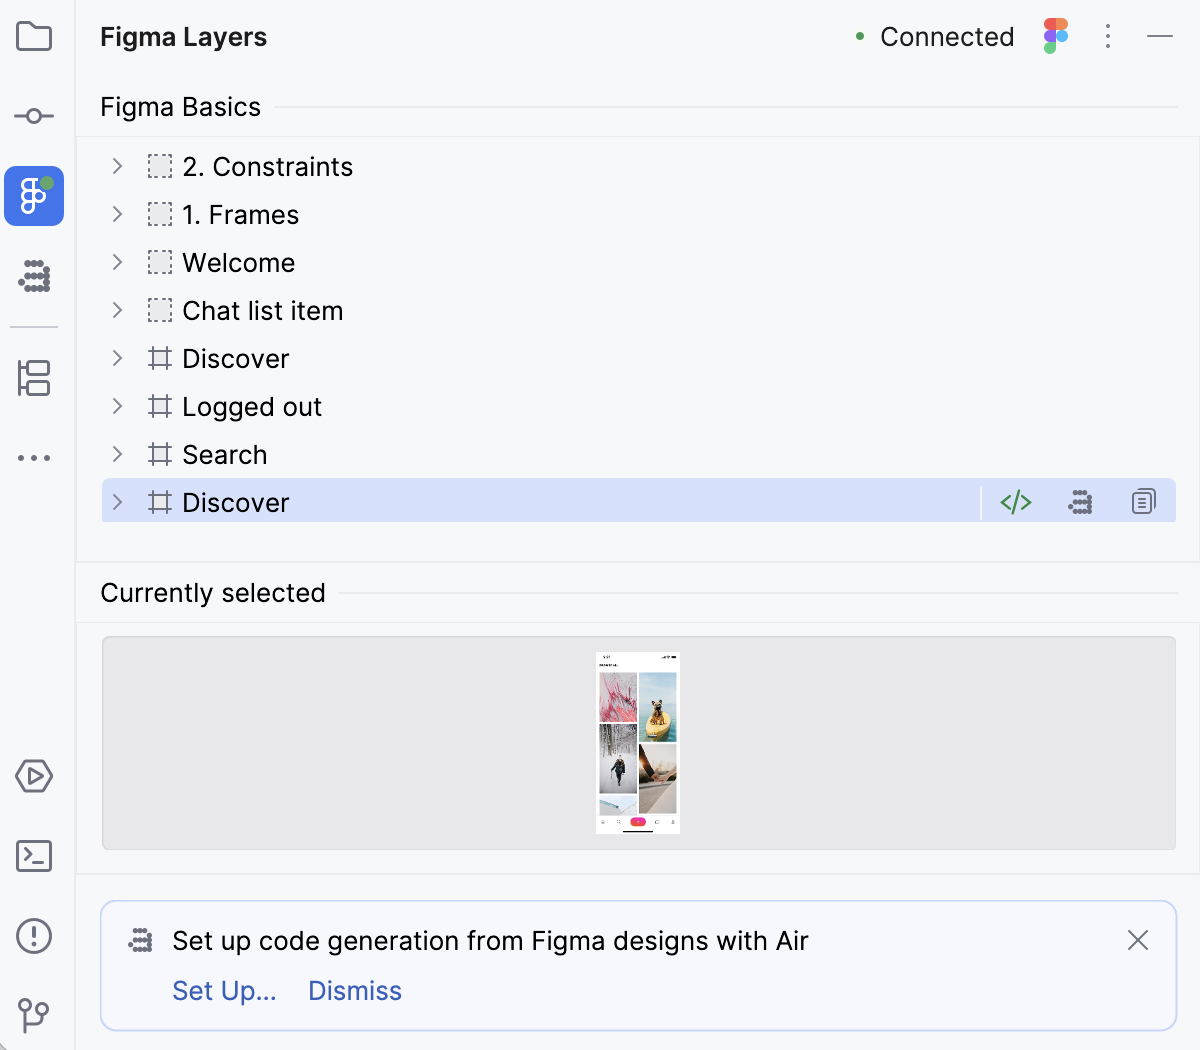
In the Figma Layers tool window, click Set Up in the notification tooltip to start the wizard
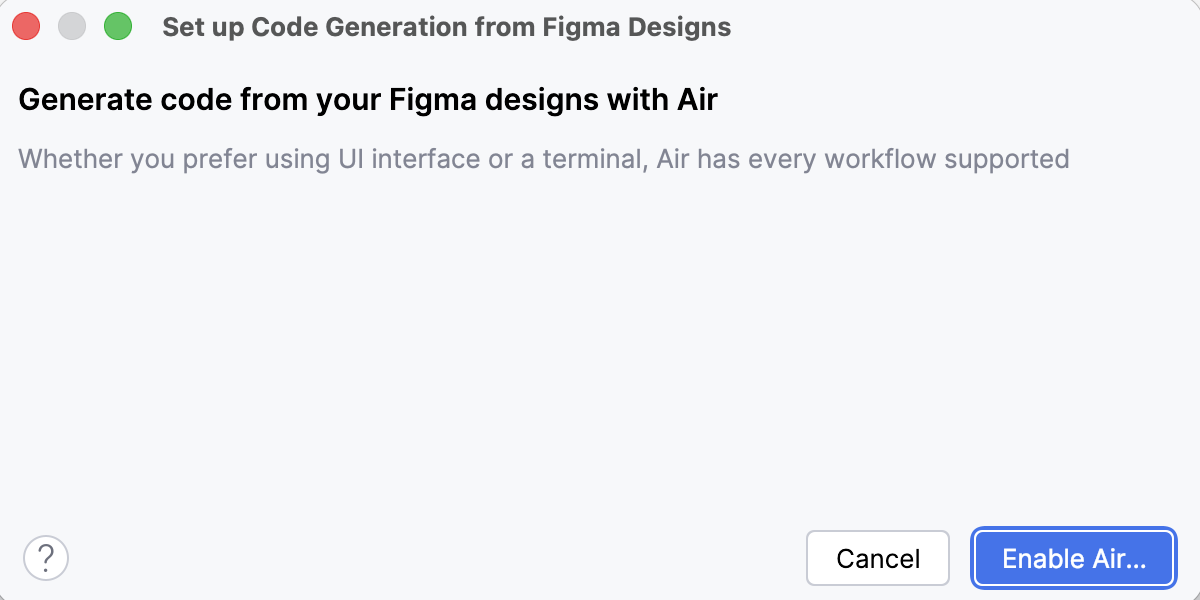
If the Air plugin is disabled, click Enable Air on the Generate code from your Figma designs with Air page.
GoLand installs the JetBrains Air plugin, restarts, and returns you to the Generate code from your Figma designs with Air page. Click Set Up.
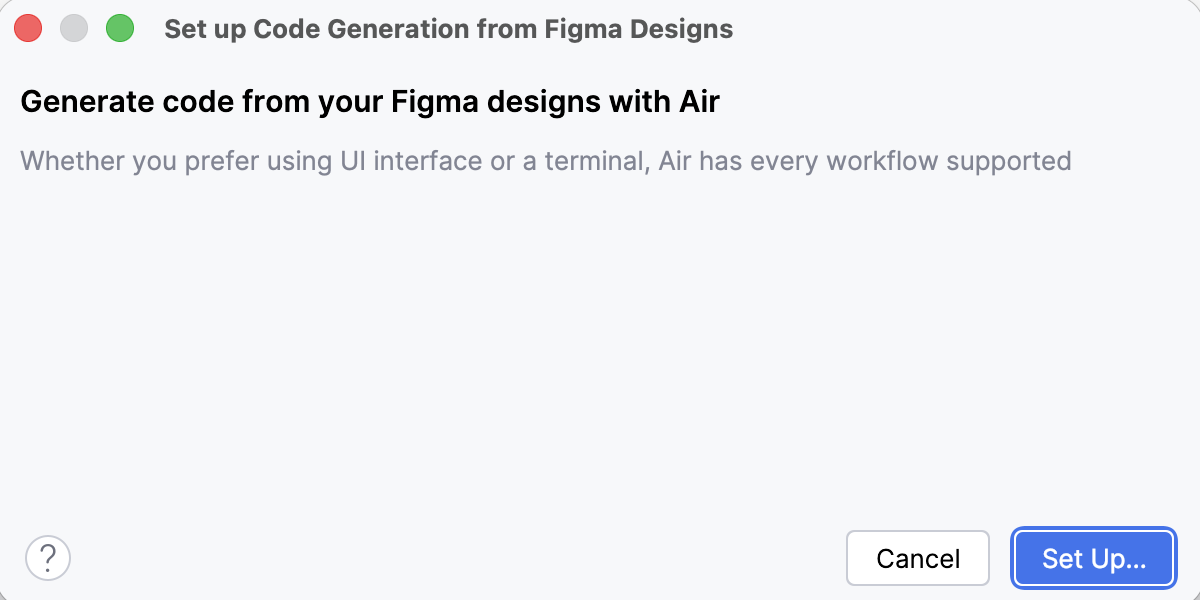
Follow the instructions on the Enable MCP server in Figma Desktop page.
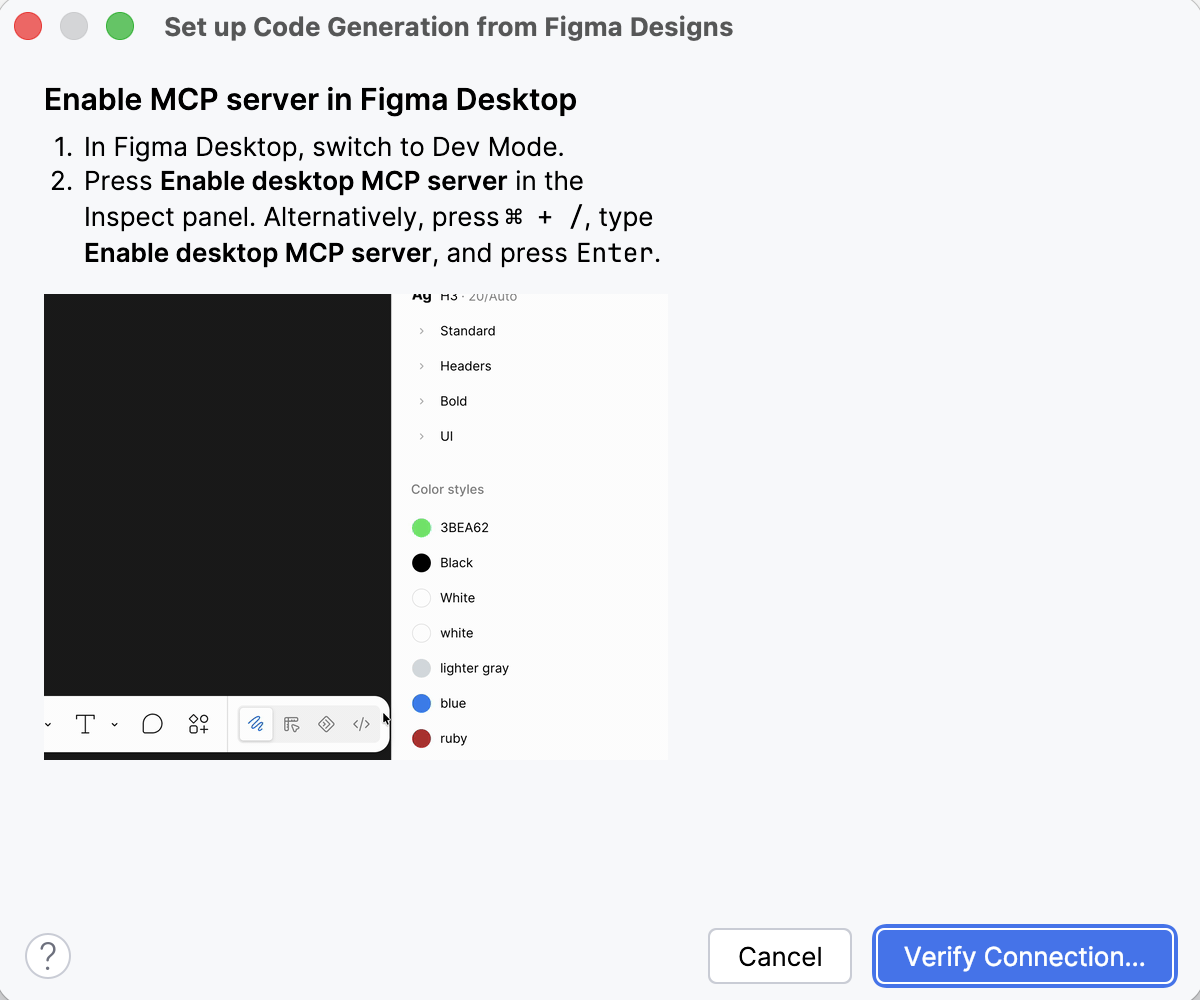
In the Figma Desktop application, switch to the Development mode.
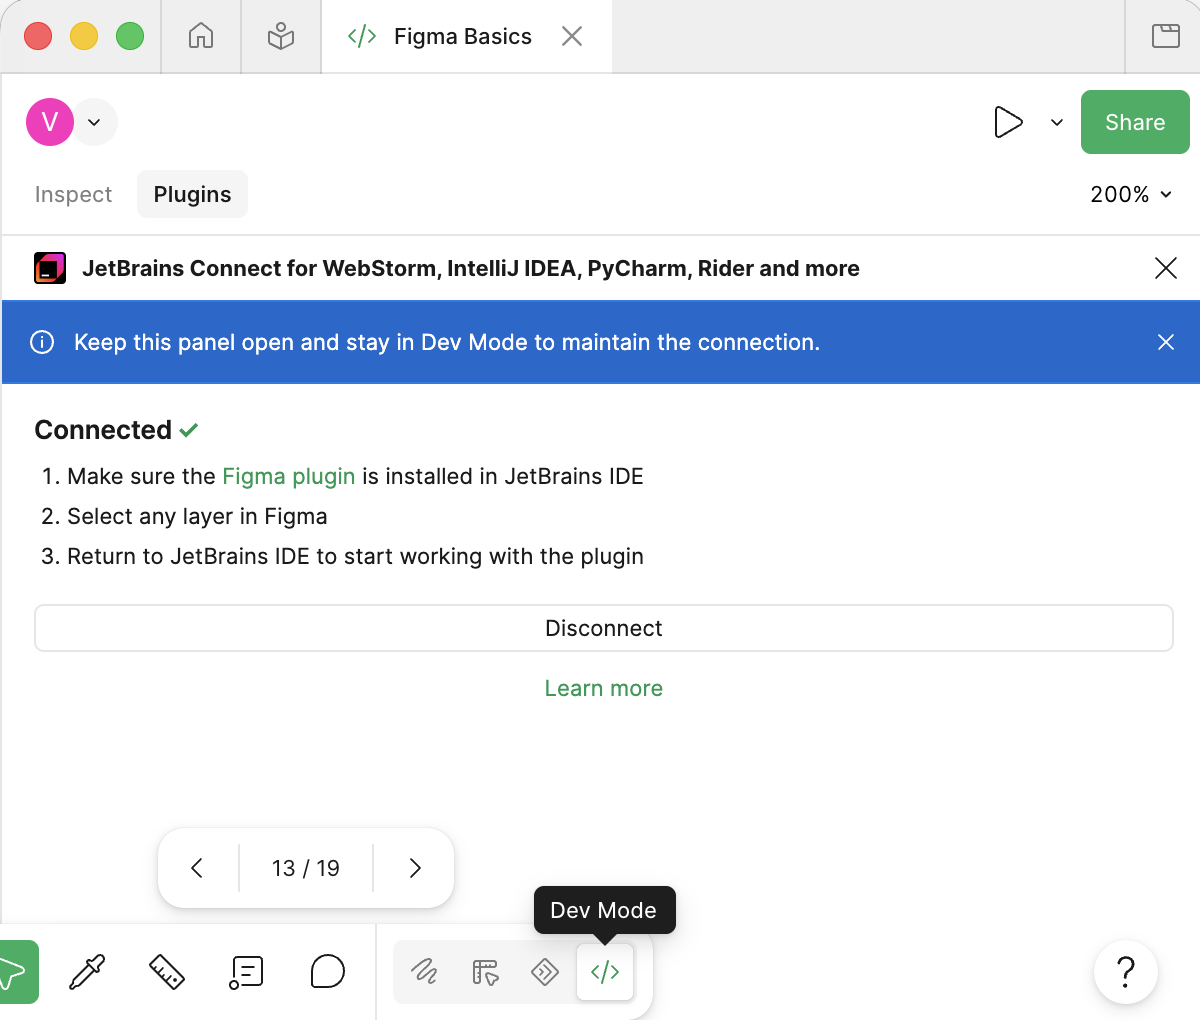
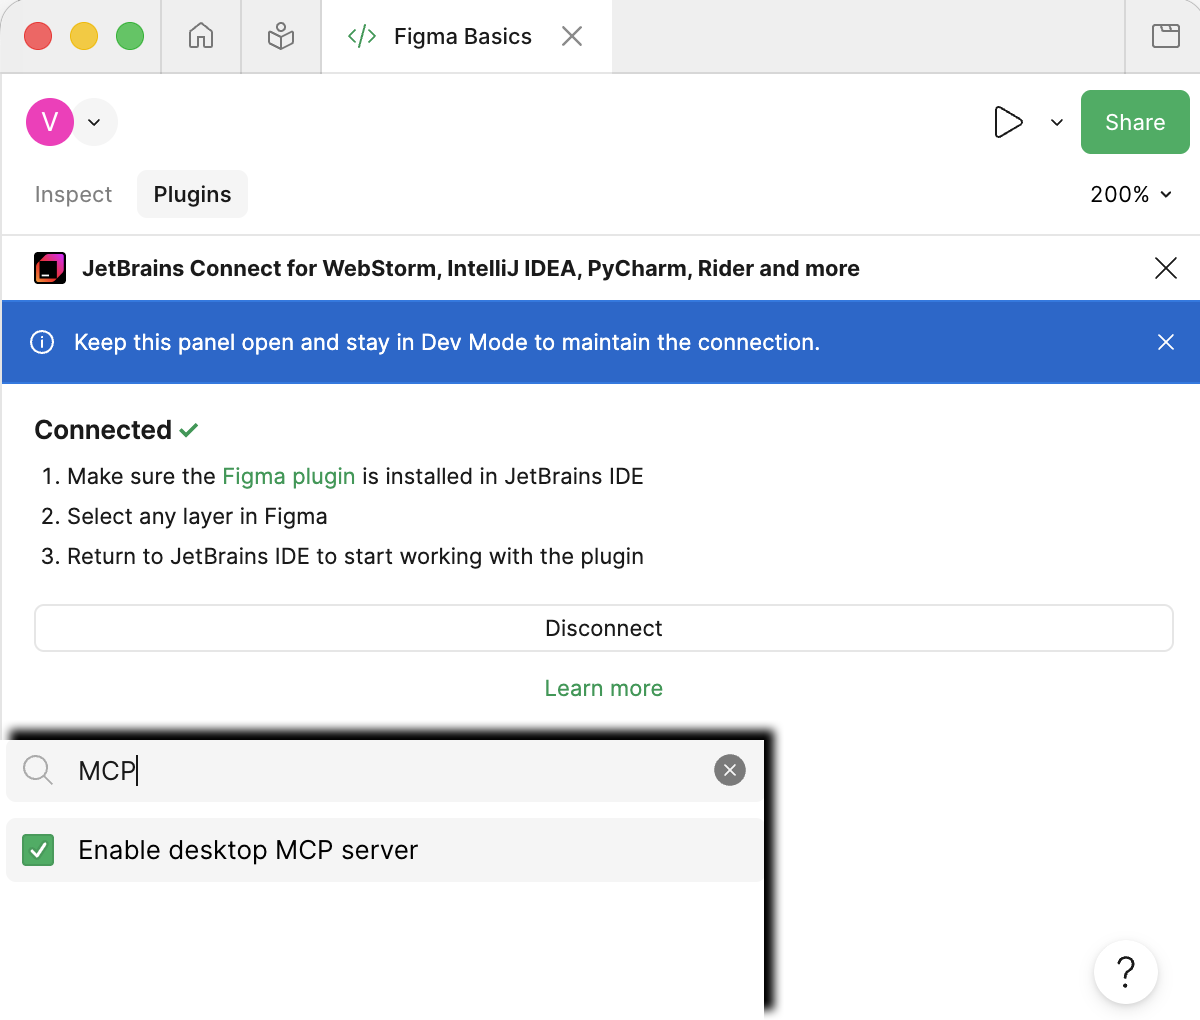
Enable the MCP server.
On the Enable MCP server in Figma Desktop page, click Verify Connections.
GoLand checks that the MCP server is running and that the Figma Desktop application is connected to it. The wizard is closed and you return to the Figma Layers tool window.
Set up Figma skills
With Figma Connect installed, the figma skill is available and enabled by default. You can check that it is enabled in .
View the current selection and layers
The layers on the current Figma Desktop page are listed in the Figma Layers tool window.
Expand a layer to browse its child layers.
Use the preview in the Currently selected area to locate the required layer.
Synchronize Figma Desktop with GoLand.
Figma Connect keeps your selection in sync between Figma Desktop and GoLand in real time, so you switch back and forth less. The synchronization works both ways:
When you select a frame, a component, or a layer in Figma, the selection appears in the Figma Layers tool window.
When you click a node in the Figma Layers tool window, it captures the focus on the page in Figma.
Add a design to AI Context
Use Air Context to generate, review, and modify the code that implements a design.
To use a design as context for Air, point to the required item and click
 next to it.
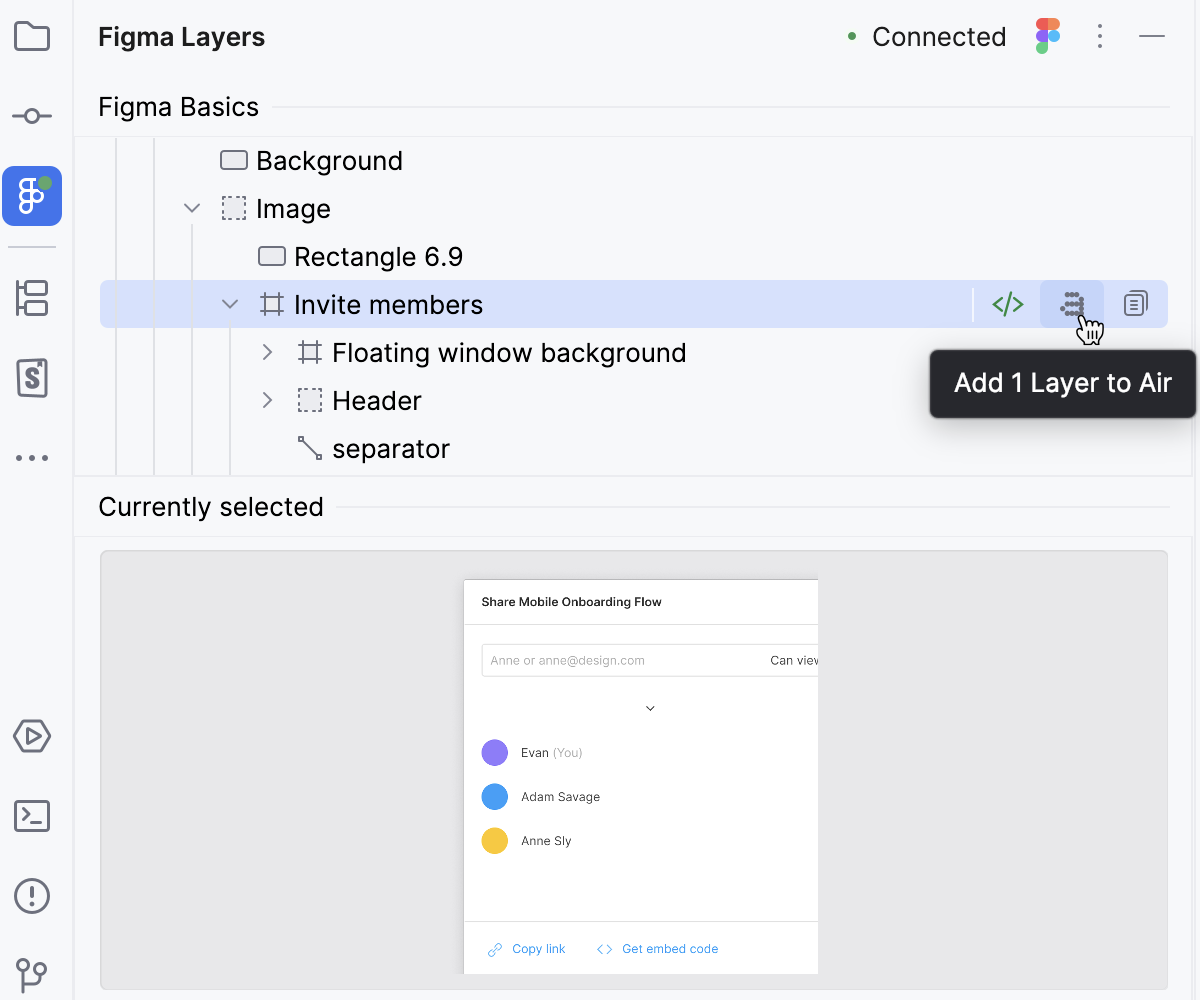
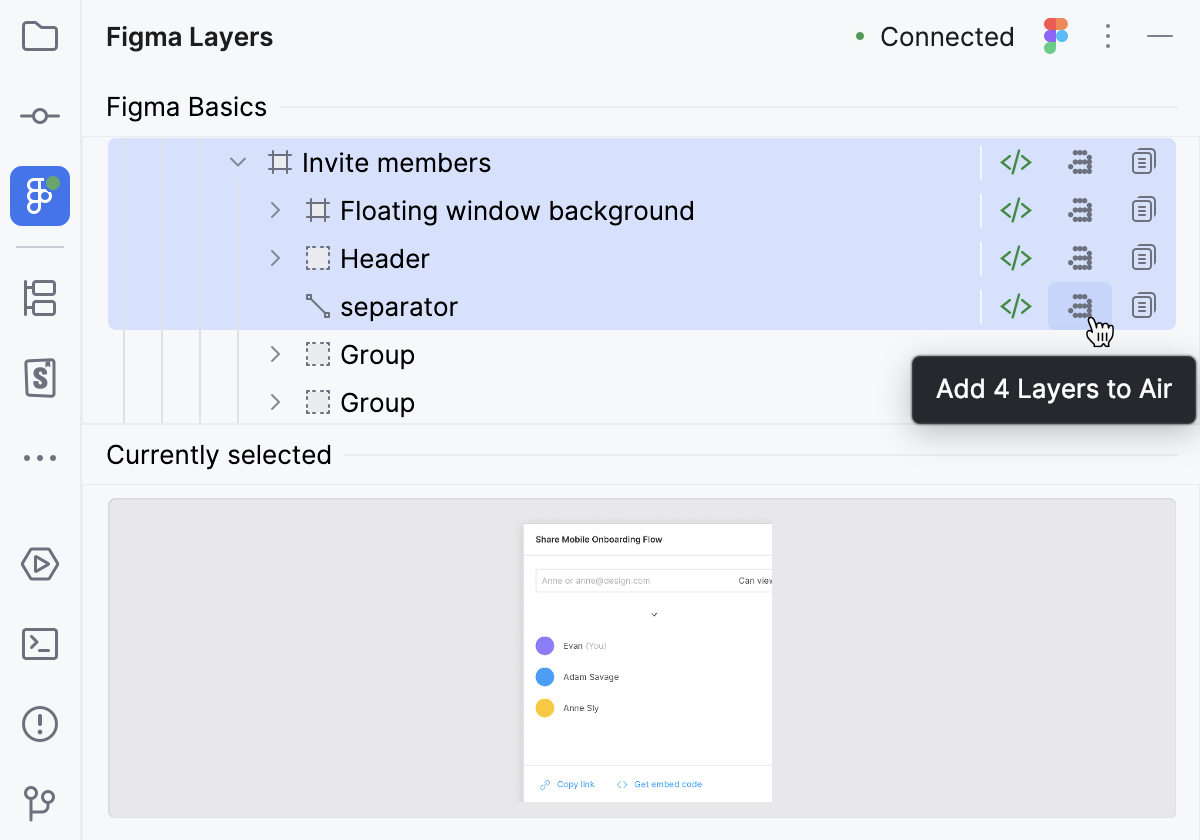
You can also select and add several layers at once.
If you already have an open Air session tab in the editor, the selected layer is automatically added to the prompt area. Otherwise, GoLand opens a New Session popup where the selected design is already attached.
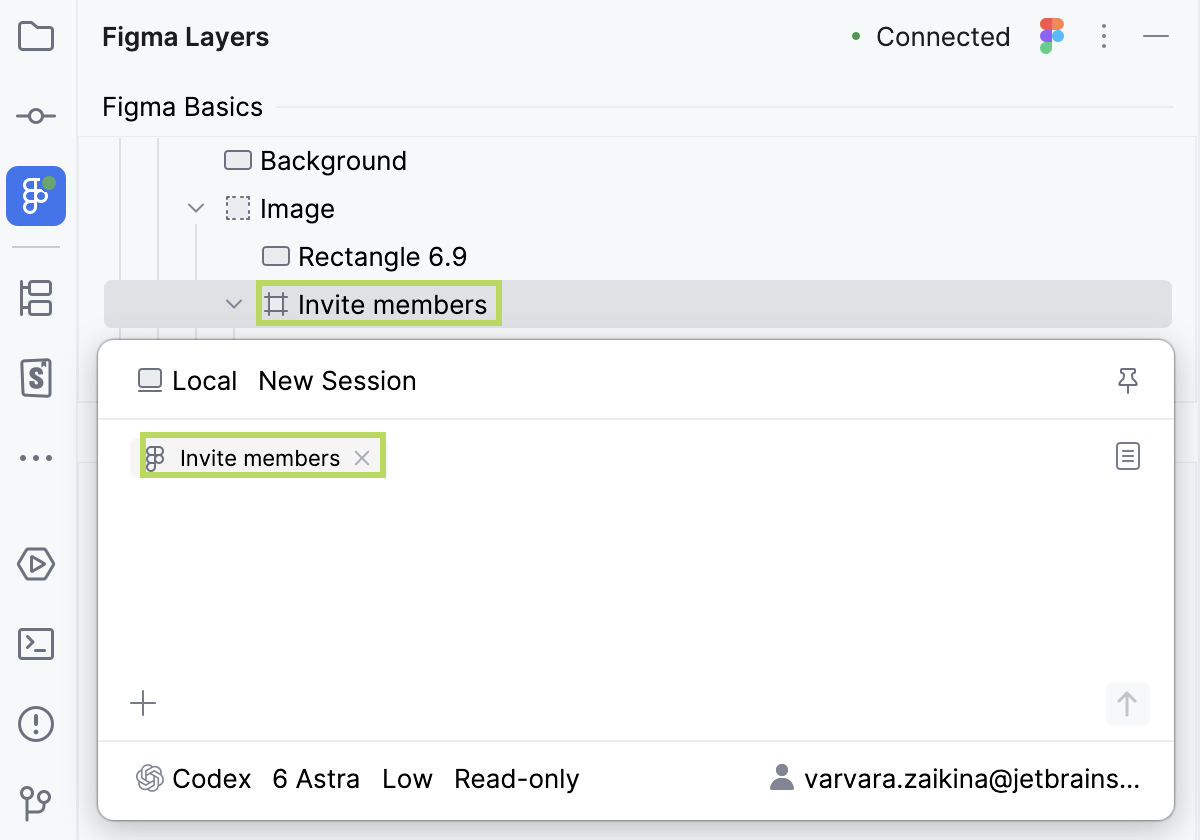
Type your prompt and send it together with the attached design.
Be specific in your prompt. For example, "Compare my current home page implementation with the attached Figma design and fix any visual or layout differences."
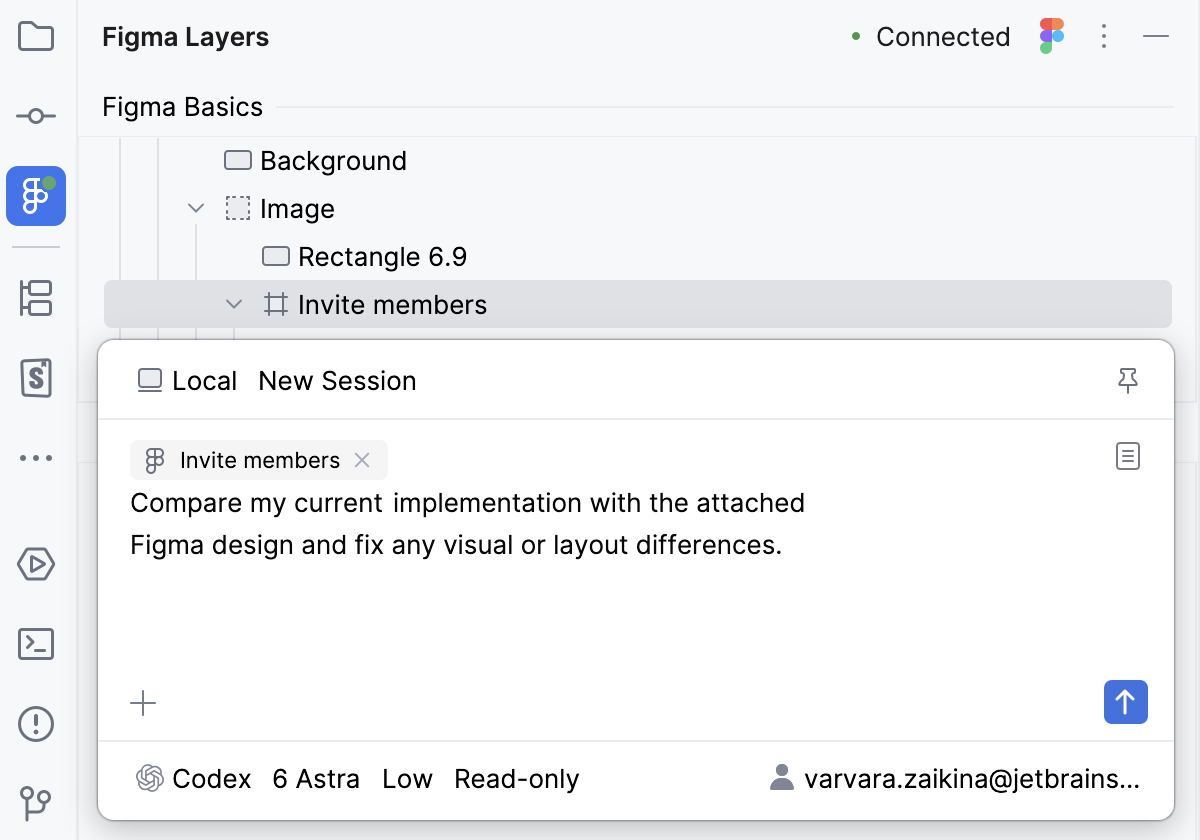
By default, GoLand attaches the current selection to every new AI Context automatically. To change this behavior, disable the Auto Include Selection in AI Context option as described in Configure Figma Connect settings and behavior.
Reference designs and layers by their id
During a session in a chat or a terminal, you can reference a design or a layer by its id.
Before you start
If you connected with a Figma Remote MCP server, make sure you have a file key.
It is recommended that you set up agent-specific skills.
Alternatively click  next to the required node in the Figma Layers tool window and then paste the
id in the Terminal.
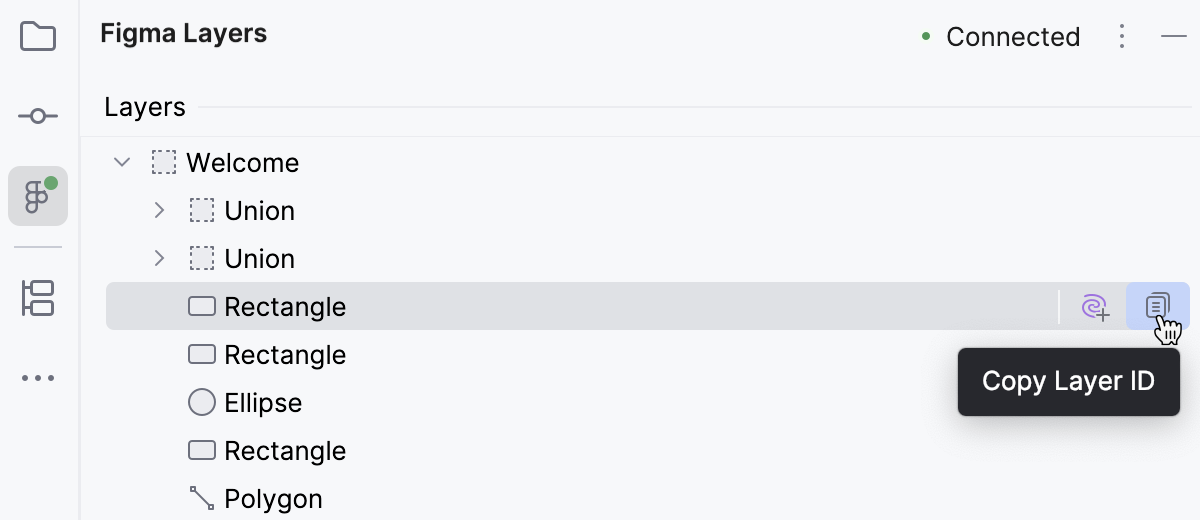
Reference a design or a layer by id
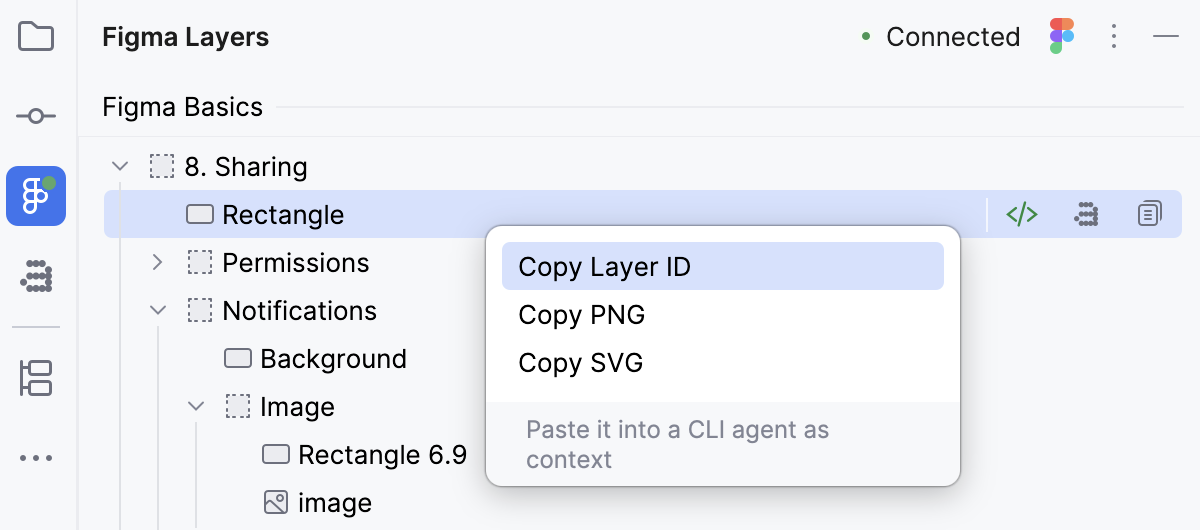
Select the corresponding node in the Figma Layers tool window and then drag the selection to the chat or to the terminal. This may be helpful if you only need to target one layer instead of regenerating an entire screen.
Click
next to the required node in the Figma Layers tool window and then paste the idin the chat or in the terminal.Right-click the required item, select the applicable format, and then paste it in the chat or in the terminal.
Manage styles, layouts, and colors
You can work with styles and colors right from GoLand, in the dedicated Figma Inspect tool window.
To inspect a node, select it in the Figma Layers tool window and click
 next to it.
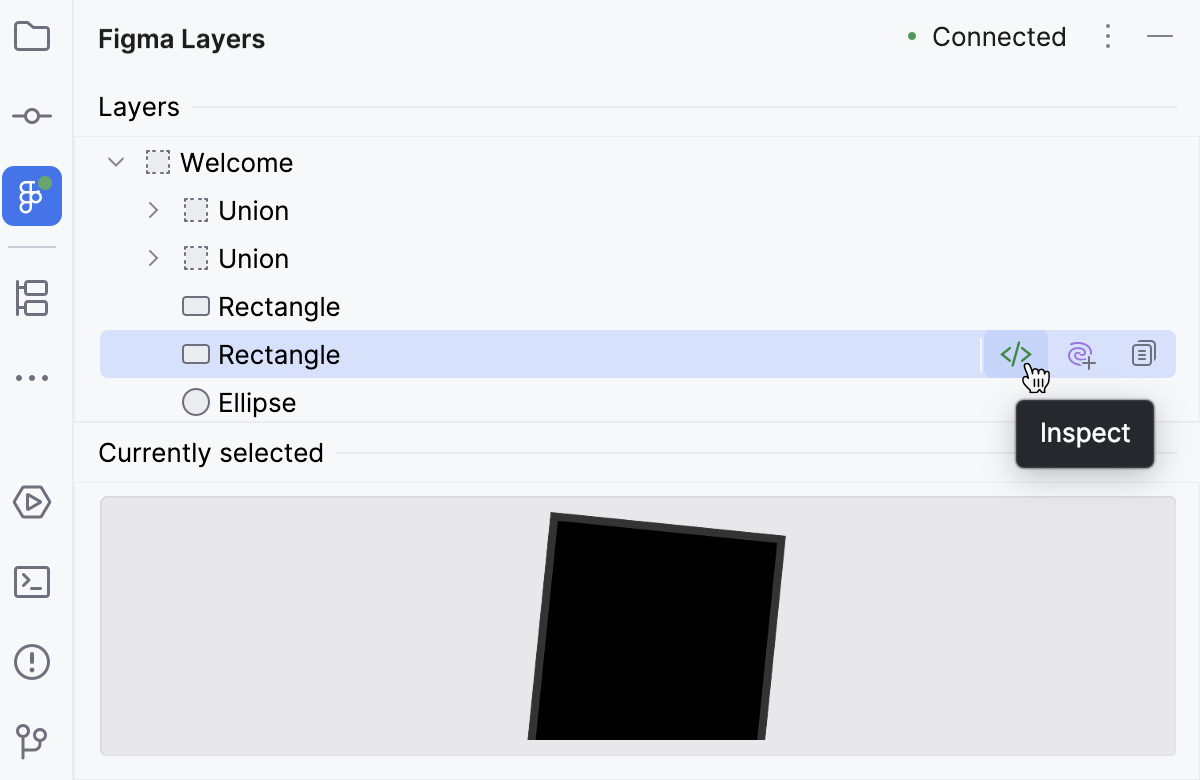
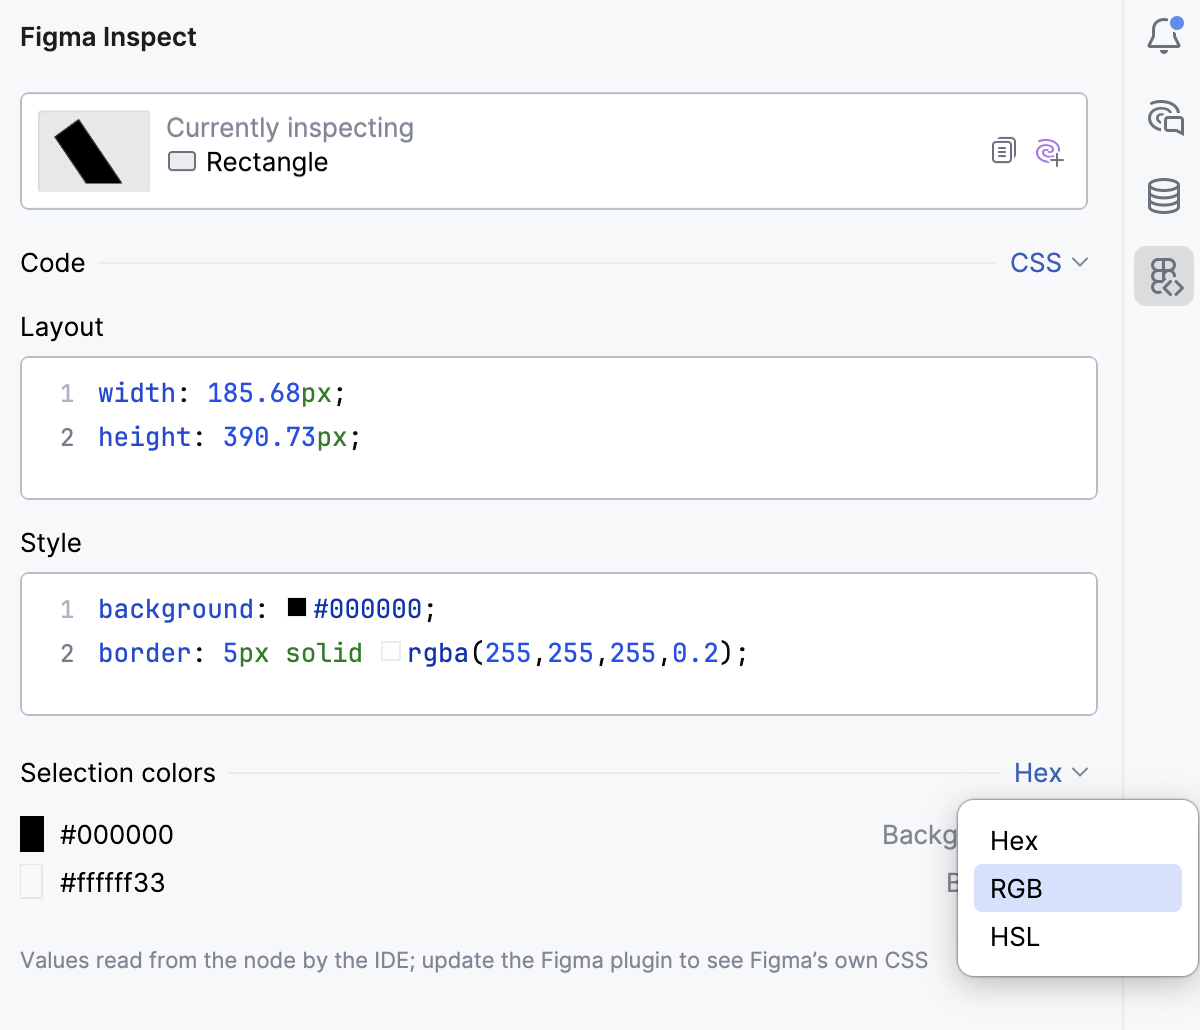
The Figma Inspect tool window shows the styles, layouts, and colors of the selected node.
Switch the color notation between Hex, RGB, and HSL.
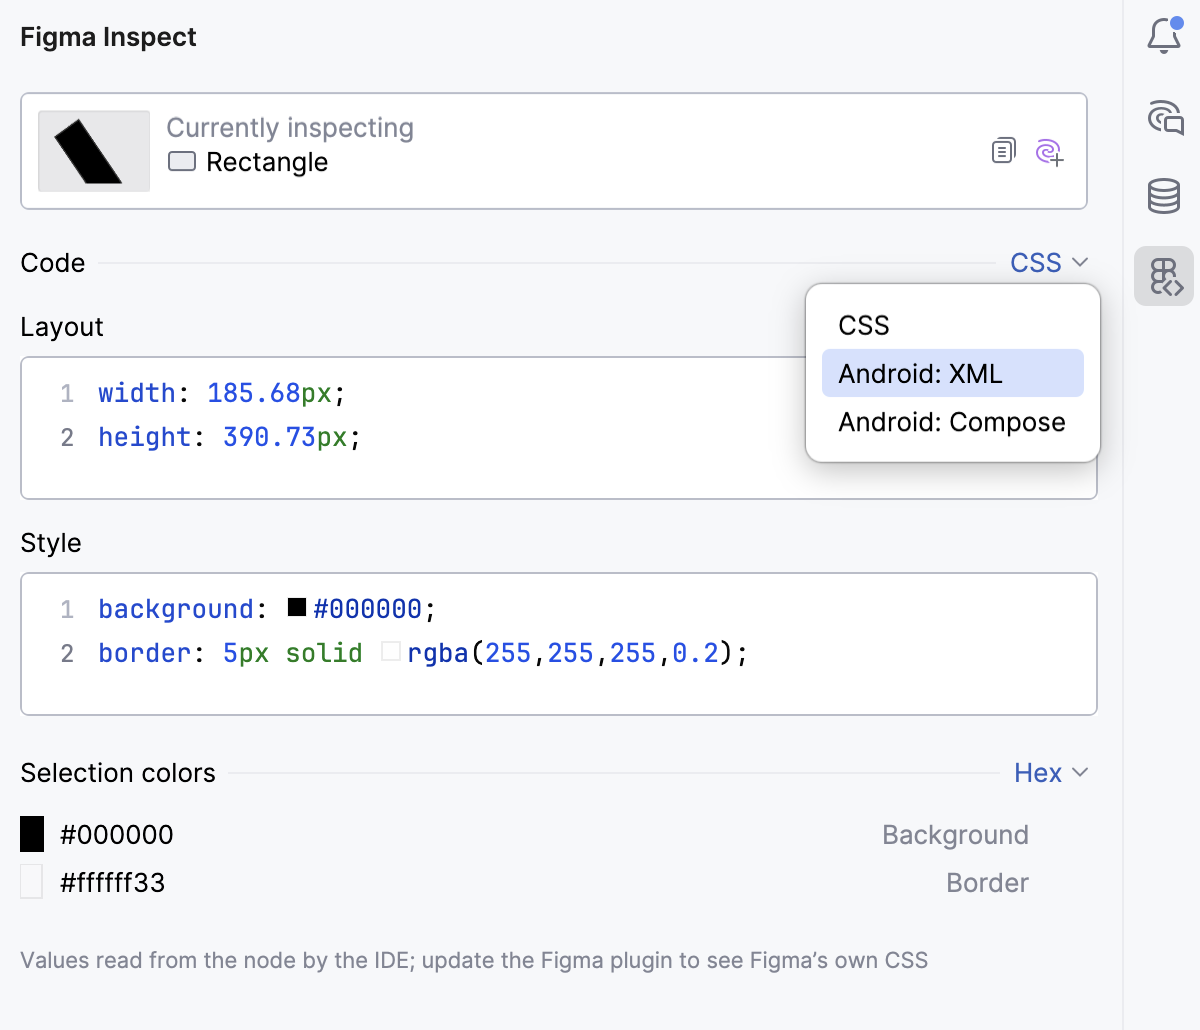
Switch the language from CSS to Android: Compose or to Android: XML, compare the XML with Figma's own Dev Mode output for the same node.
To copy the code of a layout, a style, or a color, click
next to it.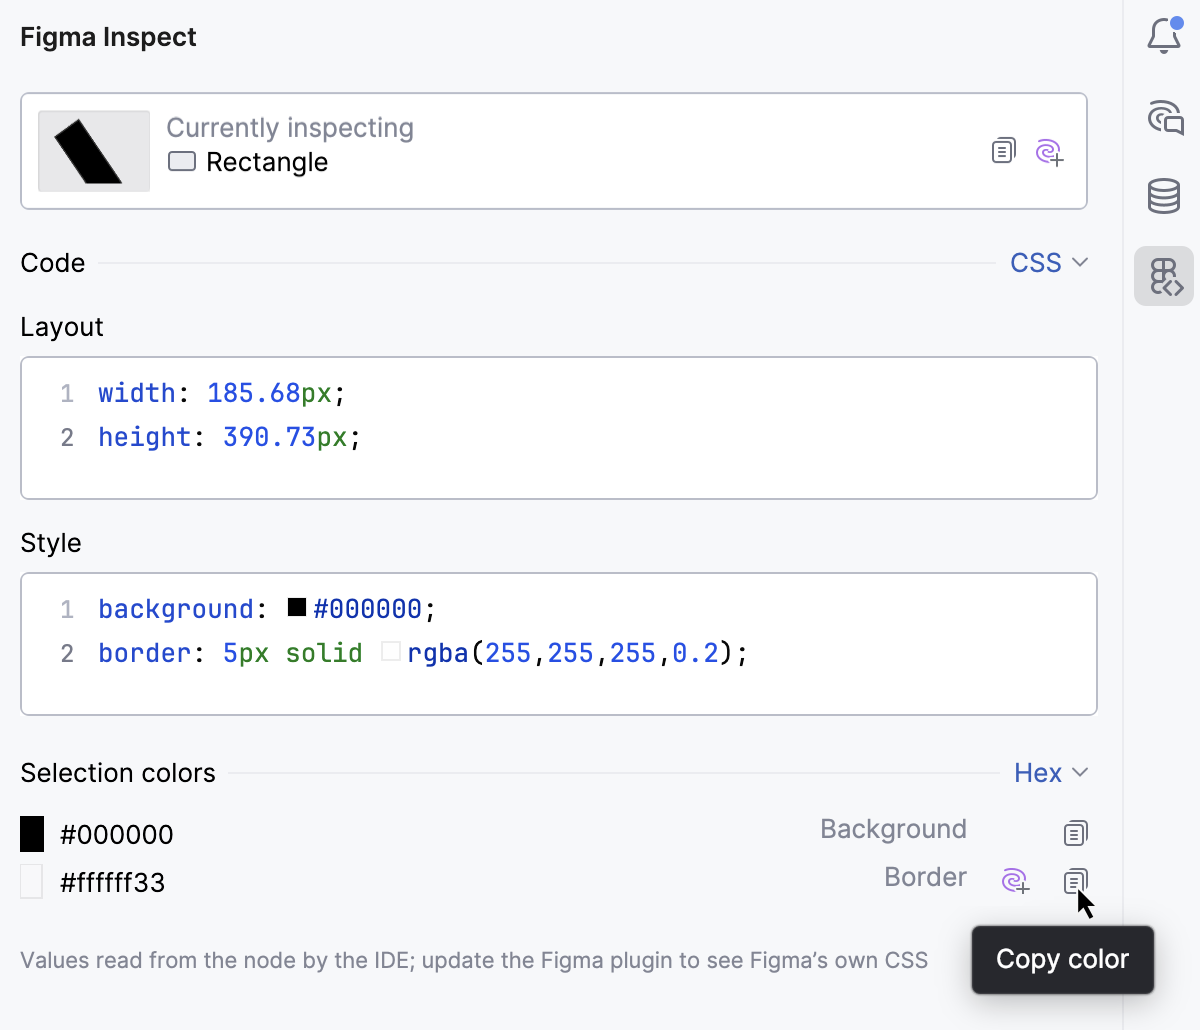
To copy the code of the style, the layout, and the colors of a node at once as text, click
in the Currently inspecting area.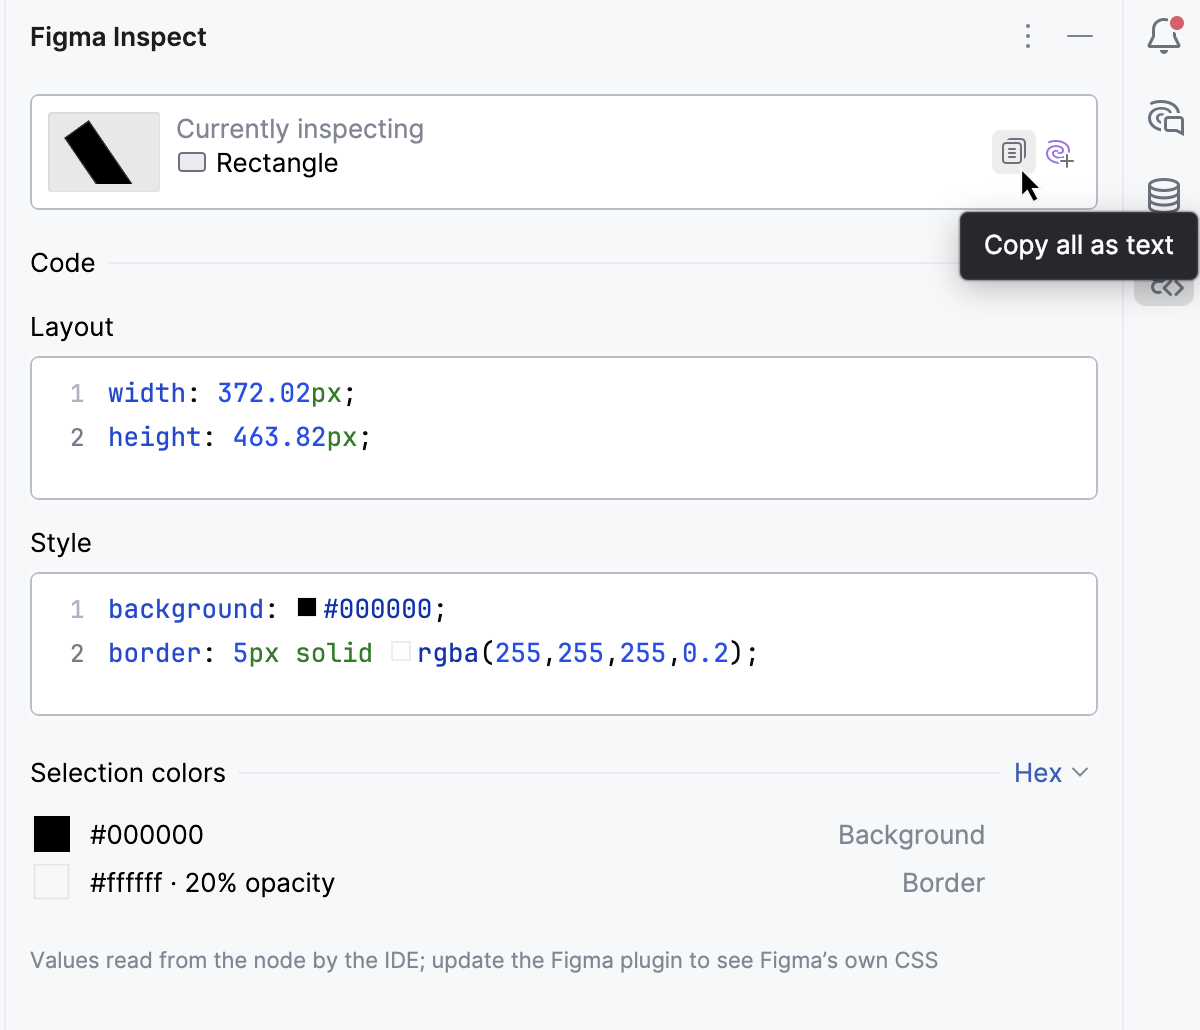
Embedded Figma canvas
You can edit designs right in the embedded editor (canvas) without switching to Figma Desktop.
To enable the embedded canvas editor, go to on the main menu, find Registry in the Search Everywhere popup, and then select the checkbox next to
figma.embedded.editor.enabled.To open a layer in the canvas, click it in the Currently selected area.
Click
 or
 on the toolbar to zoom the selection in or out.
To restore the original size of the selection, click
 .
To have the zoom level set automatically to ensure that the selection content fits within the embedded editor, click
 .
To show the chessboard background, press
 .
Configure Figma Connect settings and behavior
Click
on the toolbar of the Figma Layers tool window and then select  from the list.
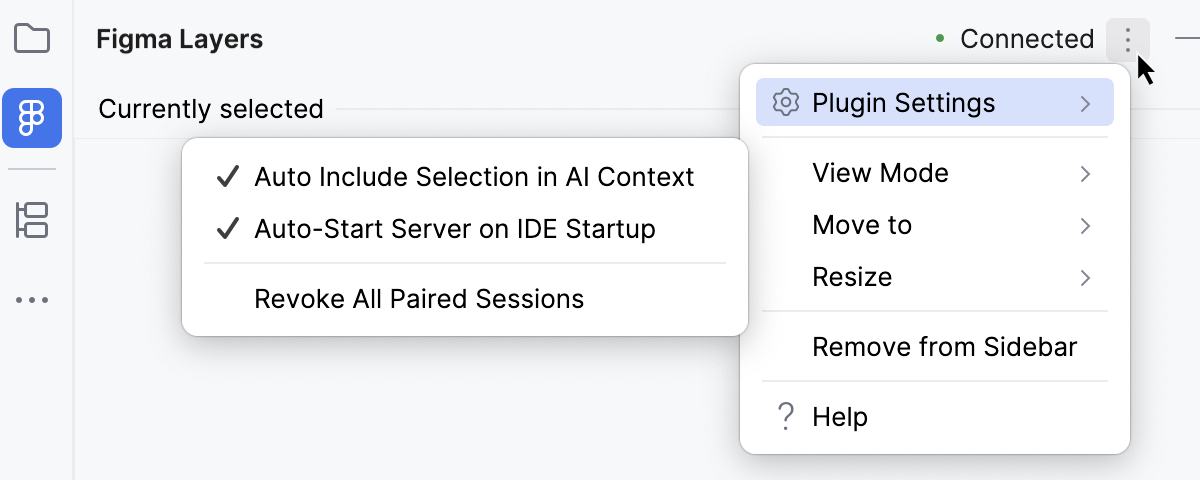
Configure the settings as needed. To enable a setting, set a tick next to it in the popup list, the opens.
- Auto Include Selection in AI Context
Attach the current Figma selection to every new AI Context automatically.
- Auto-Start Server on IDE Startup
Start the connection automatically when you open a project. This option is enabled by default.
- Revoke All Paired Sessions
Remove all saved approvals. After that, you need to approve the next connection from Figma again.