Quick start
The current version of Qodana (2023.2) provides the linters that let you analyze Java, Kotlin, Groovy, PHP, JavaScript, TypeScript, C#, Visual Basic, C, C++, Python, and Golang projects. You can also extend the default linter configuration using various features.
As an example, this section explains how you can quickly start working with Qodana using:
Prerequisites
Depending on your Qodana license, you probably need to obtain a trial license and accomplish the onboarding stage at Qodana Cloud.
To run Qodana in the CLI and GitHub, you will be using a project token available after creating a Qodana Cloud project. To learn more about it, see the Project tokens section.
Run Qodana in JetBrains IDEs
Starting from version 2023.2, Qodana is available in IntelliJ IDEA and PyCharm (both the Professional and Community editions), PhpStorm, WebStorm, GoLand, and Rider.
Here is the short video showing how you can run Qodana in your IDE.
Here is the description of all steps shown in this video:
In your IDE, navigate to the tool window.
In the tool window, click the tab.
On the tab, click the button.
In the dialog that opens, click the button, and then click .
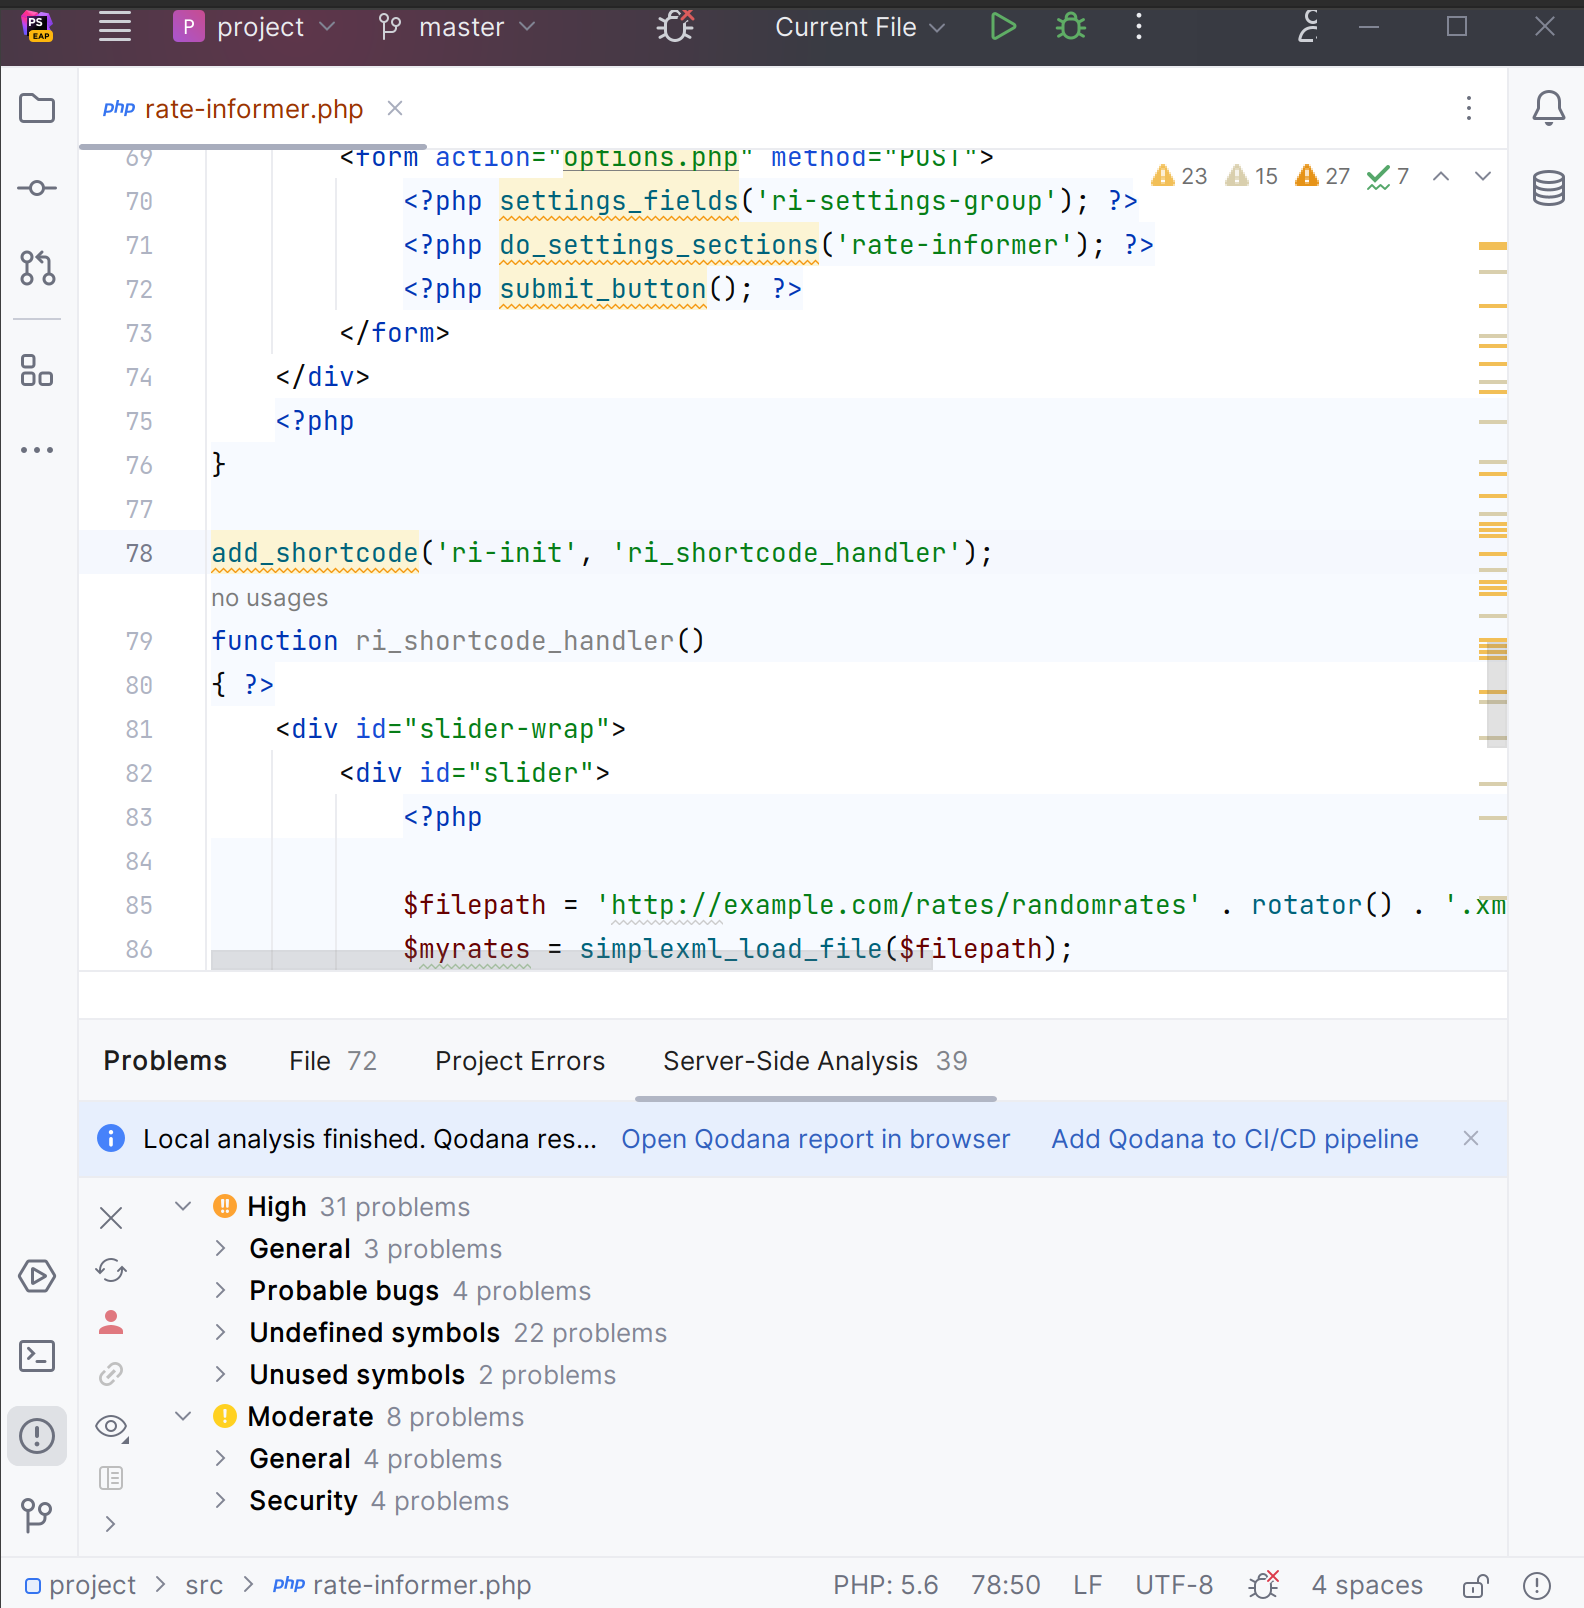
On the tab, you can view inspection results. It also contains two links in the upper part of the tab.

Open the inspection report in an intuitive and easy-to-use form.

Open the configuration wizard for using Qodana in CI/CD pipelines.

To learn more about Qodana and CI/CD pipelines, see the Integration with CI systems section.
Run Qodana using CLI
Qodana provides two options for local analysis of your code. Qodana CLI is the easiest option to start. Alternatively, you can use the Docker command from the tab.
To run Qodana CLI in the default mode, you must have Docker or Podman installed and running locally. If you are using Linux, you should be able to run Docker under your current non-root user.
Install Qodana CLI on your machine using available options:
Install with Homebrew (recommended):
brew install jetbrains/utils/qodanaAlternatively, you can install Qodana CLI using our installer:
curl -fsSL https://jb.gg/qodana-cli/install | bashInstall with Scoop:
scoop bucket add jetbrains https://github.com/JetBrains/scoop-utils scoop install qodanaInstall with Go:
go install github.com/JetBrains/qodana-cli@latestIn the project root directory, run this command:
qodana initThis will create the
qodana.yamlfile containing all necessary configuration options.In the project root directory, run this command to inspect your code:
qodana scan \ -e QODANA_TOKEN="<cloud-project-token>" \ --show-reportHere, the
QODANA_TOKENvariable contains the project token described in the prerequisites.
This section assumes that you have the Docker application deployed on your machine.
Pull the image from Docker Hub (only necessary to get the latest version):
docker pull <image>Here,
imagedenotes the Docker image name of a Qodana linter from this table:Image name
Application
jetbrains/qodana-jvm
Java and Kotlin for Server Side projects, based on IntelliJ IDEA Ultimate.
jetbrains/qodana-jvm-community
Java and Kotlin for Server Side projects, based on IntelliJ IDEA Community.
jetbrains/qodana-jvm-android
Java and Kotlin for Server Side projects, based on IntelliJ IDEA with the Android support.
jetbrains/qodana-php
PHP projects, based on PhpStorm.
jetbrains/qodana-python
Python projects, based on PyCharm Professional.
jetbrains/qodana-python-community
Python projects, based on PyCharm Community.
jetbrains/qodana-js
JavaScript and TypeScript projects, based on WebStorm.
jetbrains/qodana-go
Golang projects, based on Goland.
jetbrains/qodana-dotnet
.NET projects, based on Rider.
Run this command to analyze your codebase:
docker run \ -p 8080:8080 \ -v <source-directory>/:/data/project/ \ -e QODANA_TOKEN="<cloud-project-token>" \ jetbrains/qodana-<linter> \ --show-reportHere,
<source-directory>points to the root of your project, and theQODANA_TOKENvariable contains the project token described in the prerequisites.Check inspection results in your browser at
http://localhost:8080.
Run Qodana on GitHub
Here is the short video showing how you can configure and run Qodana in GitHub.
Assuming that you already generated a project token as described in the Prerequisites chapter, follow these steps to configure Qodana in GitHub:
On the tab of the GitHub UI, create the
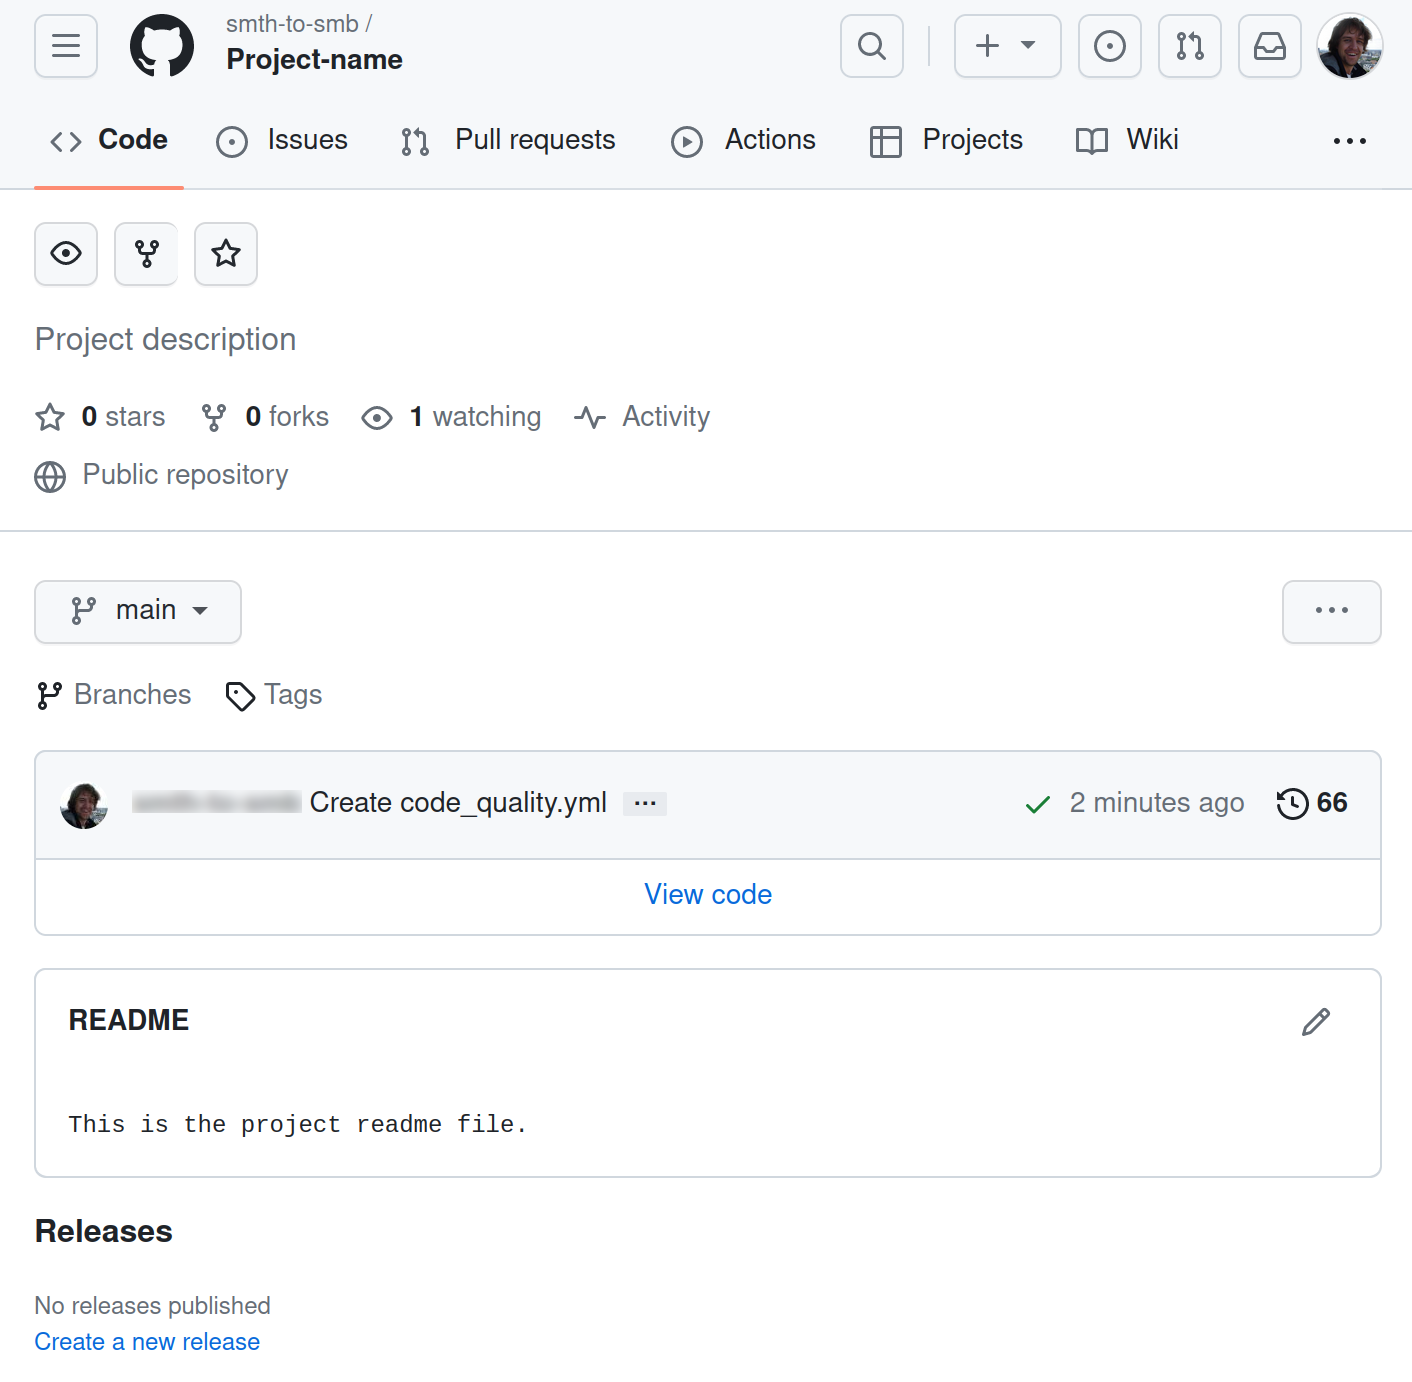
QODANA_TOKENencrypted secret and save the project token as its value.On the tab of the GitHub UI, set up a new workflow and create the
.github/workflows/code_quality.ymlfile.To inspect the
mainbranch, release branches, and the pull requests coming to your repository, save this workflow configuration to the.github/workflows/code_quality.ymlfile:name: Qodana on: workflow_dispatch: pull_request: push: branches: - main - 'releases/*' jobs: qodana: runs-on: ubuntu-latest permissions: contents: write pull-requests: write checks: write steps: - uses: actions/checkout@v3 with: ref: ${{ github.event.pull_request.head.sha }} # to check out the actual pull request commit, not the merge commit fetch-depth: 0 # a full history is required for pull request analysis - name: 'Qodana Scan' uses: JetBrains/qodana-action@v2023.2 env: QODANA_TOKEN: ${{ secrets.QODANA_TOKEN }}