
Setting up an Azure Functions Project
Create your first serverless project
Once the plugin is installed and your environment is ready, you can start a new Azure Functions project. From the Welcome dialog and File menu, you can choose to create a New Solution and pick the Azure Functions template from the left:
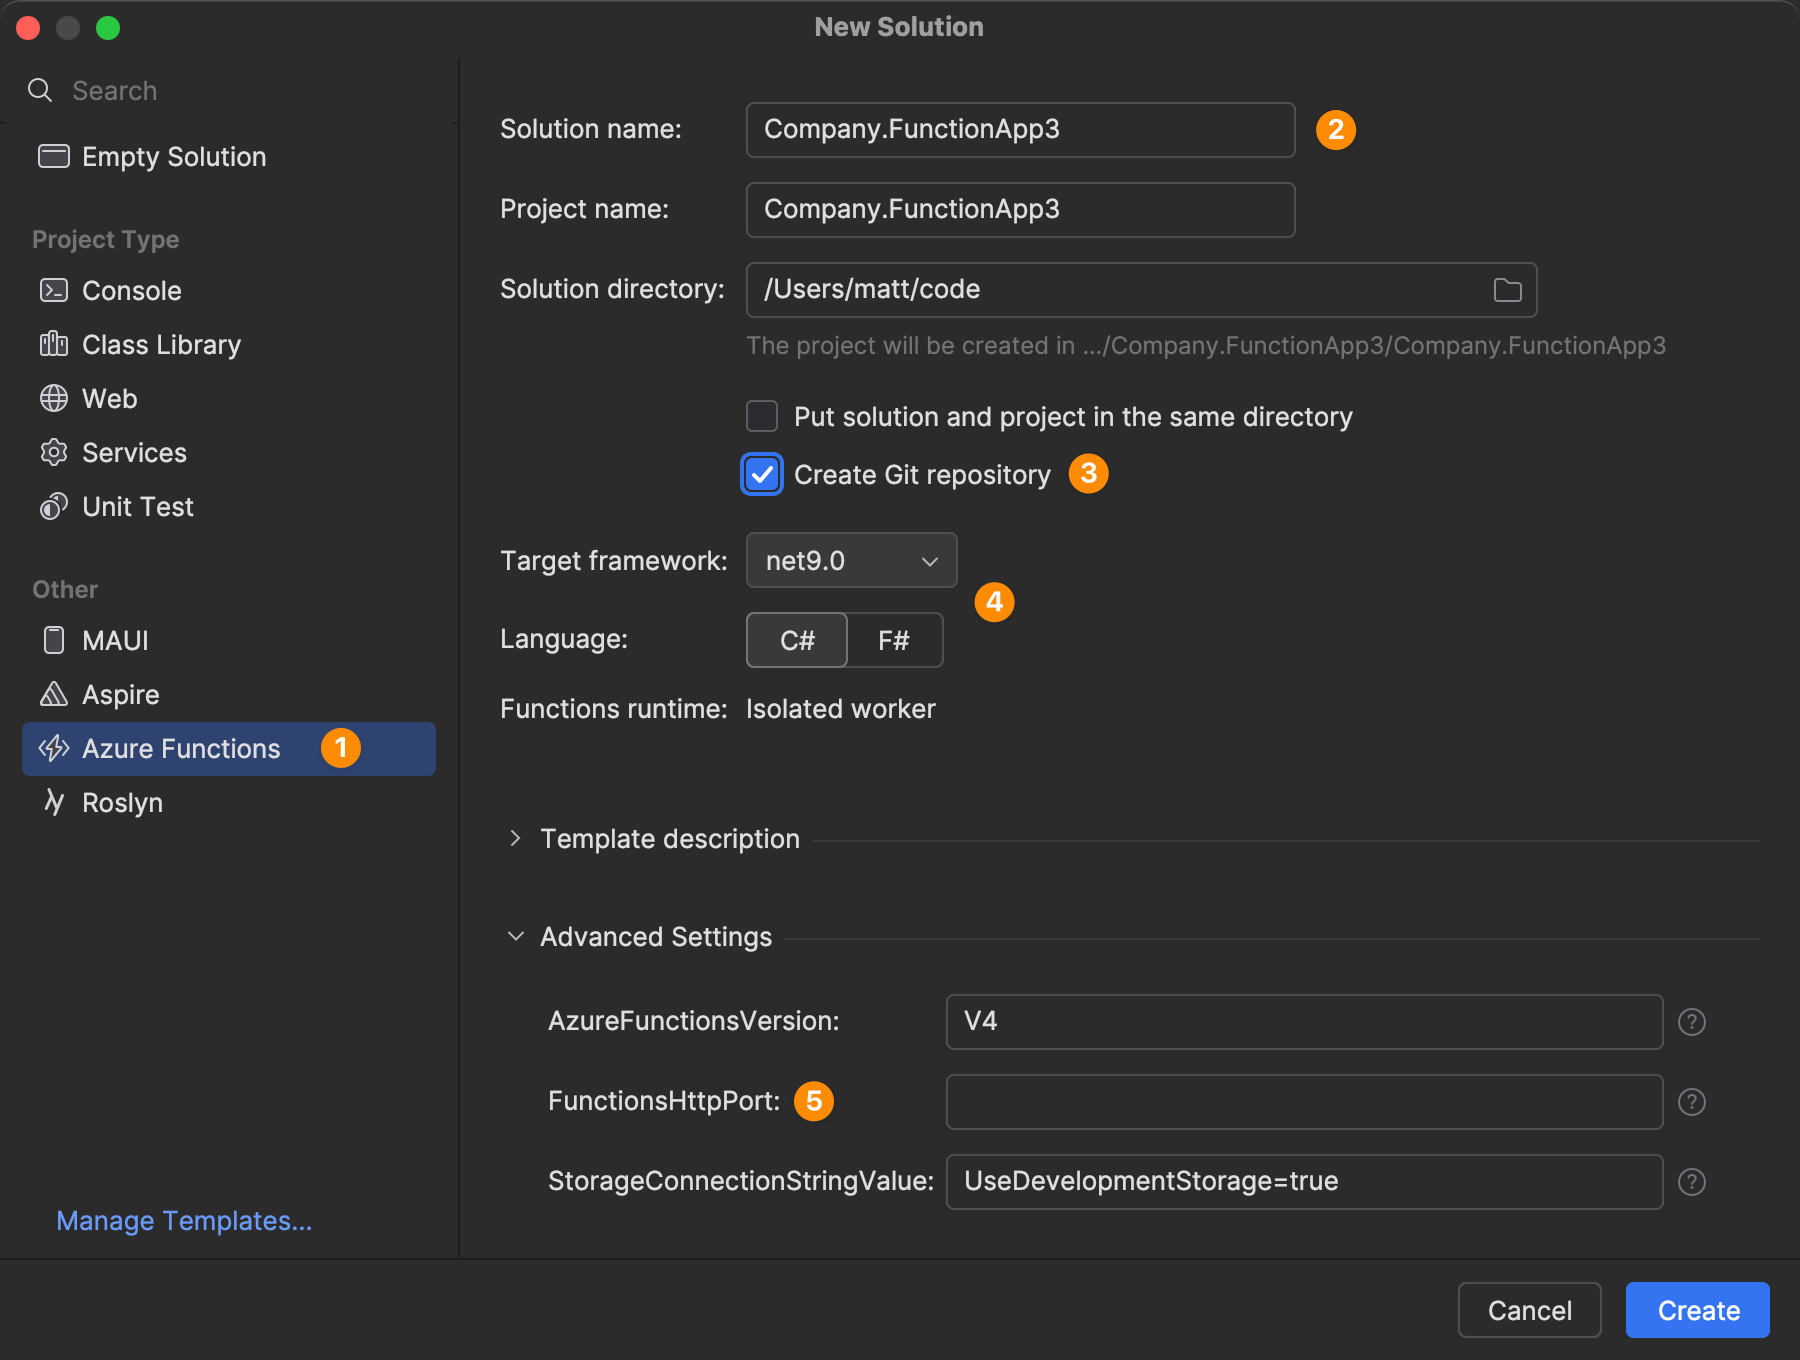
Warning: If the template (still) allows you to change the Functions runtime, we strongly recommend you to choose Isolated worker. Support for the in-process model ends in November 2026. If you have an outdated Azure Functions app that runs with the in-process model, you might want to read on the differences between the two models and migrate to the (new) isolated worker model.
Furthermore, in response to a current issue, we recommend setting FunctionsHttpPort to
7071, because some features discussed later expect this exact port. The value can later be changed under<project>/Properties/launchSettings.json.
After confirming the solution and project are generated from the template, your Rider instance should look like the following:
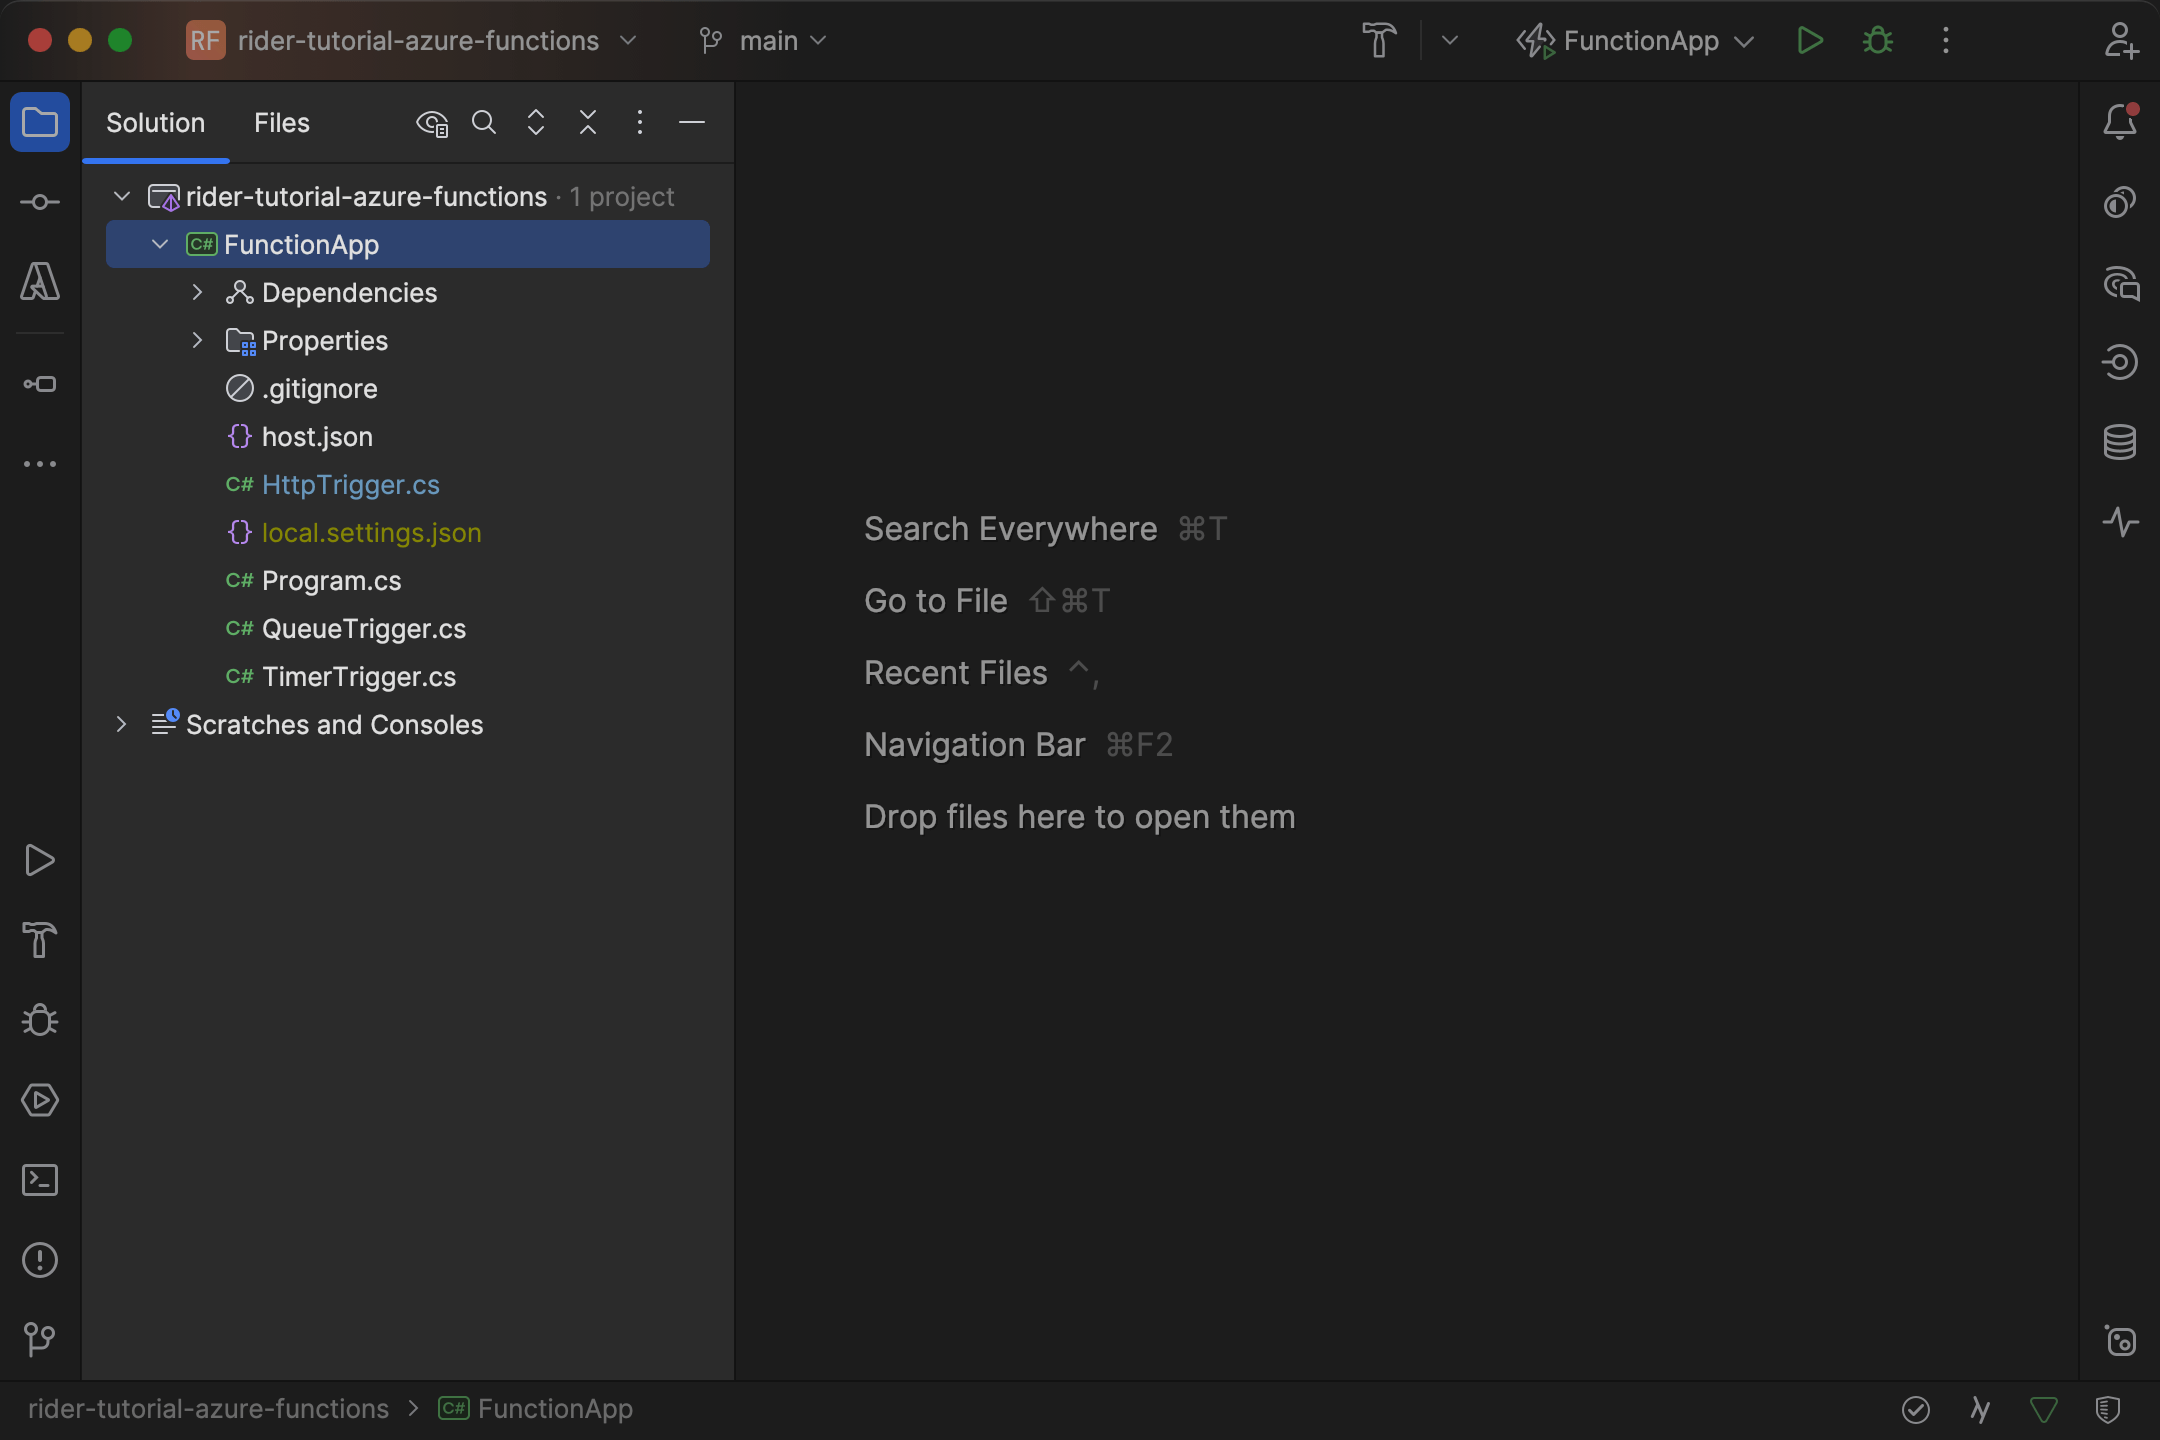
A couple of words about the files that have just been created for you:
.csproj file– declares project metadata, dependencies, and build targetslaunchSettings.json– defines local debug settings such as HTTP porthost.json– configures global runtime behaviors for all functions in the projectlocal.settings.json– holds local development settings including secrets and connection strings (should be ignored for VCS)Program.cs– bootstraps the function host and configures dependency injection
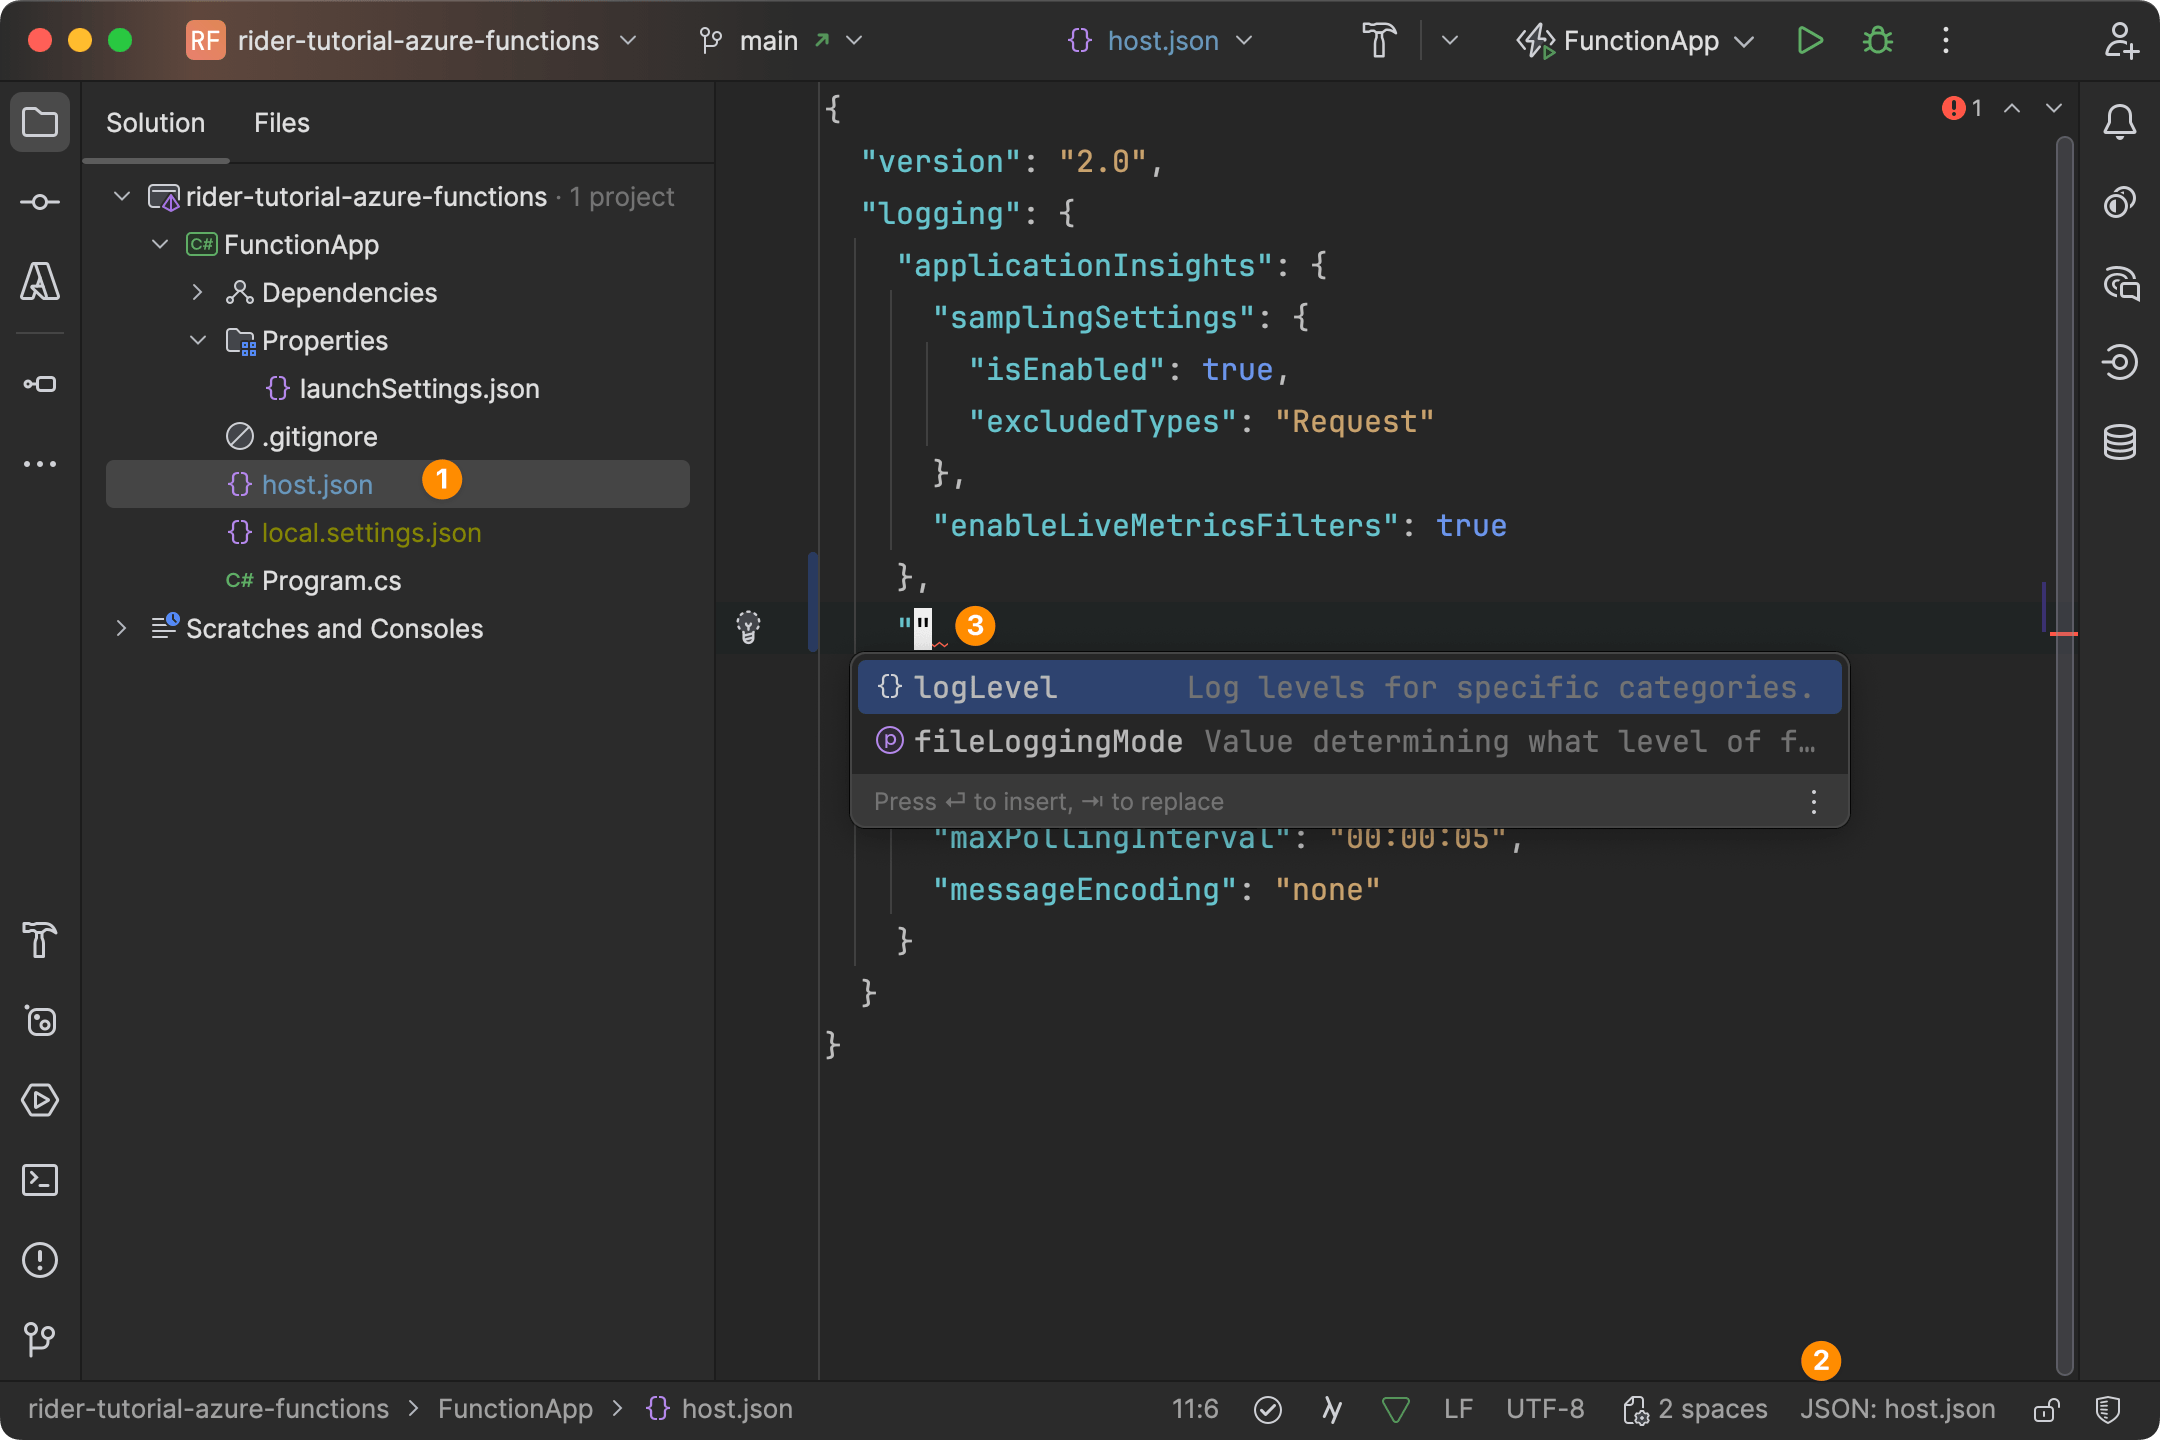
Tip: Note that Rider has YAML code completion enabled through JSON schemas. For example, the
host.jsonwill automatically find the correct schema, and provide completion for thelogLevelandfileLoggingModeproperty:
The boilerplate is done. From here, you can start adding functions to your project.