Create and run your first Ruby projects
This topic explains how to do the following in RubyMine:
Create your first empty application
Create and run a Ruby file
Create and run your first Rails application
Add a JavaScript asset to a Rails application
Run your Rails application with the added JavaScript asset
Before performing the procedures below, download and install the Ruby distribution and set up your IDE.
We'll perform all procedures using RubyMine installed on macOS.
Create your first application
In this chapter, you will learn how to create an empty application, add a Ruby file, and run it.
Create an empty application
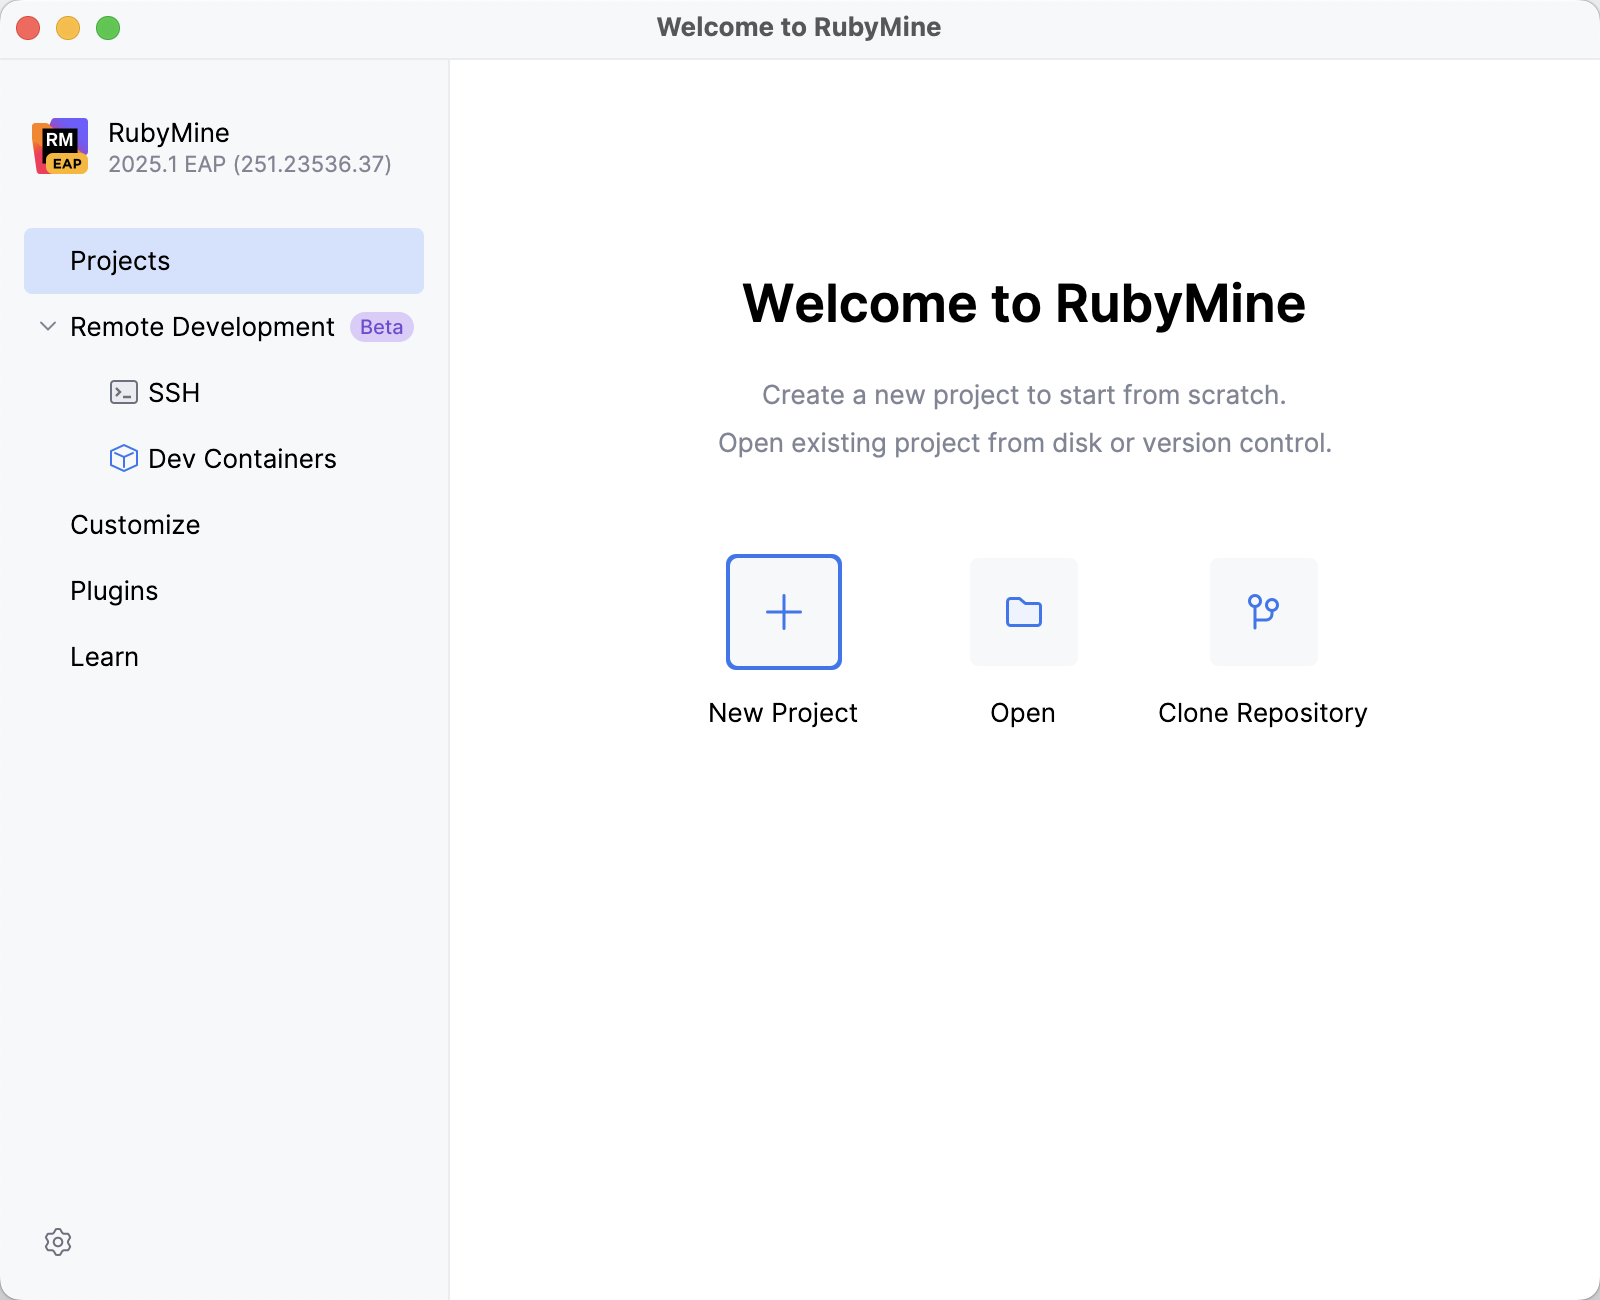
Run RubyMine and click New Project on the Welcome Screen.
In the New Project dialog, make sure that Empty Project is selected on the left pane. Then, specify the following settings:
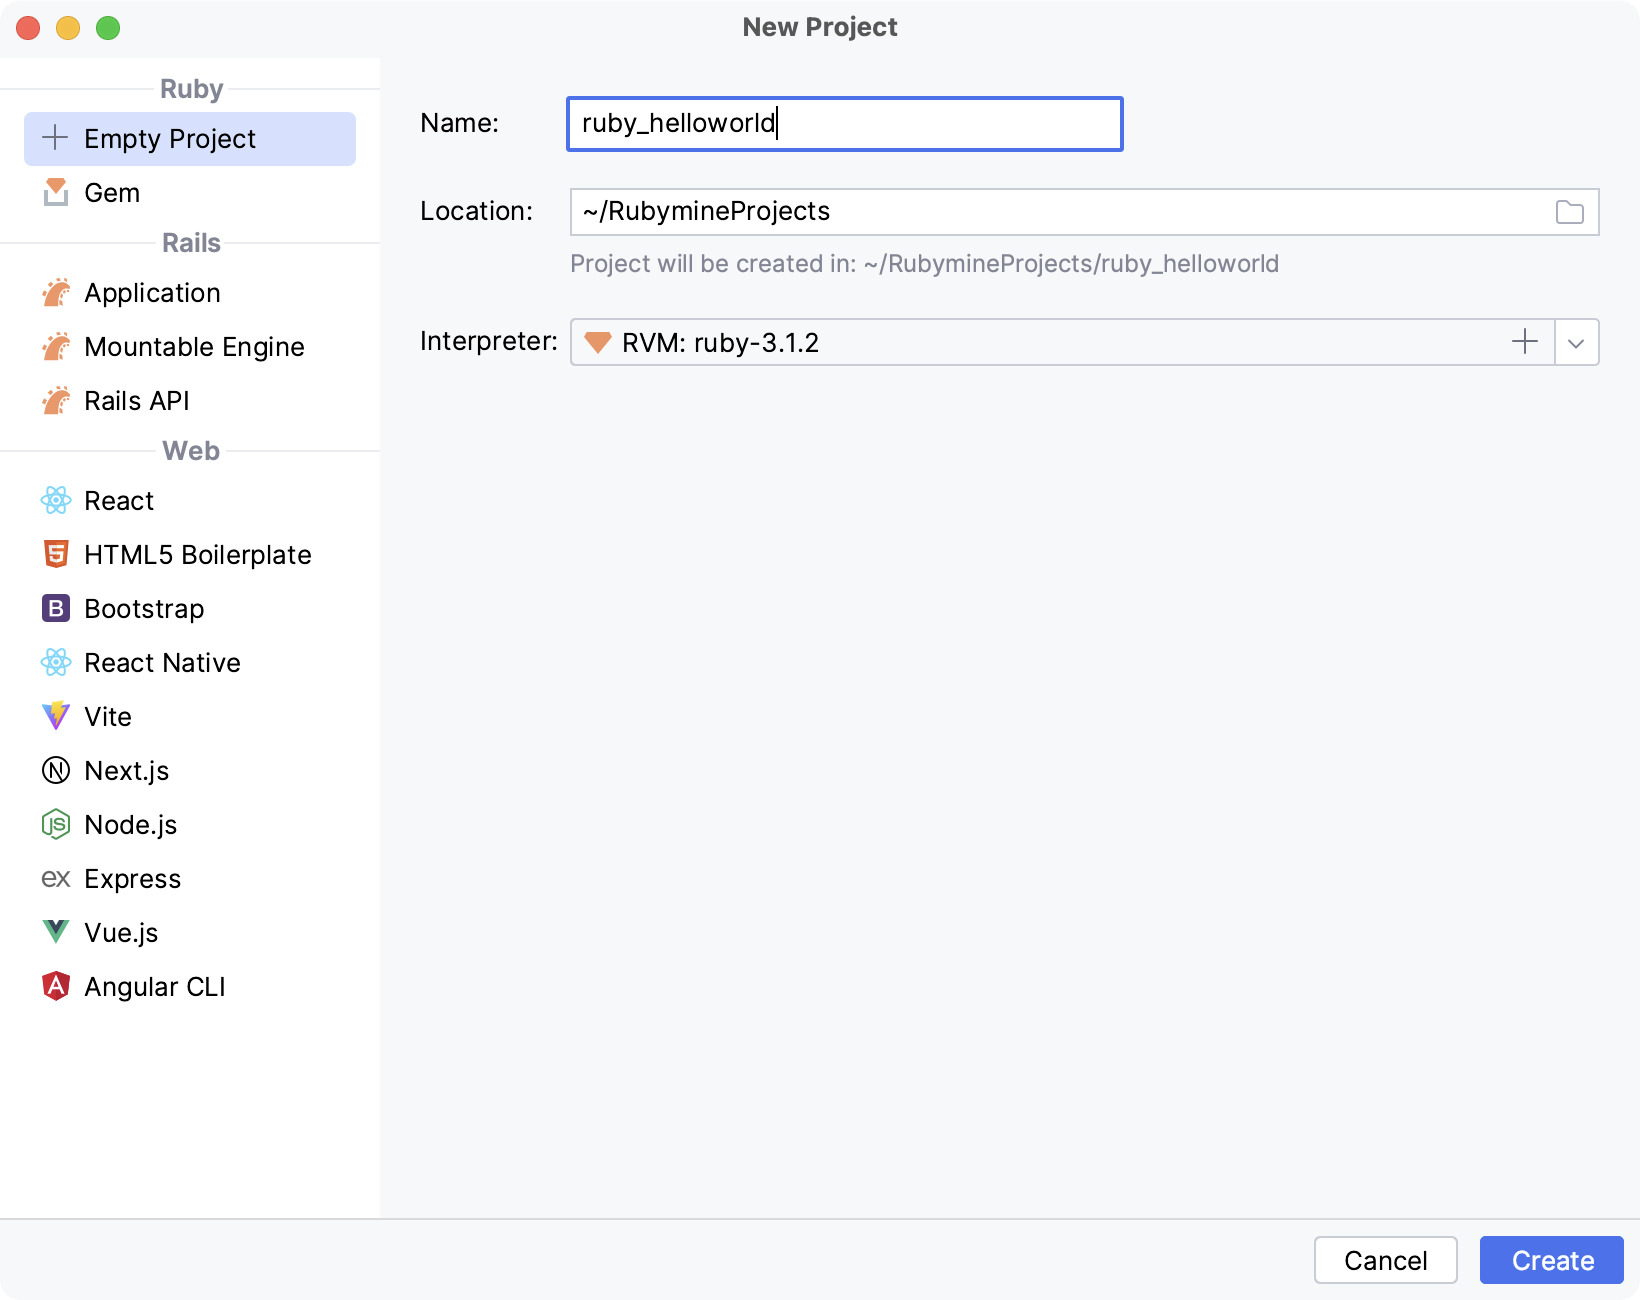
Name: specify a name for the project (in our case, ruby_helloworld)
Location: specify a path to the directory in which you want to create the project. By default, RubyMine creates a directory with the same name as the project.
Interpreter: select a required Ruby interpreter installed in your system.
Click Create to continue.
Create a Ruby file
After creating a project, you will see its structure in the Project tool window on the left. To add a Ruby file, do the following:
Select a project root in the Project tool window and press Alt+Insert.
In the invoked popup, select Ruby File/Class and press Enter.
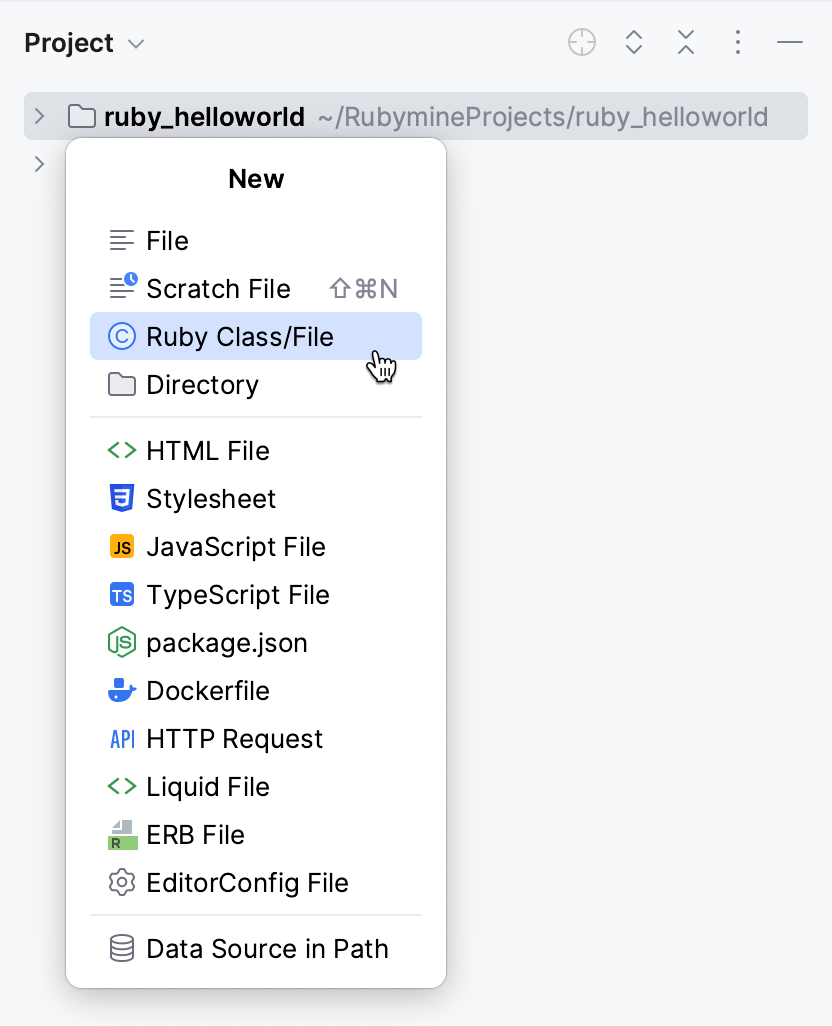
In the invoked popup, specify a script name (script in our case) and click OK.
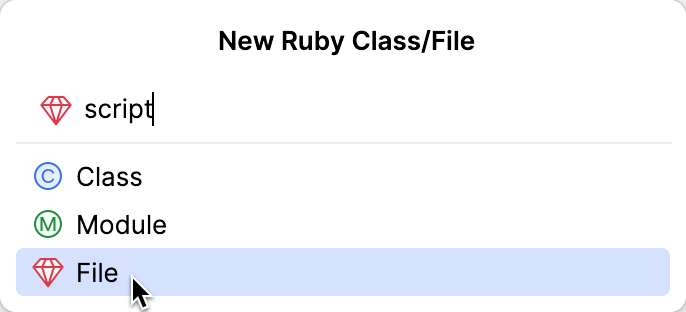
In the editor, insert the following code:
puts "Please enter your name" name = gets.chomp puts "Hello, #{name}! I'm Ruby!"
Run the Ruby script
To run the created script, do the following:
Press Ctrl twice and type the following command:
ruby script.rbPress Enter.

In the Run tool window, type any name and press Enter to see a program's response.
Run/debug configurations
After you run a Ruby script, RubyMine automatically creates a special profile, a run/debug configuration. Such profiles are used for running, debugging and testing applications, and specifies the script name, working directory, actions to be performed before launch, and so on.
To edit a configuration, call the dropdown menu under the Run widget and select Edit Configurations.
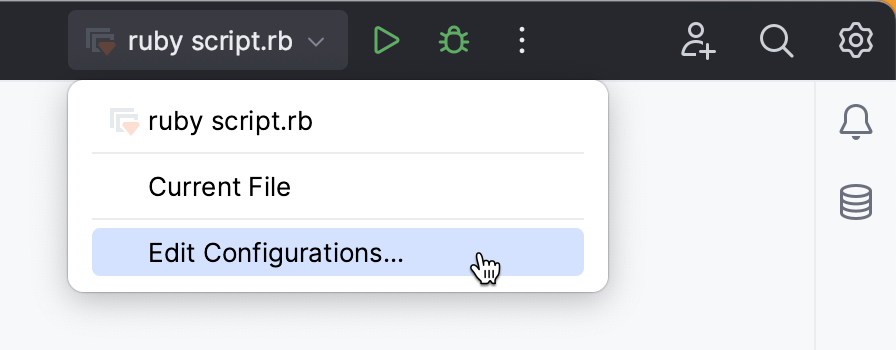
In the invoked Run/Debug Configurations dialog, you can specify the settings required to launch your script.
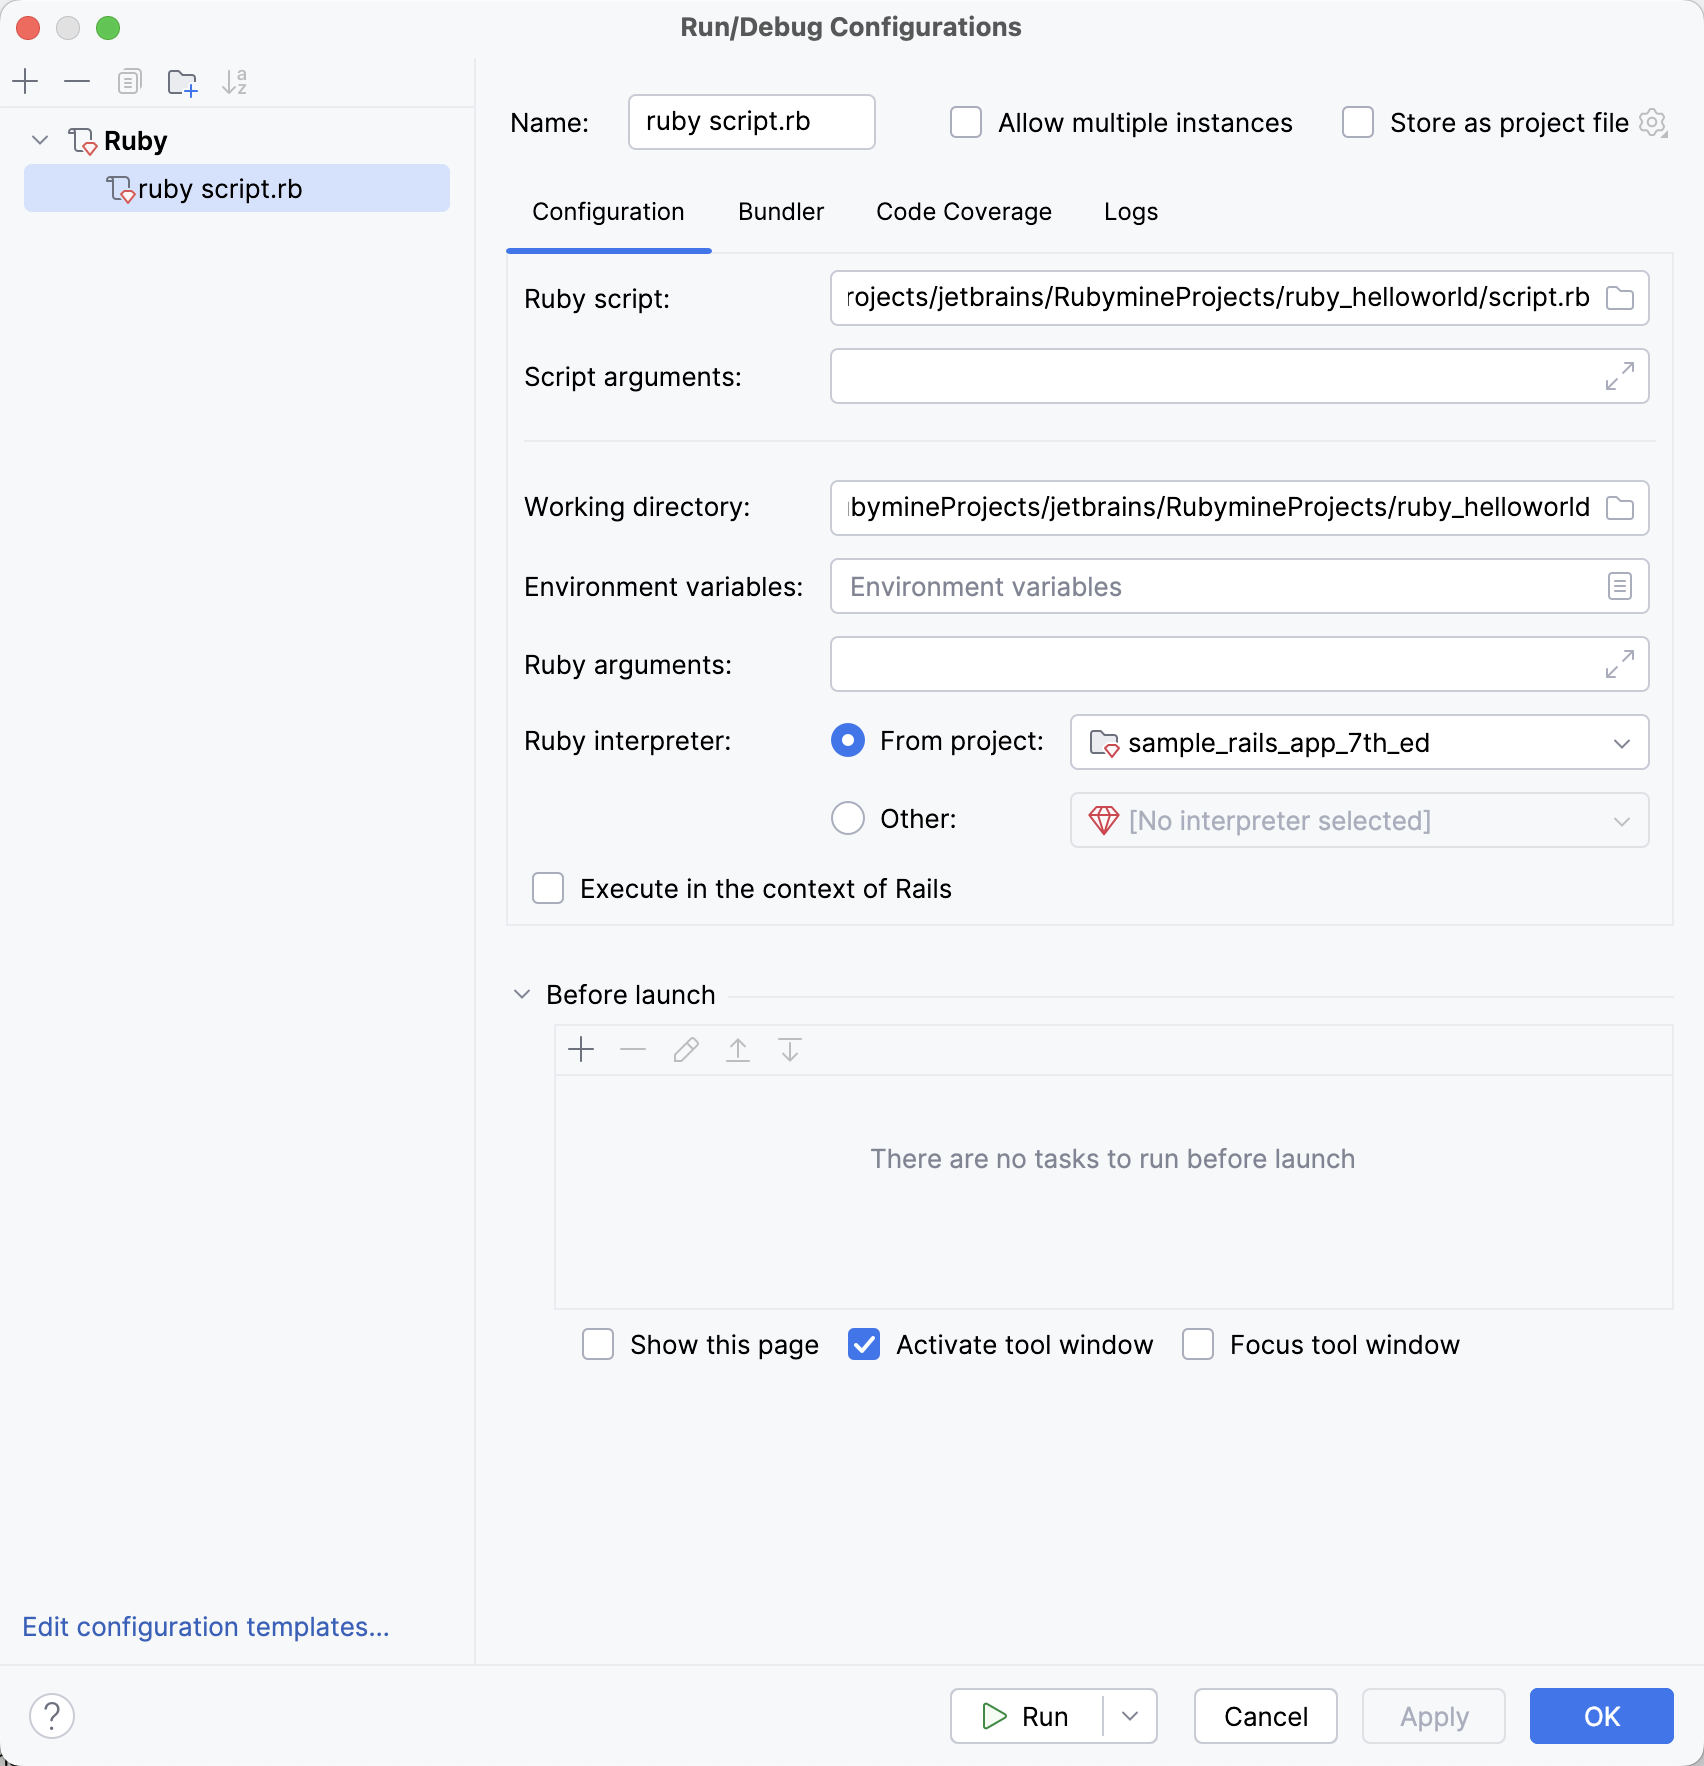
Find more information about run/debug configurations in this topic.
Create a Rails application
In this chapter, you will learn how to create a Rails application and run it.
Run RubyMine and click New Project on the Welcome Screen.
In the New Project dialog, select Application in the Rails group Ruby on Rails in the Project Type group on the left pane.
Specify the following settings:
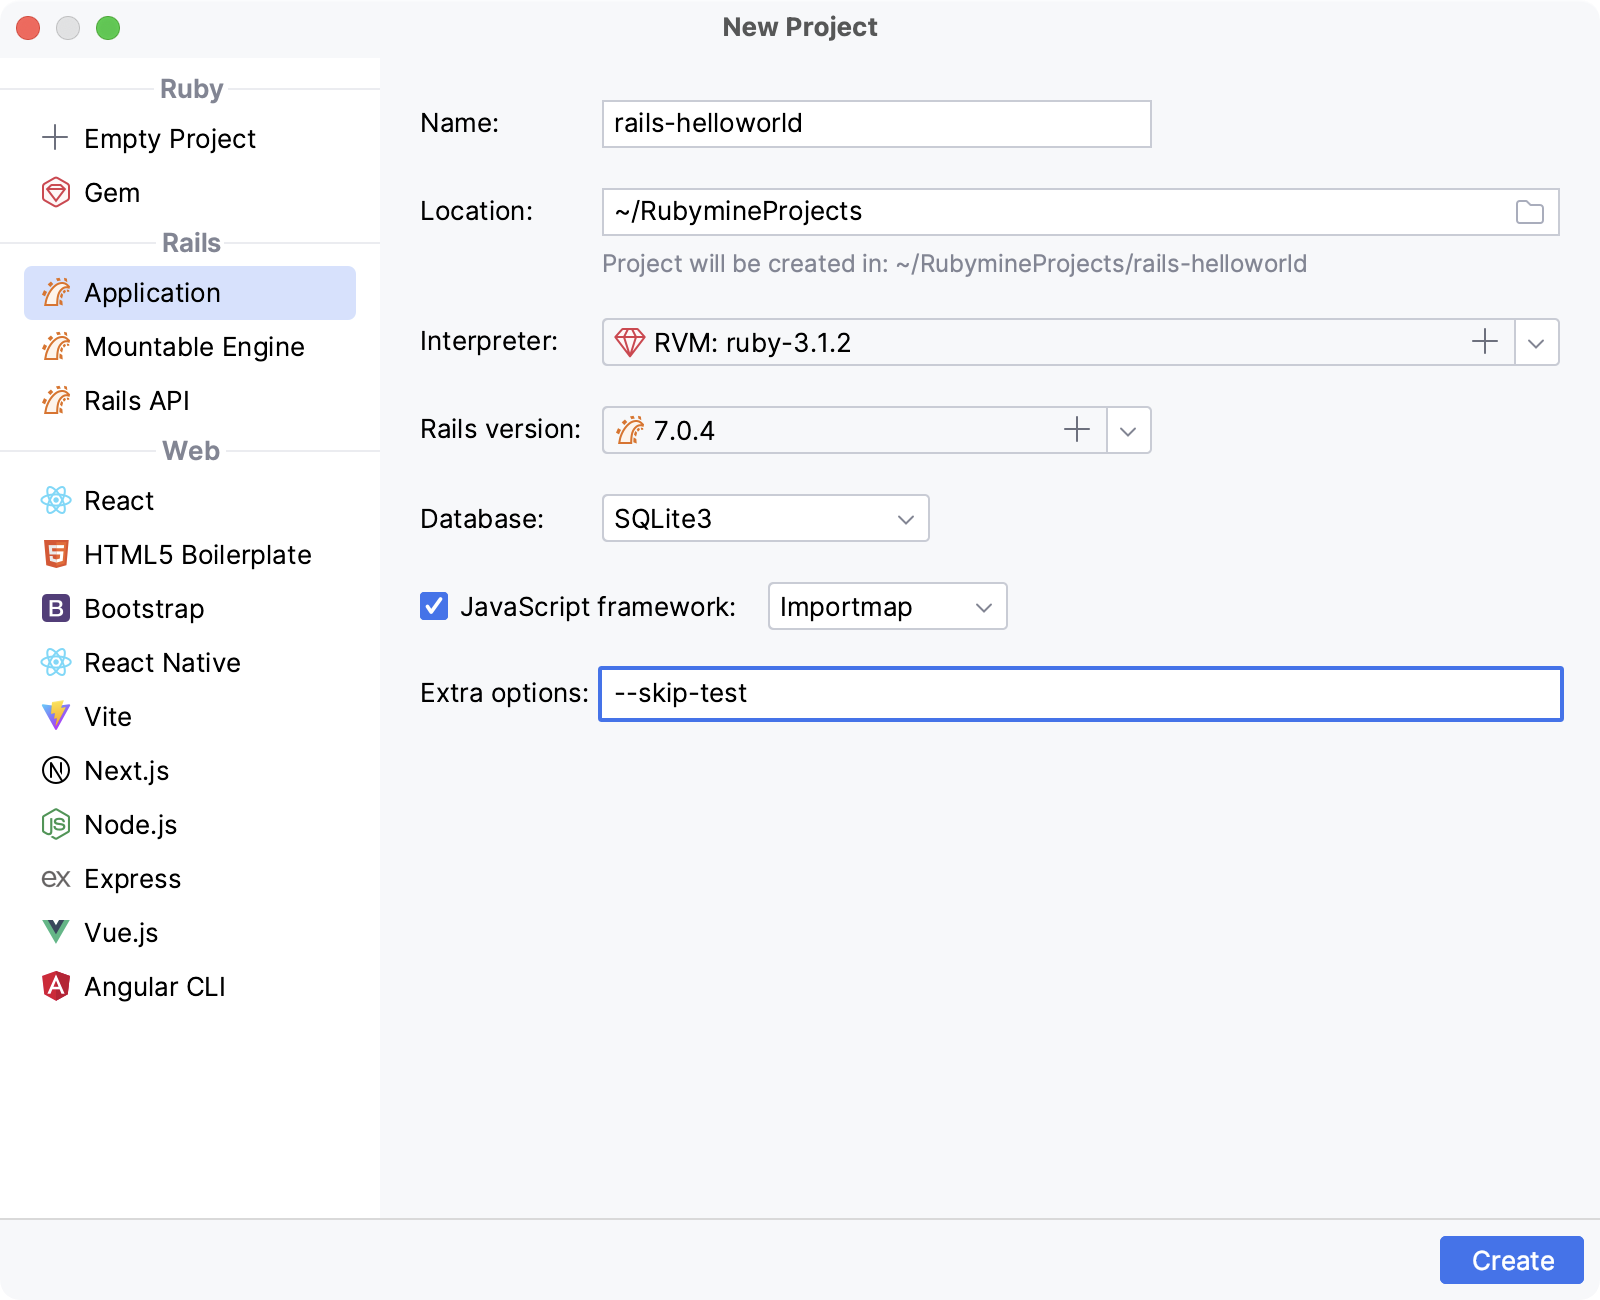
Name: specify a name for the project (rails-helloworld in our case).
Location: specify a path to the directory in which you want to create the project. By default, RubyMine creates a directory with the same name as the project.
Interpreter: select a Ruby interpreter that you want to use in your project.
Rails version: select a Rails version that you want to use in your project. If the Rails gem is not installed in the selected interpreter or the necessary Rails version is missing, click
 in the field. Wait until RubyMine downloads all available Rails versions and select the necessary version from the dropdown. Click OK to continue.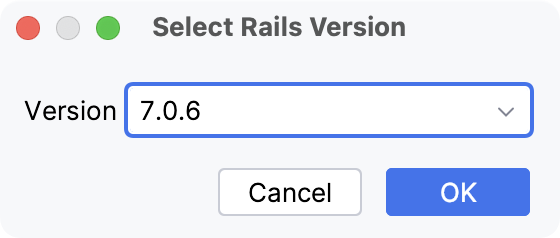
If the selected version is not installed yet, RubyMine will install it upon project creation.
Extra options: provide additional Rails options for project creation in the Extra options field.
For example, you can specify arguments that you will normally use to append the
rails newcommand:--skip-teststo skip creation of test files,--skip-action-mailerto skip Action Mailer files,--skip-action-cableto skip Action Cable files, and so on.To get a full list of Rails options compatible with the Rails version in use, run the
rails new --helpcommand.
Click Create to close the New Project dialog.
RubyMine creates a new Rails application, installs the gem dependencies mentioned in Gemfile, and installs JavaScript dependencies mentioned in the project's package.json file. You can see this process in the Run tool window.
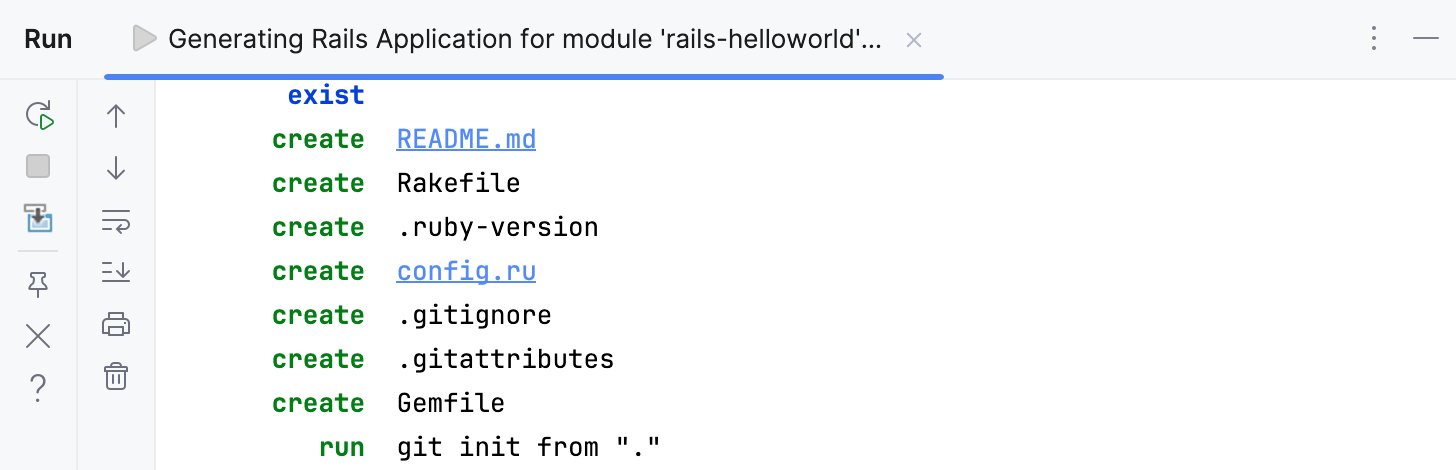
After installing all dependencies, you can see the project structure in the Project tool window (Alt+1) on the left. On the right, RubyMine automatically opens the main project files in the editor.
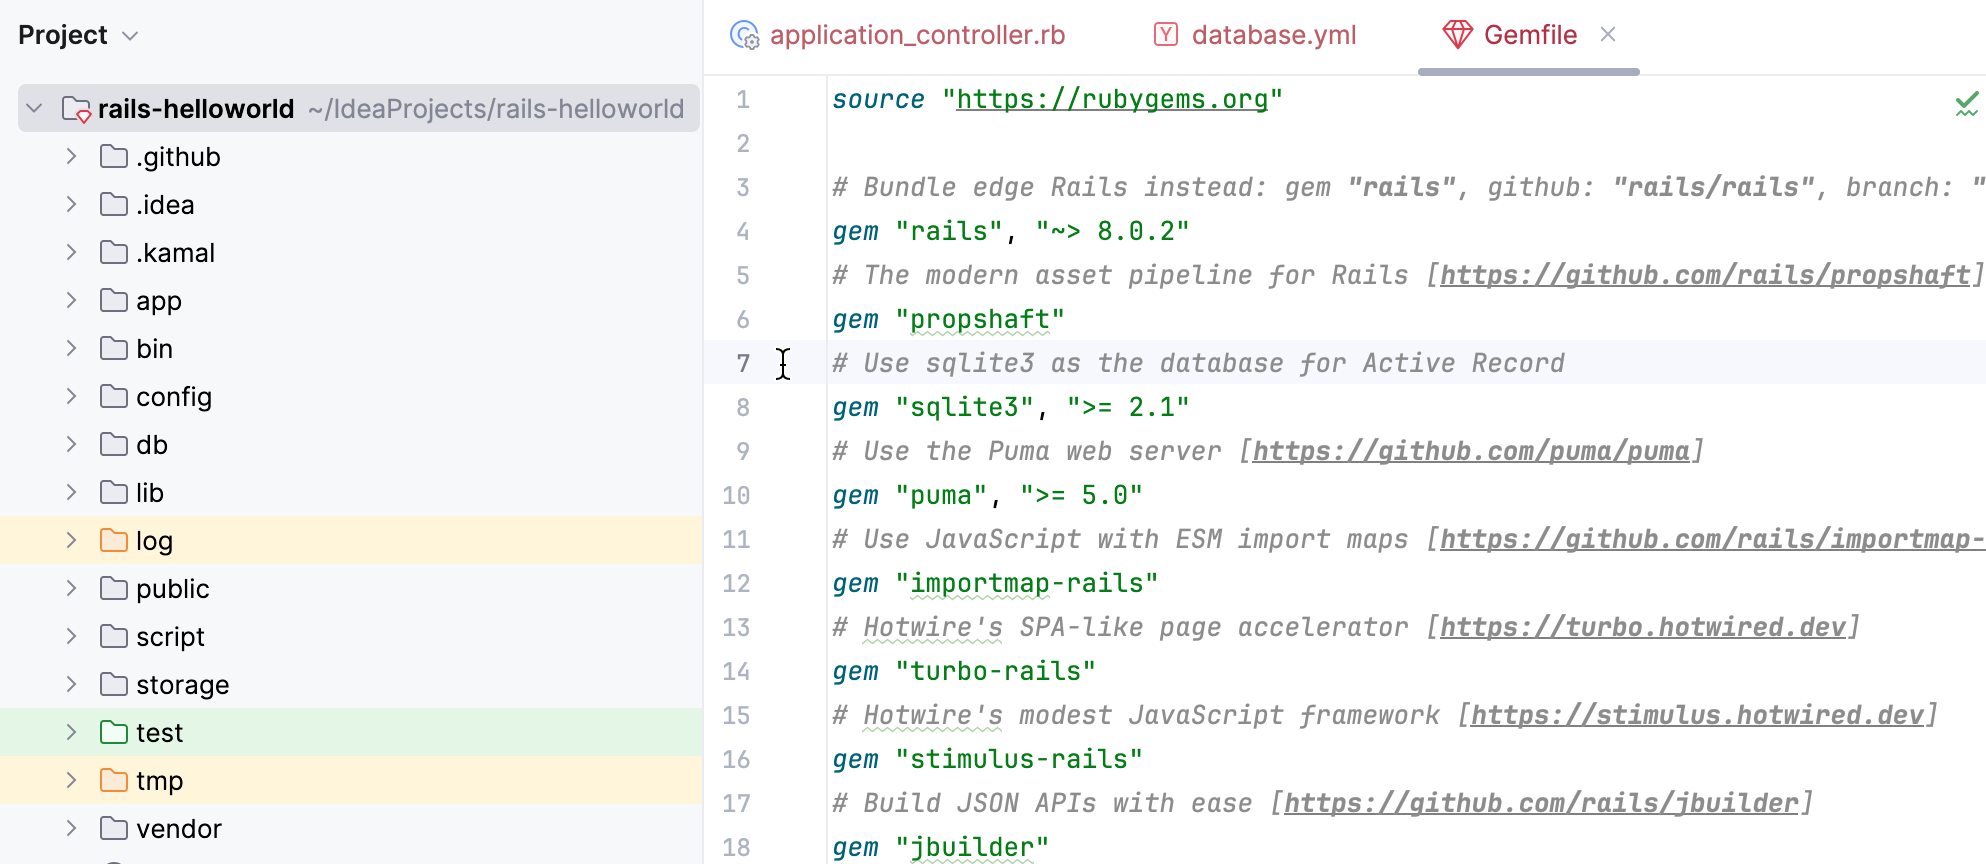
If you have Git installed in your operating system, generating a new Rails application also initializes a Git repository. You can learn how to work with Version control systems in RubyMine from the Version control section.
Now we have a functioning Rails application. To see it in action, you need to start a web server. Perform the following steps to do this:
Click the Run icon in the upper right corner.
RubyMine will show the process of preparing the application to run.
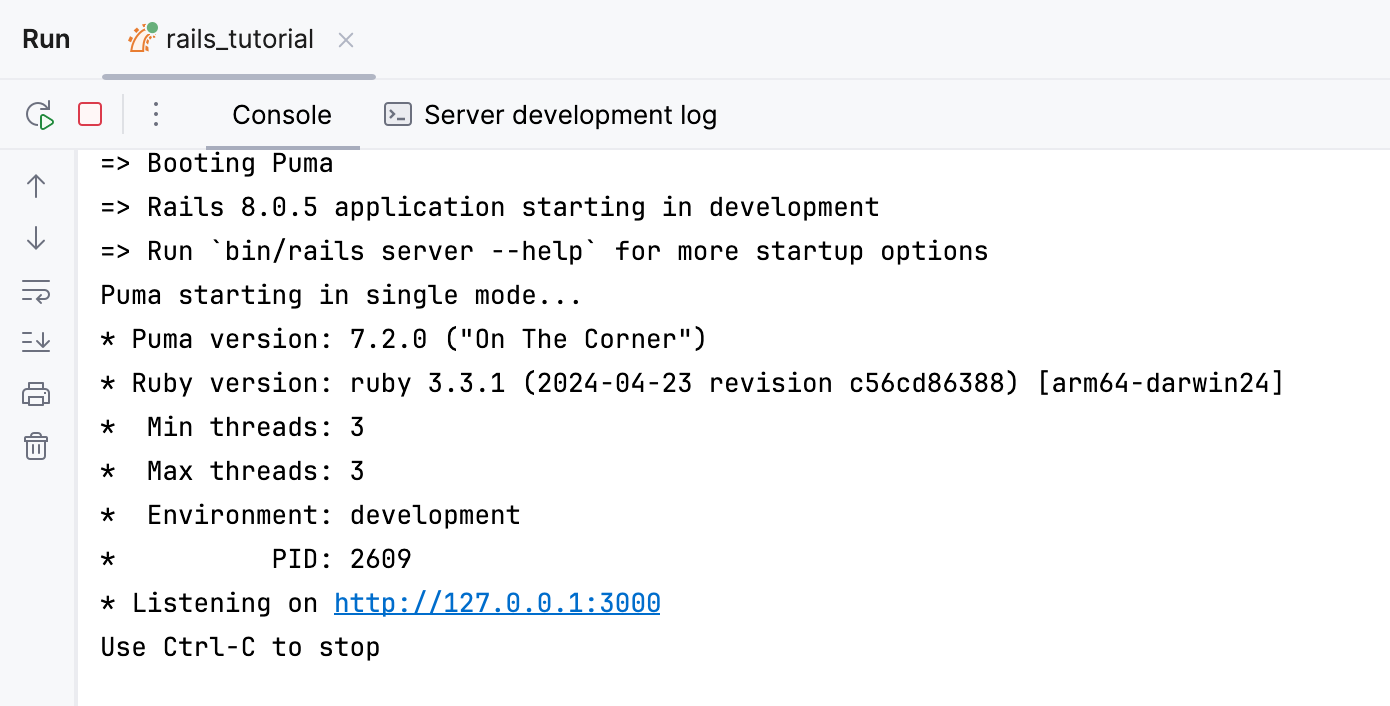
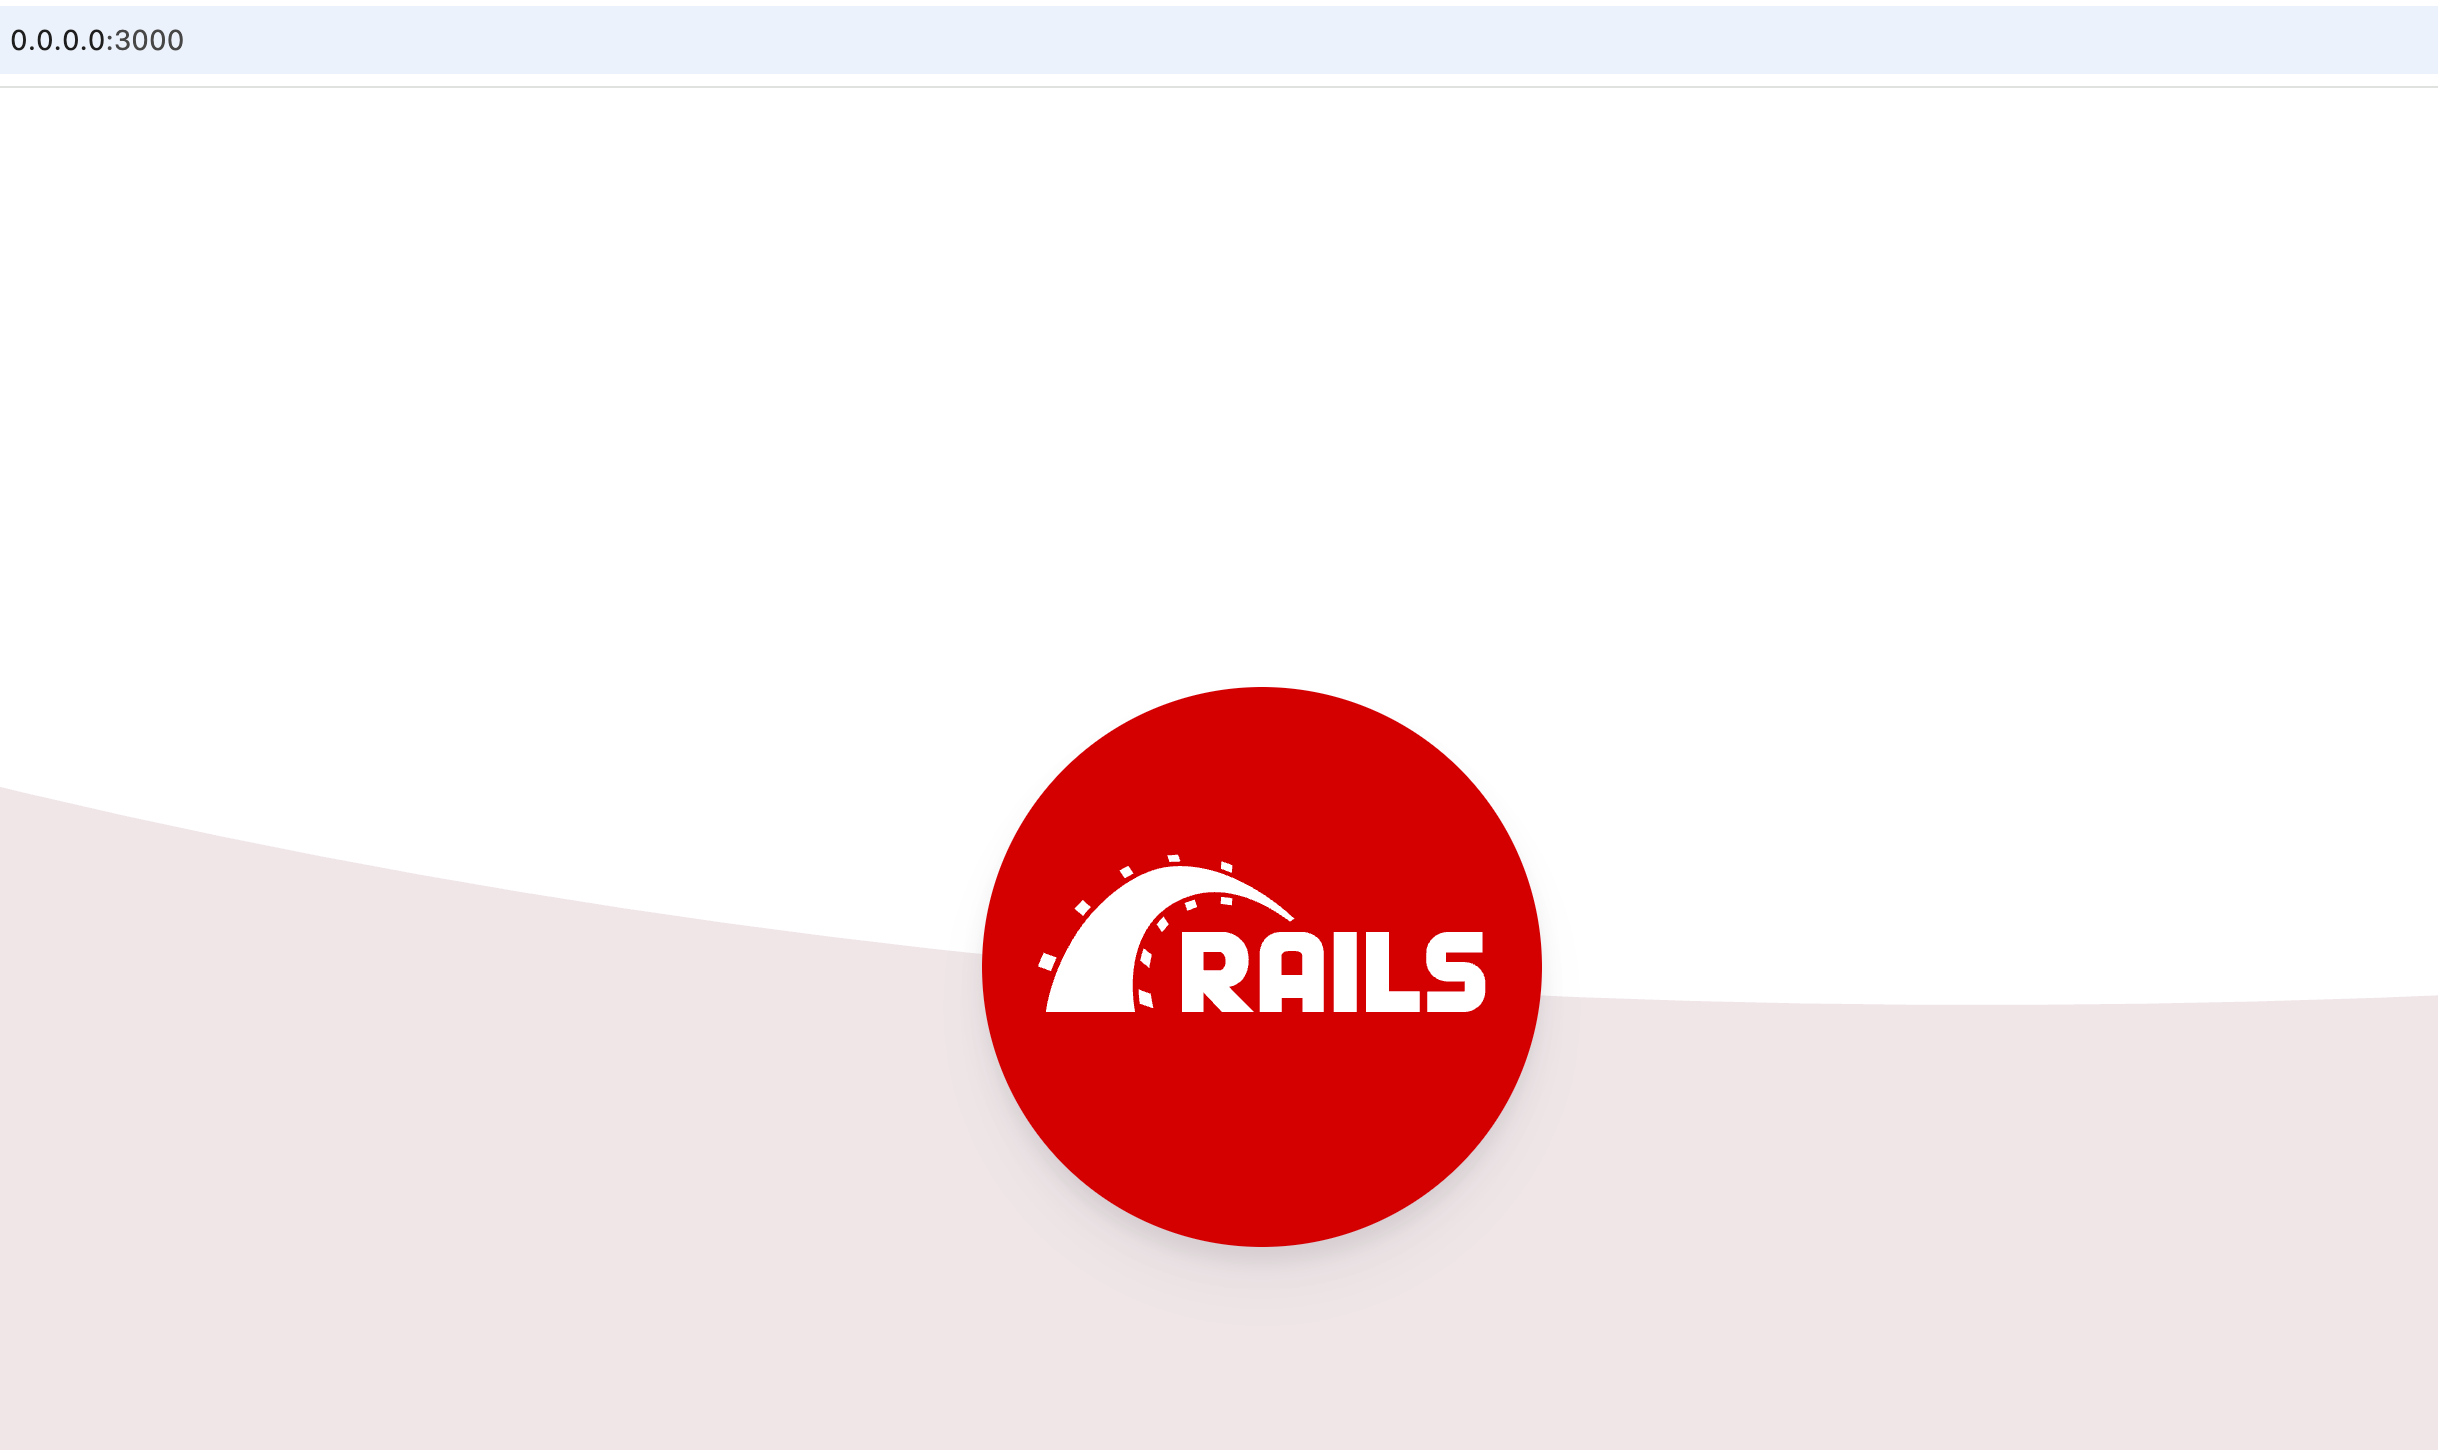
Open http://127.0.0.1:3000 in your browser to see the Rails default information page.
Add a JavaScript asset to a Rails application
This chapter explains how to add a JavaScript asset to a Rails project and run the applciation to see how it works . We will use the empty Rails application created in the previous procedure. The steps below assume that you have already created this project and have it open in the editor.
Add a controller
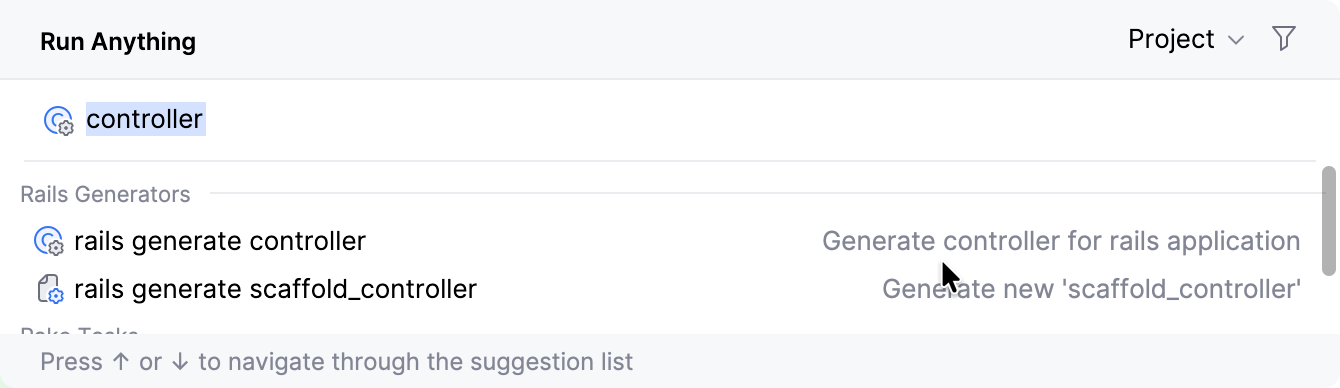
Press Ctrl twice and start typing controller. In the invoked list, select rails generate controller and press Enter.
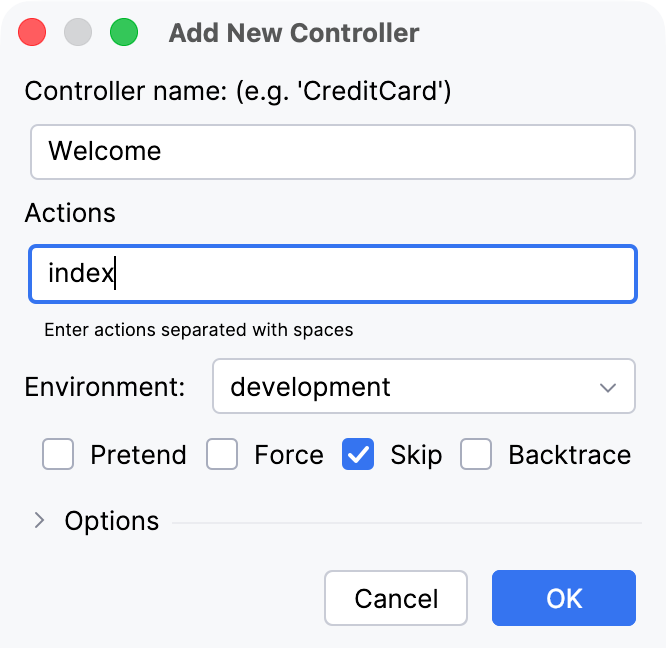
In the invoked Add New Controller dialog, set the controller name to Welcome and add one action called index. Click OK.
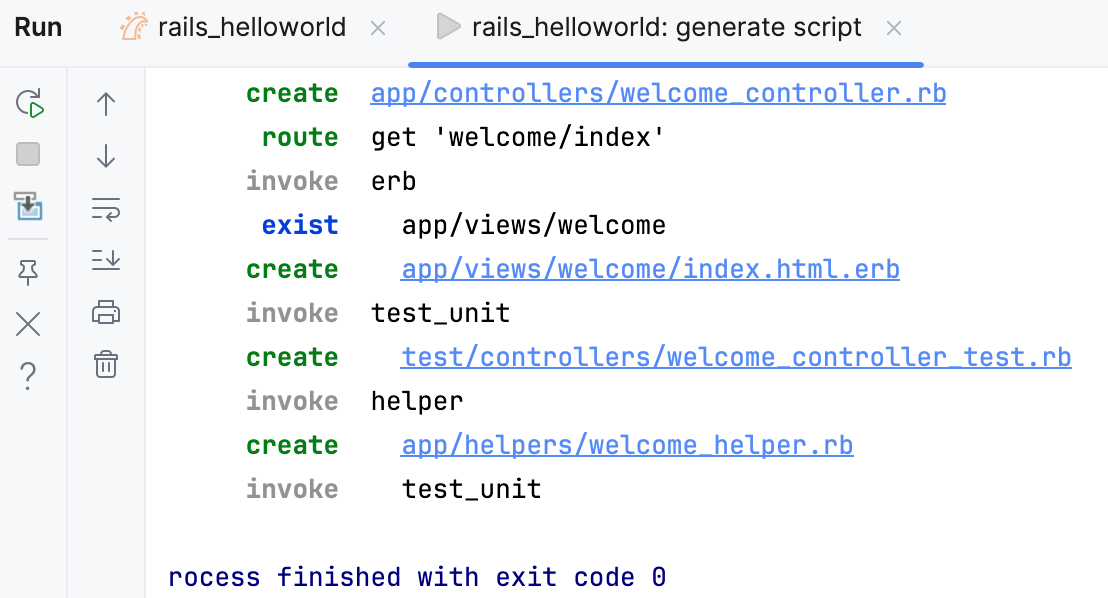
RubyMine will create a controller, view, and several other files. This process will be displayed in the Run tool window. In this window, click the index.html.erb file.
To set the home page of your application to index, open the config/routes.rb file and add the following line within the
Rails.application.routes.draw do ... endblock:root 'welcome#index'Learn more at Setting the Application Home Page.
Update a view
Add a button to the created view.
In the Project view (Alt+1), open the app/views/welcome/index.html.erb file.
Replace the current content of the file with the following code:
<h1>Hello, Rails!</h1> <button id="greet-user-button">Hello!</button>Apart from the existing static text within the
h1tag, the view file now contains a button element with a specific identifier that will be used in JavaScript.
Add a JavaScript handler
Now, create a JavaScript file that will handle the button click.
In the Project view, select the app/javascript directory.
Press Alt+Insert and select JavaScript File.
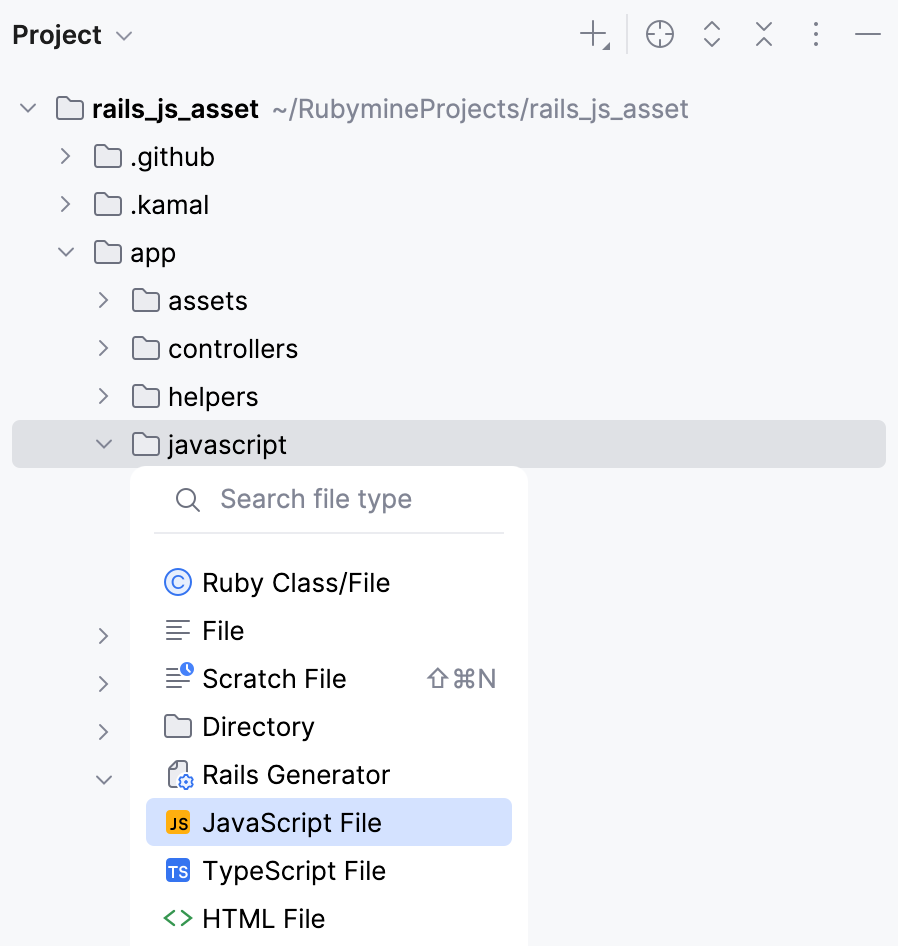
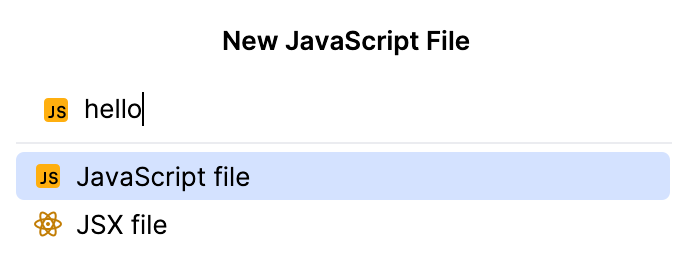
Specify the file name (hello) and press Enter.
In the created hello.js file, add the following code:
const button = document.getElementById("greet-user-button") if (button) { button.addEventListener("click", () => { alert("Hello!, JavaScript!") }) }In this script we:
Find the button by its identifier.
Attach a click handler that displays an alert and logs a message to the console.
To make this file available in the application, open app/javascript/application.js and add:
import "hello"Ensure that the application layout includes JavaScript assets. Open app/views/layouts/application.html.erb and verify that it contains:
<%= javascript_importmap_tags %>Open the config/importmap.rb file and add the following line:
pin "hello"
Start a web server
To see our application in action, you need to start a web server.
Press Ctrl twice and start typing development.
Click the Run icon in the upper right corner.
RubyMine will show the process of preparing the application to run.
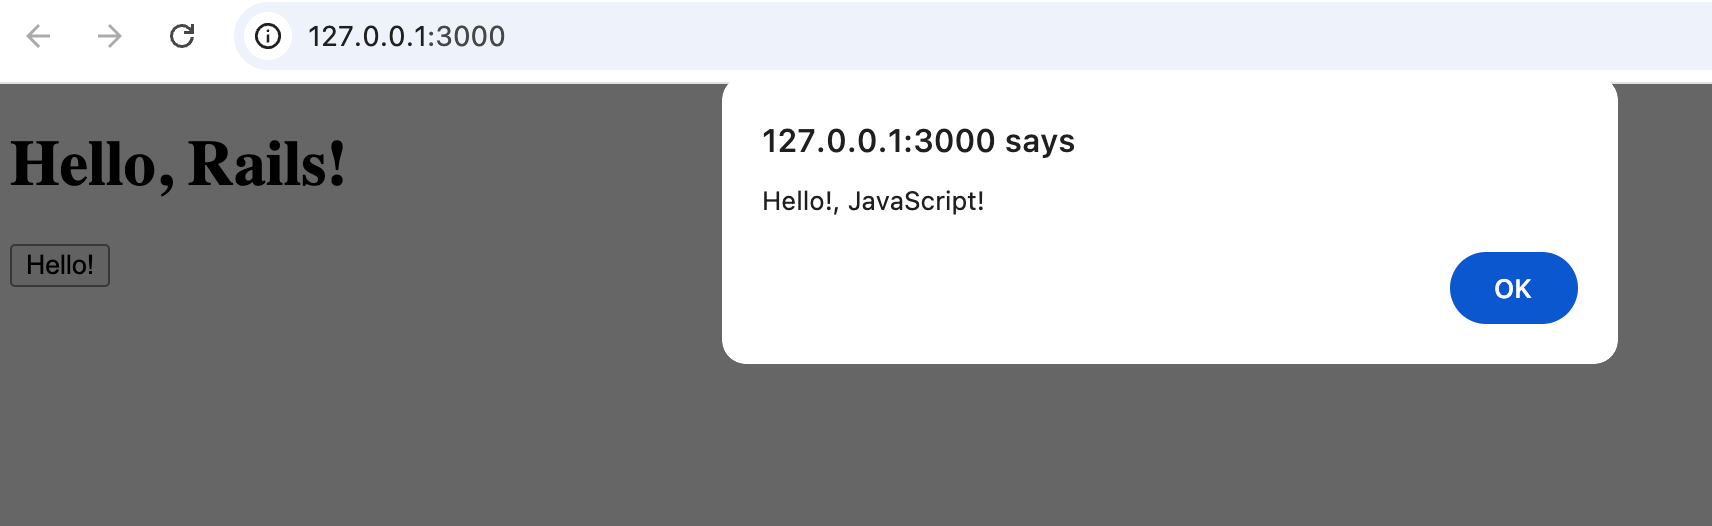
Open http://127.0.0.1:3000 in your browser. Then click the Hello! button to see the alert.