Code coverage
With RubyMine, you can measure how much of your code is covered with tests using the SimpleCov analysis tool. You can run tests with coverage for any supported testing framework, analyze the percentage of covered files and lines in a separate tool window and editor, generate HTML reports, and so on.
Configure coverage run options
RubyMine allows you to run tests with coverage using specific run options. For example, you can exclude particular folders from coverage measurement. To provide specific coverage options, you need to have a run configuration for tests. A run configuration can be created in two ways:
Automatically after performing tests
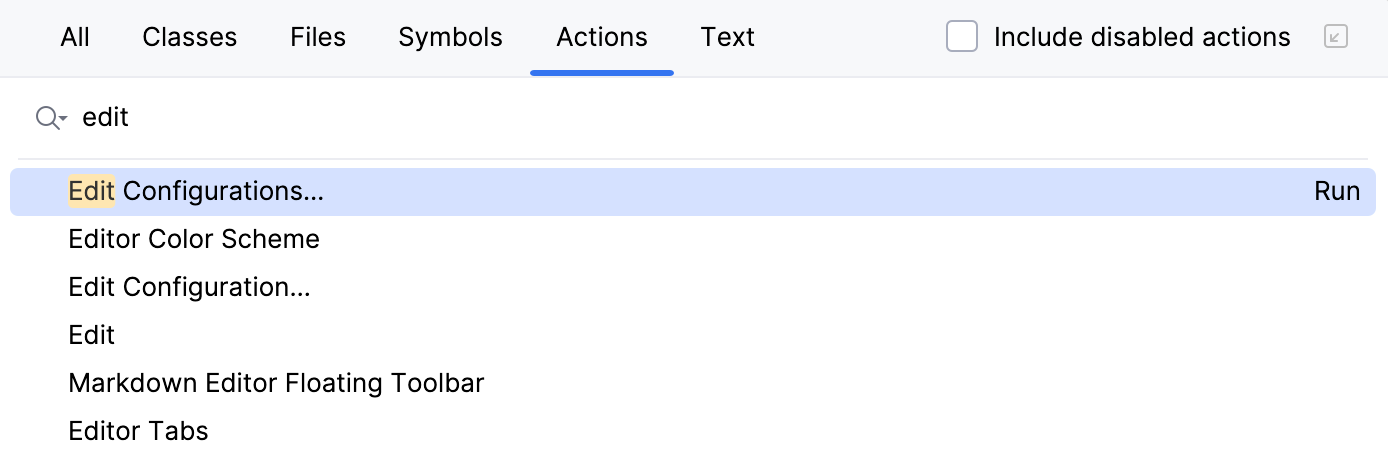
After creating a run configuration for tests, you can configure coverage options in the following way:
Press Ctrl+Shift+A and start typing edit configurations. Select Edit Configurations and press Enter.
In the opened Run/Debug Configurations dialog, select the required configuration (for example, Rake, Test::Unit/Shoulda/Minitest, or RSpec), go to the Code Coverage tab and specify the desired settings.
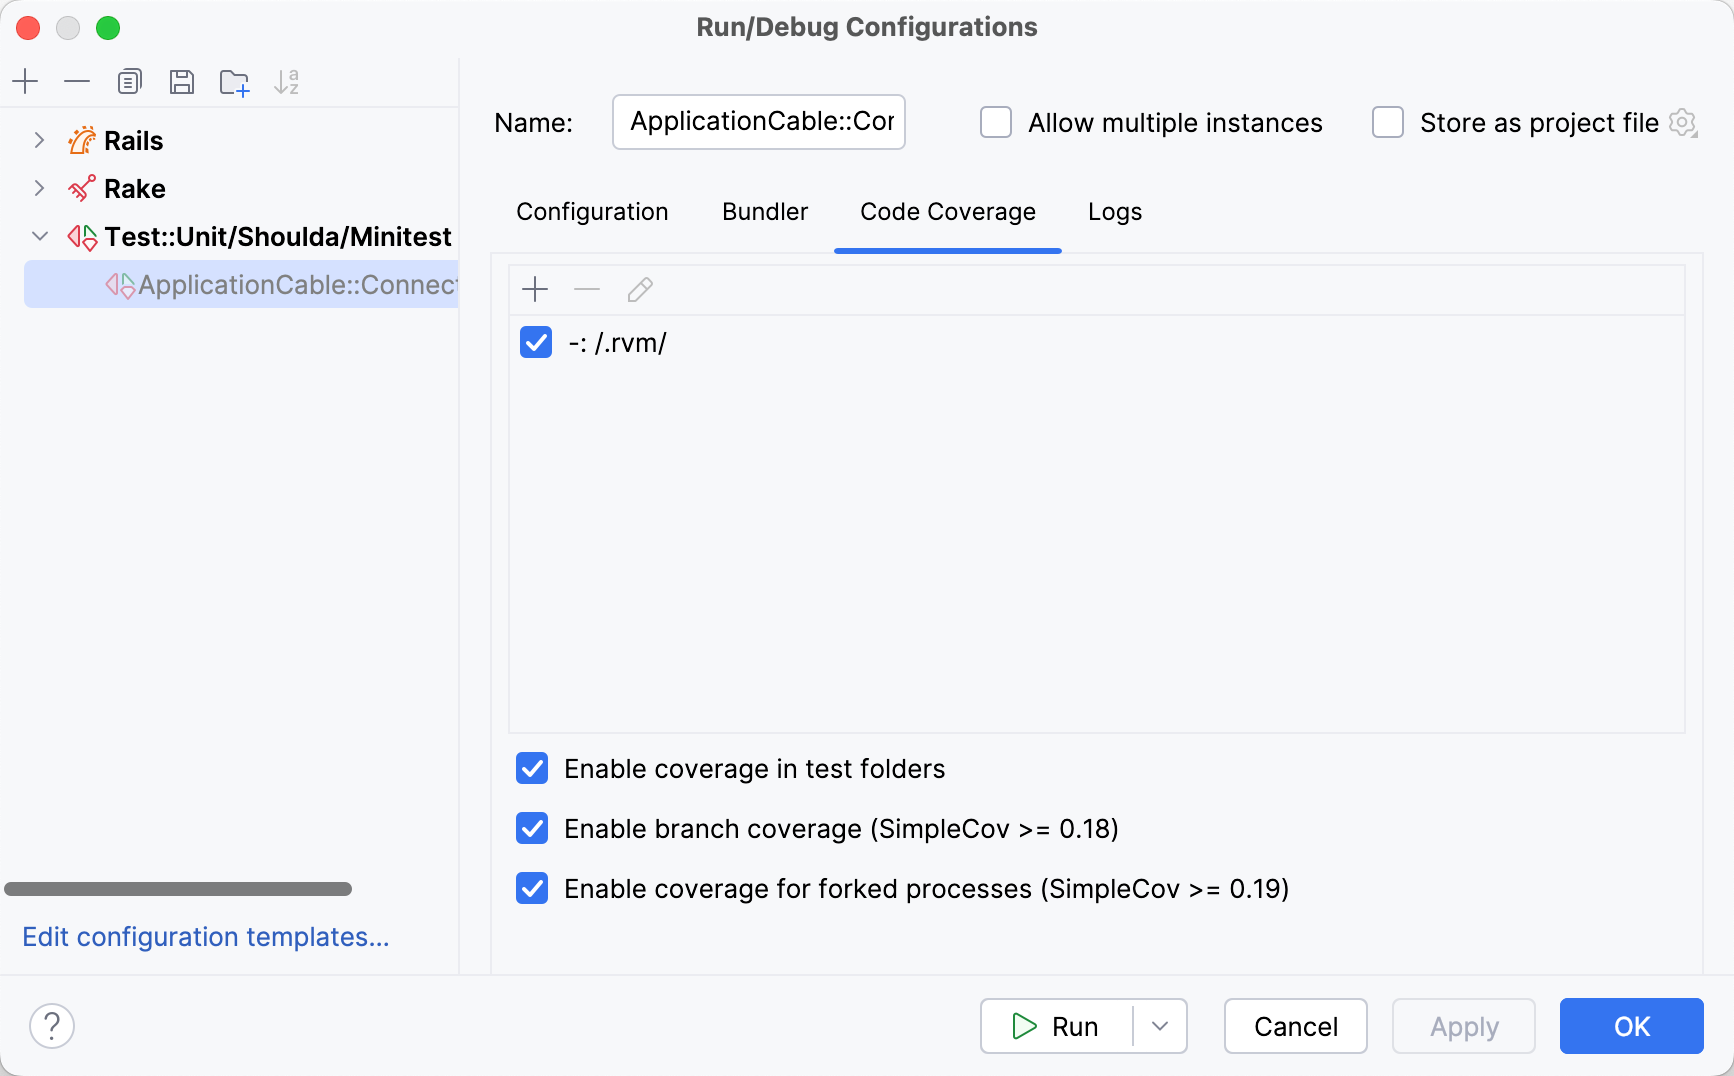
Coverage settings for run configurations
Option | Description |
|---|---|
| Define the scope of code coverage analysis. In the Add Pattern dialog that opens, type the comma-delimited list of Ruby regular expressions. Select one of the pattern types defining whether the matching files should be included in or excluded from code coverage analysis. Examples: |
| Click this button to delete the selected pattern from the list. |
| Click this button to change the selected code coverage pattern. |
Enable coverage in test folders | Enable this option to include test folders (for example, test or spec) in code coverage analysis. |
Enable branch coverage (SimpleCov >= 0.18) | Use this option to enable branch coverage. With this option enabled, you can see partially covered conditions in the editor when viewing results. |
Enable coverage for forked processes (SimpleCov >= 0.19) | Enable this option to measure coverage for forked processes. |

Configure coverage measurement
Configure code coverage behavior
Press Ctrl+Alt+S to open settings and then select .
Define how the collected coverage data will be processed:
Show options before applying coverage to the editor: show the Code Coverage dialog every time you run a new run configuration with code coverage.
Do not apply collected coverage: discard the new code coverage results.
Replace active suites with the new one: discard the active suites and use the new one every time you launch a new run configuration with code coverage.
Add to the active suites: add new code coverage suites to the active suites every time you launch a new run configuration with code coverage.
Select the Activate Coverage View checkbox to open the Coverage tool window automatically.
Change colors of the coverage highlighting
Press Ctrl+Alt+S to open settings and then select .
Alternatively, click
 in the popup that opens on clicking the coverage indication line in the gutter.
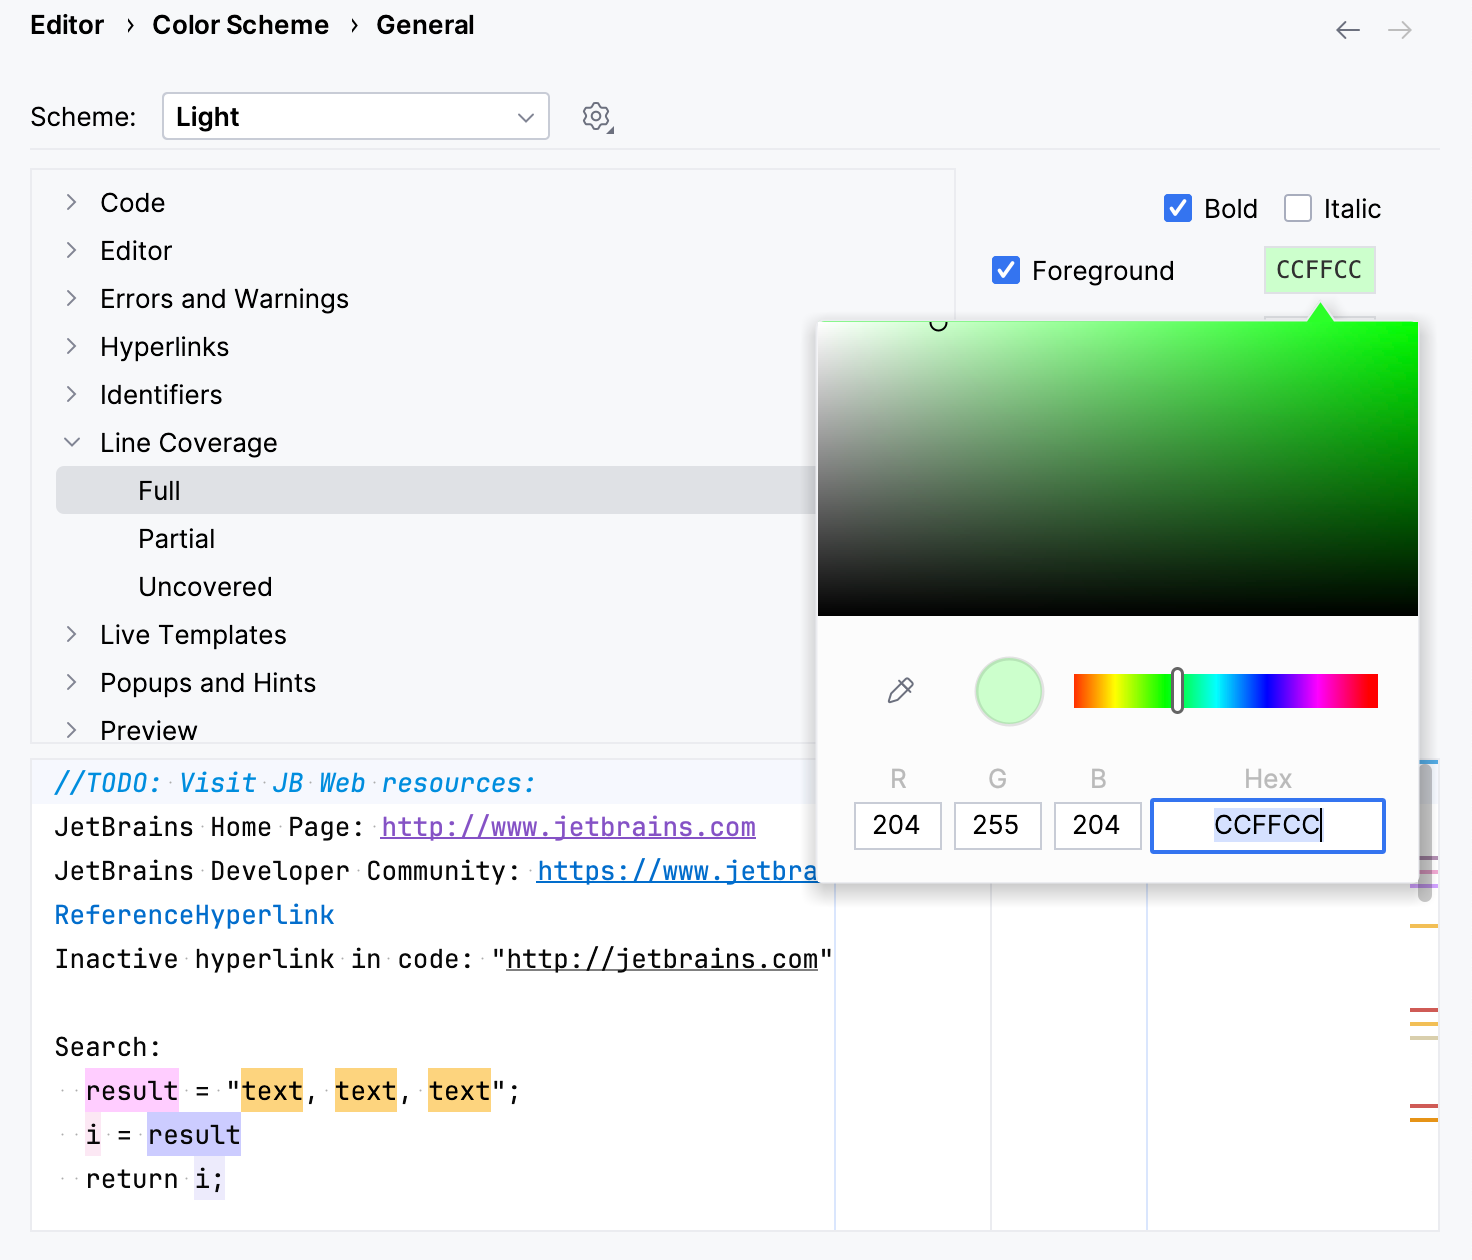
In the list of components, expand the Line Coverage node and select a type of coverage: for example, Full, Partial or Uncovered.
Click the Foreground field to open the Select Color dialog.
Select a color, apply the changes, and close the dialog.
Run tests with coverage
RubyMine allows you to run tests with coverage in the following ways:
Run tests with coverage using a predefined configuration
To run the tests with coverage using the already created run configuration, do one of the following:
Press Alt+Shift+F10, select the required configuration, press the right arrow key, select Cover, and press Enter.
To run tests with coverage from the main toolbar:
Select the required run configuration from the list on the main toolbar.
Click
 More Actions in the Run widget, then select Run with Coverage.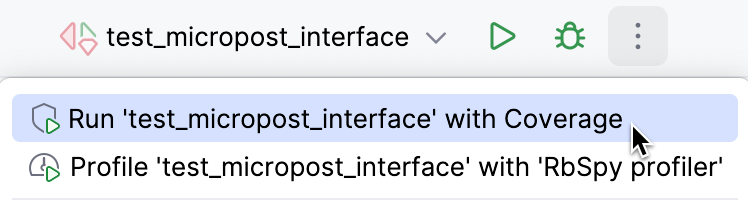
Run tests with coverage from the Project view
To run a test or multiple tests with coverage from the Project view, do the following:
Right-click a specific test file or a directory containing the required tests (for example, test, spec, or features).
From the context menu, select the corresponding run command, for example, .
Run tests with coverage from the editor
To run tests from the editor, perform the following steps:
Click the Run button on the left gutter next to the required test or test class.
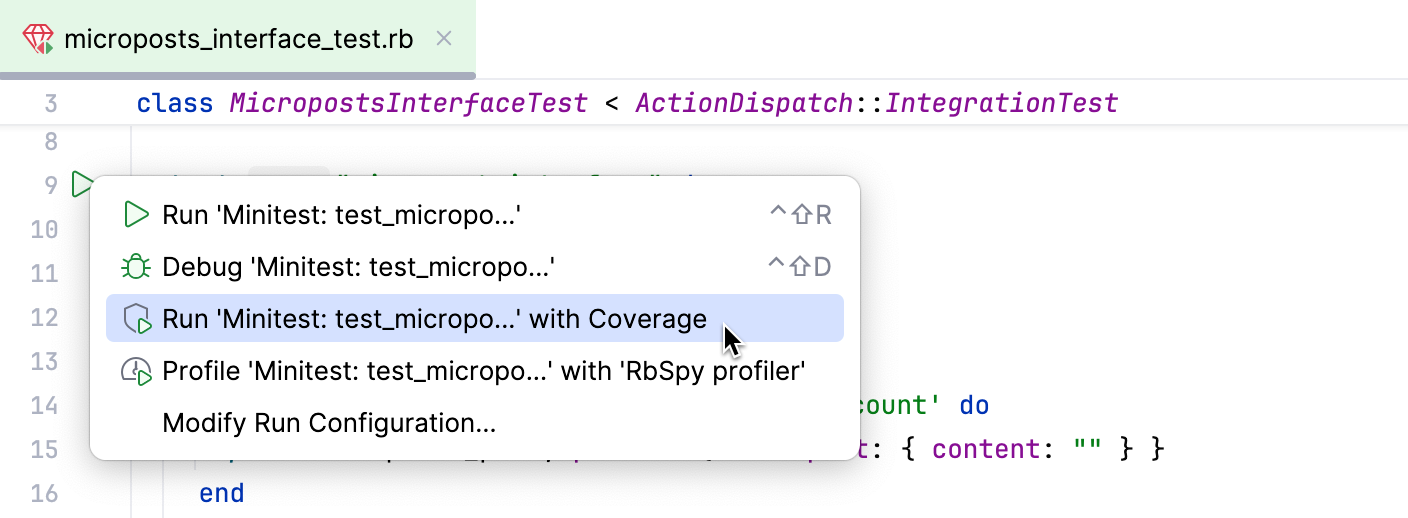
From the context menu, select the required run command, for example, .
View coverage results
After running tests with coverage, RubyMine displays results in the following ways:
In the Project view.
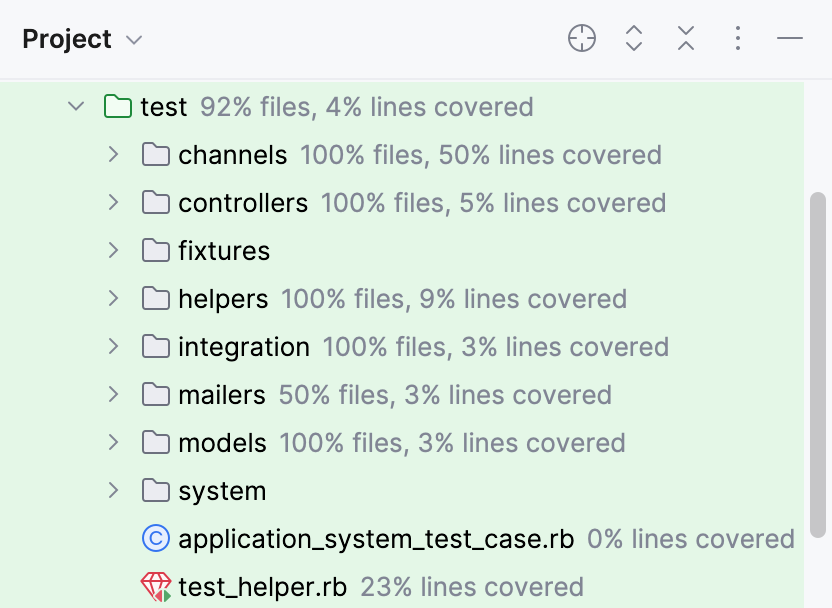
Here you can navigate through a project and examine the percentage of covered files and lines.
In the Cover tool window.
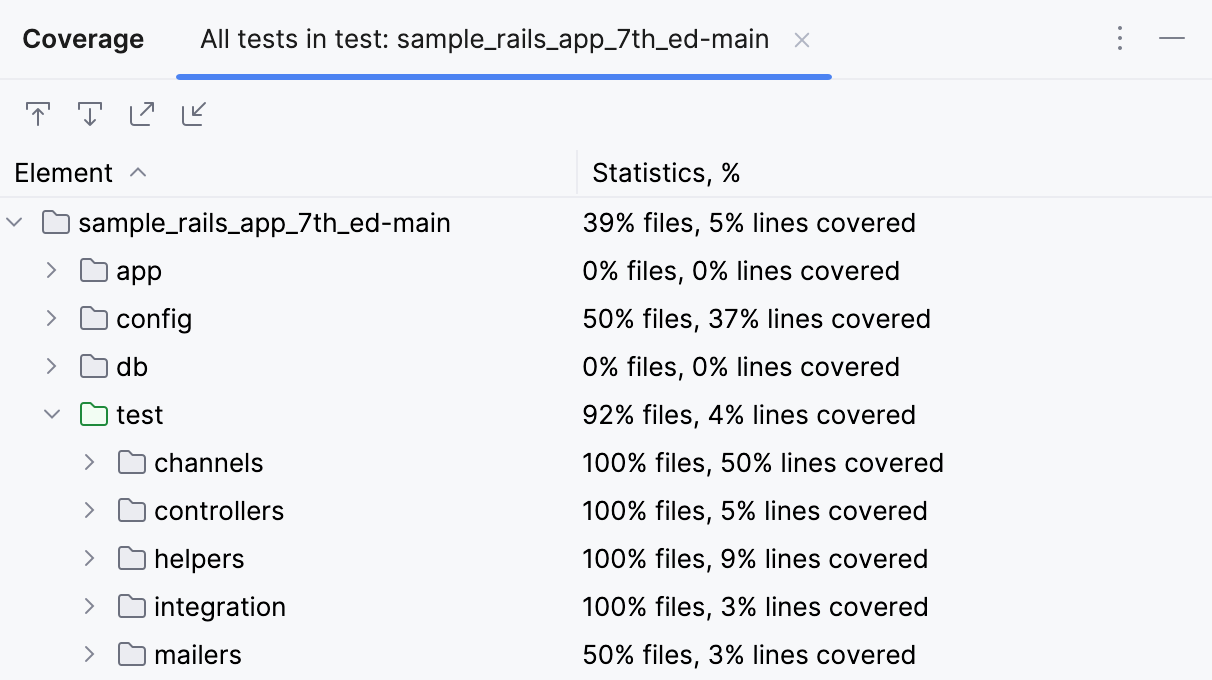
You can enable the
 option to open a selected file in the editor automatically. The
  button allows you to generate an HTML report based on coverage results.
In the editor.
Use the color indicators in the gutter to detect the uncovered lines of code.
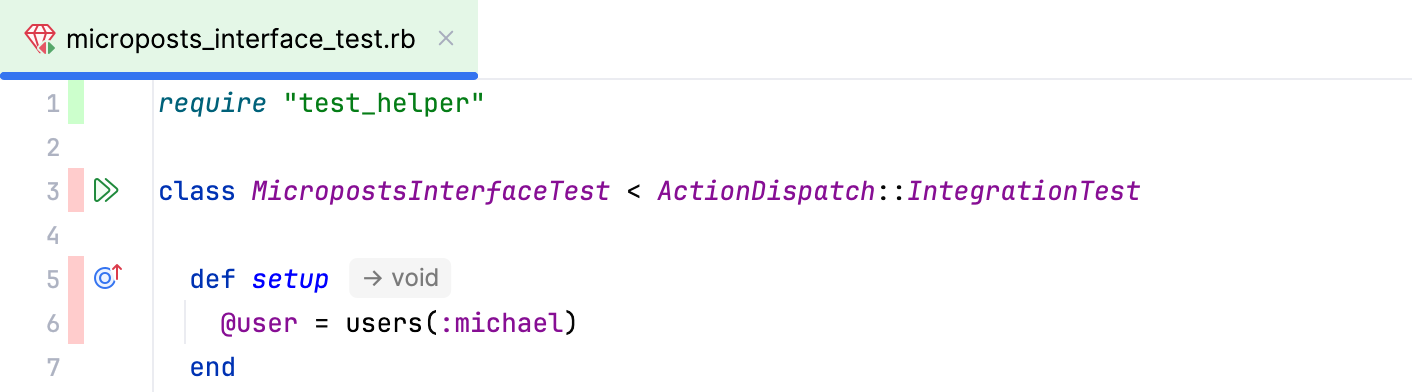
To find out how many times a line has been hit, click the corresponding color indicator.
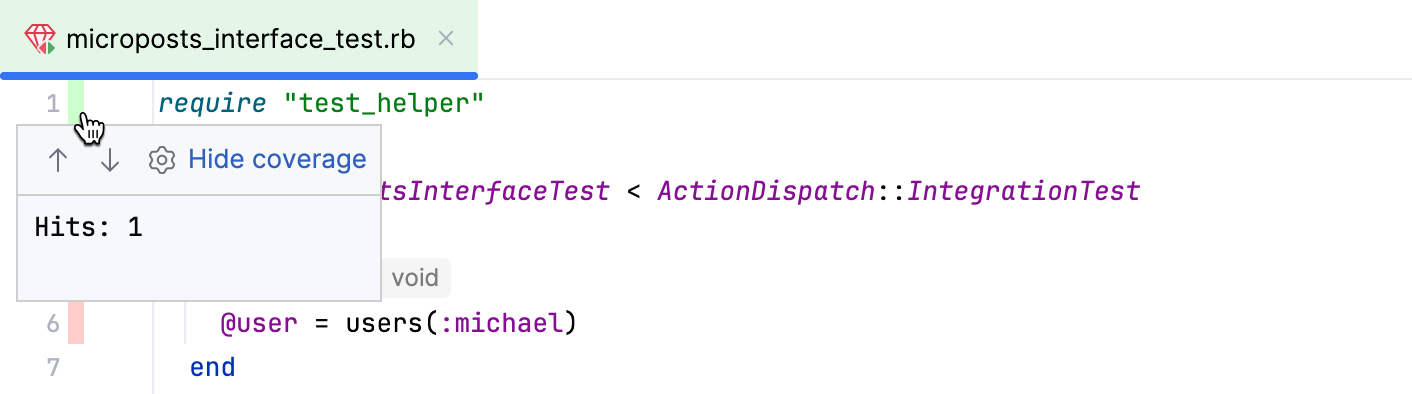
In the opened popup, you can click
to configure code coverage colors or hide coverage results by clicking the Hide coverage link. For more information about displaying hidden coverage results, refer to Coverage suites.
Coverage suites
A coverage suite is a collection of code coverage data from a specific run. Each coverage suite stores data from either a single run configuration (if it was run with coverage) or from an imported coverage data file.
RubyMine stores coverage suites in the coverage folder of the IDE system directory:
%LOCALAPPDATA%\JetBrains\RubyMine2026.2\coverage
~/Library/Caches/JetBrains/RubyMine2026.2/coverage
~/.cache/JetBrains/RubyMine2026.2/coverage
RubyMine can display results from one or more coverage suites at the same time, and you can select which suites to show. If multiple suites are selected, the IDE displays their merged results: this means that a line is considered covered if it was executed in at least one of the suites.
Select which coverage suites to display
The list of coverage suites becomes available after at least one run with coverage.
In the main menu, go to (Ctrl+Alt+F6).
In the Choose Coverage Suite to Display dialog that opens, select the suites you want to display results from.
If you want to hide all code coverage results, click No Coverage instead. This deselects all coverage suites and closes the dialog.
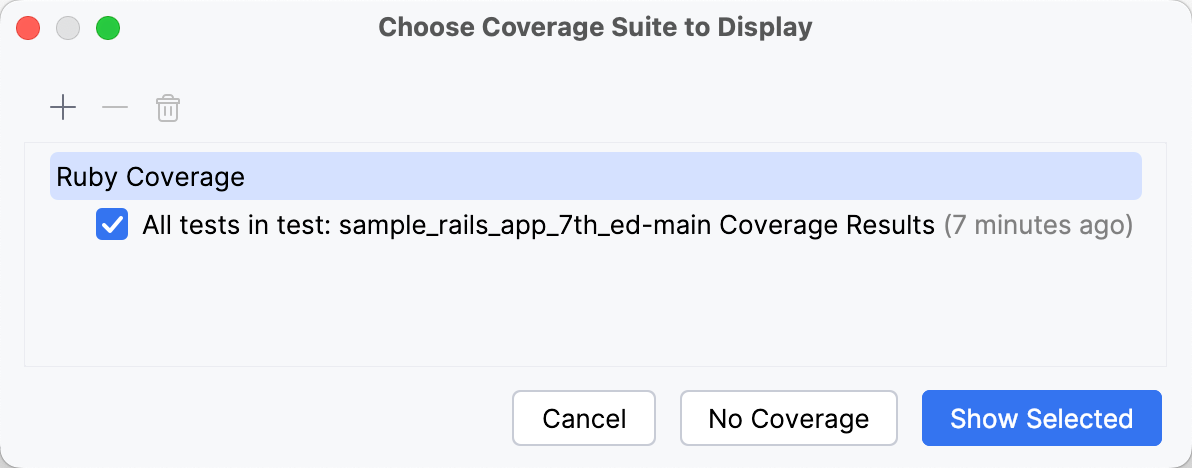
Click Show Selected.
RubyMine loads the code coverage results for the selected suites.
Add and remove coverage suites
If you want to review code coverage results from a file that was generated outside RubyMine (for example, by a build server or another developer), you can add the file as a separate coverage suite.
You can also remove suites from the IDE or completely delete them from disk.
In the main menu, go to (Ctrl+Alt+F6).
In the Choose Coverage Suite to Display dialog that opens, choose an action from the toolbar:
To import an external coverage file, click
 Add and browse for the file.
The files with coverage data generated by RubyMine are saved to the coverage folder in the IDE system directory by default.
To remove a coverage suite from the IDE but keep it on disk, select the suite and click
 Remove.
To delete a coverage suite from both the IDE and the disk, select the suite and click
 Delete.
Generate HTML report
RubyMine allows you to generate an HTML report for the collected coverage results.
In the main menu, go to , or click
in the Coverage tool window.In the Generate Coverage Report dialog, specify the directory where the generated report will be stored. Optionally, select Open generated HTML in browser. Click Save.