Tutorial: Deploy an AWS S3 bucket using Terraform
PhpStorm offers support for managing infrastructure as code with Terraform, allowing you to define, review, and update cloud resources without leaving the IDE. Tasks such as creating storage for a feature, setting up environments, or keeping configurations consistent across machines and CI pipelines can be handled directly in code instead of through the cloud console.
This tutorial explains how to create an AWS S3 bucket using Terraform in PhpStorm. You will use the IDE features to write and review the configuration, apply it to provision the resource, and then destroy this resource.
Before you start
Before starting the tutorial, make sure that the following prerequisites are met:
AWS account. Create and activate an AWS account. For this tutorial, the AWS Free Tier is enough, but a valid payment method is required during the account setup. For more details, refer to the official documentation.
IAM user with programmatic access. For security reasons, do not use the root account for this tutorial. Instead, in the AWS Management Console, create a new user with programmatic access and attach the
AmazonS3FullAccesspermission policy.AWS CLI. Install AWS CLI on your machine. You will use it to configure AWS credentials locally and verify access to your account.
Set up the environment
After creating an IAM user and installing AWS CLI, configure your credentials locally:
Configure AWS credentials
In the system terminal, run the following command to configure a named profile:
aws configure --profile terraform-userBy using a named profile, you can manage multiple AWS accounts and configurations on the same machine. The profile name you specify here will be used later in the Terraform configuration.
When prompted, enter the following details:
AWS Access key ID: from the IAM user you created.
AWS Secret Access Key: from the IAM user you created.
Default region name: the region where your resources will be created. For example,
us-east-1oreu-central-1. For more details about supported regions, refer to the official documentation.Default output format: press Enter to use the default format (JSON).
Verify that the credentials are configured correctly by running:
aws sts get-caller-identity --profile terraform-userIf the configuration is successful, the command returns details about your IAM user.
Now that your AWS credentials are configured and verified, launch PhpStorm and set up your development environment.
Install the Terraform and HCL plugin
This functionality relies on the Terraform and HCL plugin, which you need to install and enable.
Press Ctrl+Alt+S to open settings and then select .
Open the Marketplace tab, find the Terraform and HCL plugin, and click Install (restart the IDE if prompted).
Specify the Terraform executable path
To run Terraform commands from the IDE using run configurations, you need to have Terraform installed on your machine.
Press Ctrl+Alt+S to open settings and then select .
In most cases, PhpStorm detects the path to the Terraform executable automatically. If the IDE does not detect the version and path to the executable, click Detect and Test.
If Terraform is not installed on your machine, click Install.
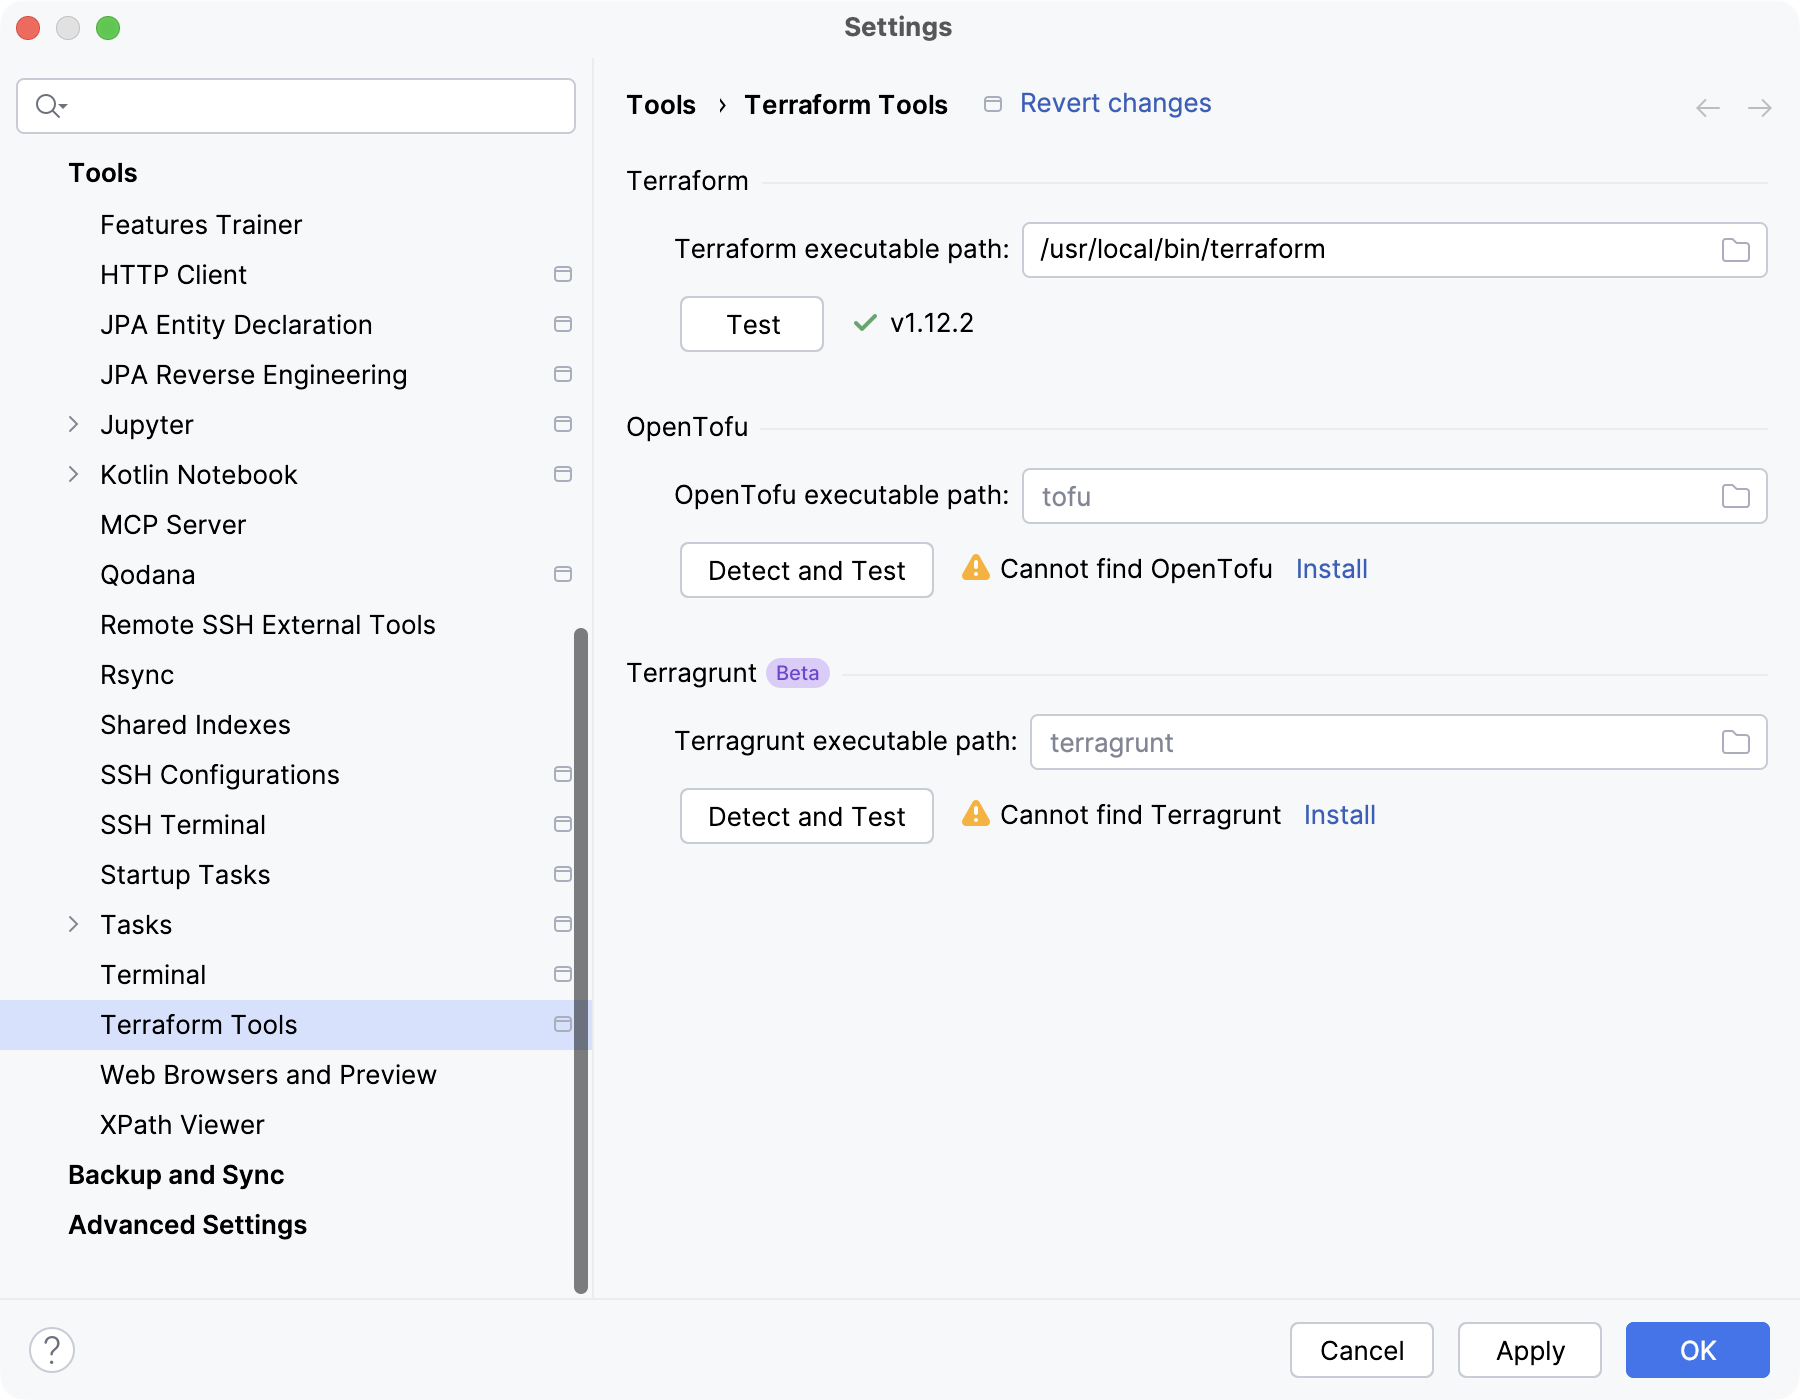
If necessary, you can specify the path to Terraform manually in the Terraform executable path field.
Create a new project
Let's create a new empty project to store our Terraform configuration.
This is a general-purpose PHP project without specific frameworks. You will be able to add the necessary frameworks and technologies later at any time.
From the New Project dialog, select PHP Empty Project.
Name the new project and change its location if necessary in the Location field.
Select the Add 'composer.json' checkbox if you want to add a
composer.jsonfile template to the empty project.
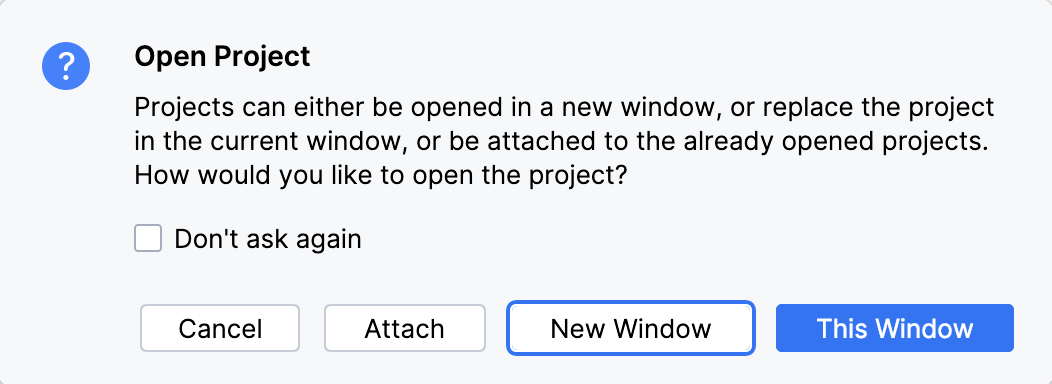
When you click Create, PhpStorm generates a project stub and opens it either in the current window or in a new one depending on your choice in the information dialog that opens:
Create a Terraform configuration
With your project ready, you can start defining your infrastructure. In Terraform, infrastructure is described using configuration files written in HashiCorp Configuration Language (HCL). Let's create a simple Terraform configuration that defines an AWS S3 bucket.
Create a new Terraform file
In the Project tool window (Alt+1) , right-click the project root and select .
In the New File dialog, name the new file
mainand select the Configuration file template from the list. Press Enter.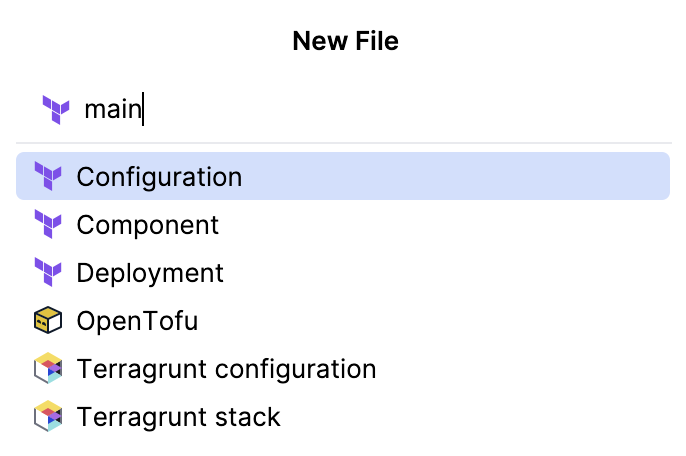
PhpStorm creates the main.tf file in the project root and opens it in the editor.
PhpStorm helps you build a valid Terraform configuration using the smart assistance features. Start building the configuration by defining a provider.
Add the AWS provider
In the main.tf file, start typing the
providerblock:provider ""Invoke code completion (Ctrl+Space) and select
awsfrom the list of completion suggestions:provider "aws" { }As you do this, PhpStorm also inserts a
terraformblock at the top of the file. This block defines the required providers and their versions for the configuration.After these steps, your configuration should look similar to the following:
terraform { required_providers { aws = { source = "hashicorp/aws" version = "6.36.0" } } } provider "aws" { }Inside the
providerblock, use code completion to add theregionandprofilearguments.Set the argument values, for example:
provider "aws" { region = "eu-west-1" profile = "terraform-user" }The
regiondetermines where Terraform will create your resources, and theprofilespecifies the AWS credentials to use.
Now that the AWS provider is configured, let's define an S3 bucket resource.
Add an S3 bucket resource
In the main.tf file, start typing
resource. Then use code completion (Ctrl+Space) to select theaws_s3_bucketresource type. Name the resourcetutorial_bucket. Your configuration should look like this:resource "aws_s3_bucket" "tutorial_bucket" {}Inside the
resourceblock, start typingbucketand use code completion to add the argument. Specify a unique bucket name, for example:resource "aws_s3_bucket" "tutorial_bucket" { bucket = "ij-idea-terraform-tutorial-bucket-123" }
Now that your configuration is ready, you can run Terraform commands to create the S3 bucket.
Run Terraform
You can run Terraform commands directly from PhpStorm using gutter icons in the editor or run/debug configurations.
In this section, you will initialize the project, preview the planned changes, apply the configuration to create the S3 bucket, and then remove it to avoid unnecessary costs.
Initialize the project
The terraform init command initializes the Terraform project, downloads the required providers, and prepares the working directory. It also creates a .terraform.lock.hcl file, which records the exact provider versions used in the project and ensures consistent behavior across runs and environments.
In the main.tf file, click
 Run Terraform in the gutter.
Select the Init command from the dropdown.
After initializing the project, preview the execution plan Terraform will generate before applying the changes.
In PhpStorm, you can run Terraform commands using run/debug configurations, which allow you to customize the execution by adding arguments or setting environment variables. In this tutorial, you will add the -out argument, which saves the execution plan to a file. This allows you to review the plan and apply the same changes later.
Preview the execution plan
Go to . Alternatively, press Alt+Shift+F10, then 0.
Click (
 ) Add New Configuration and start typing Terraform.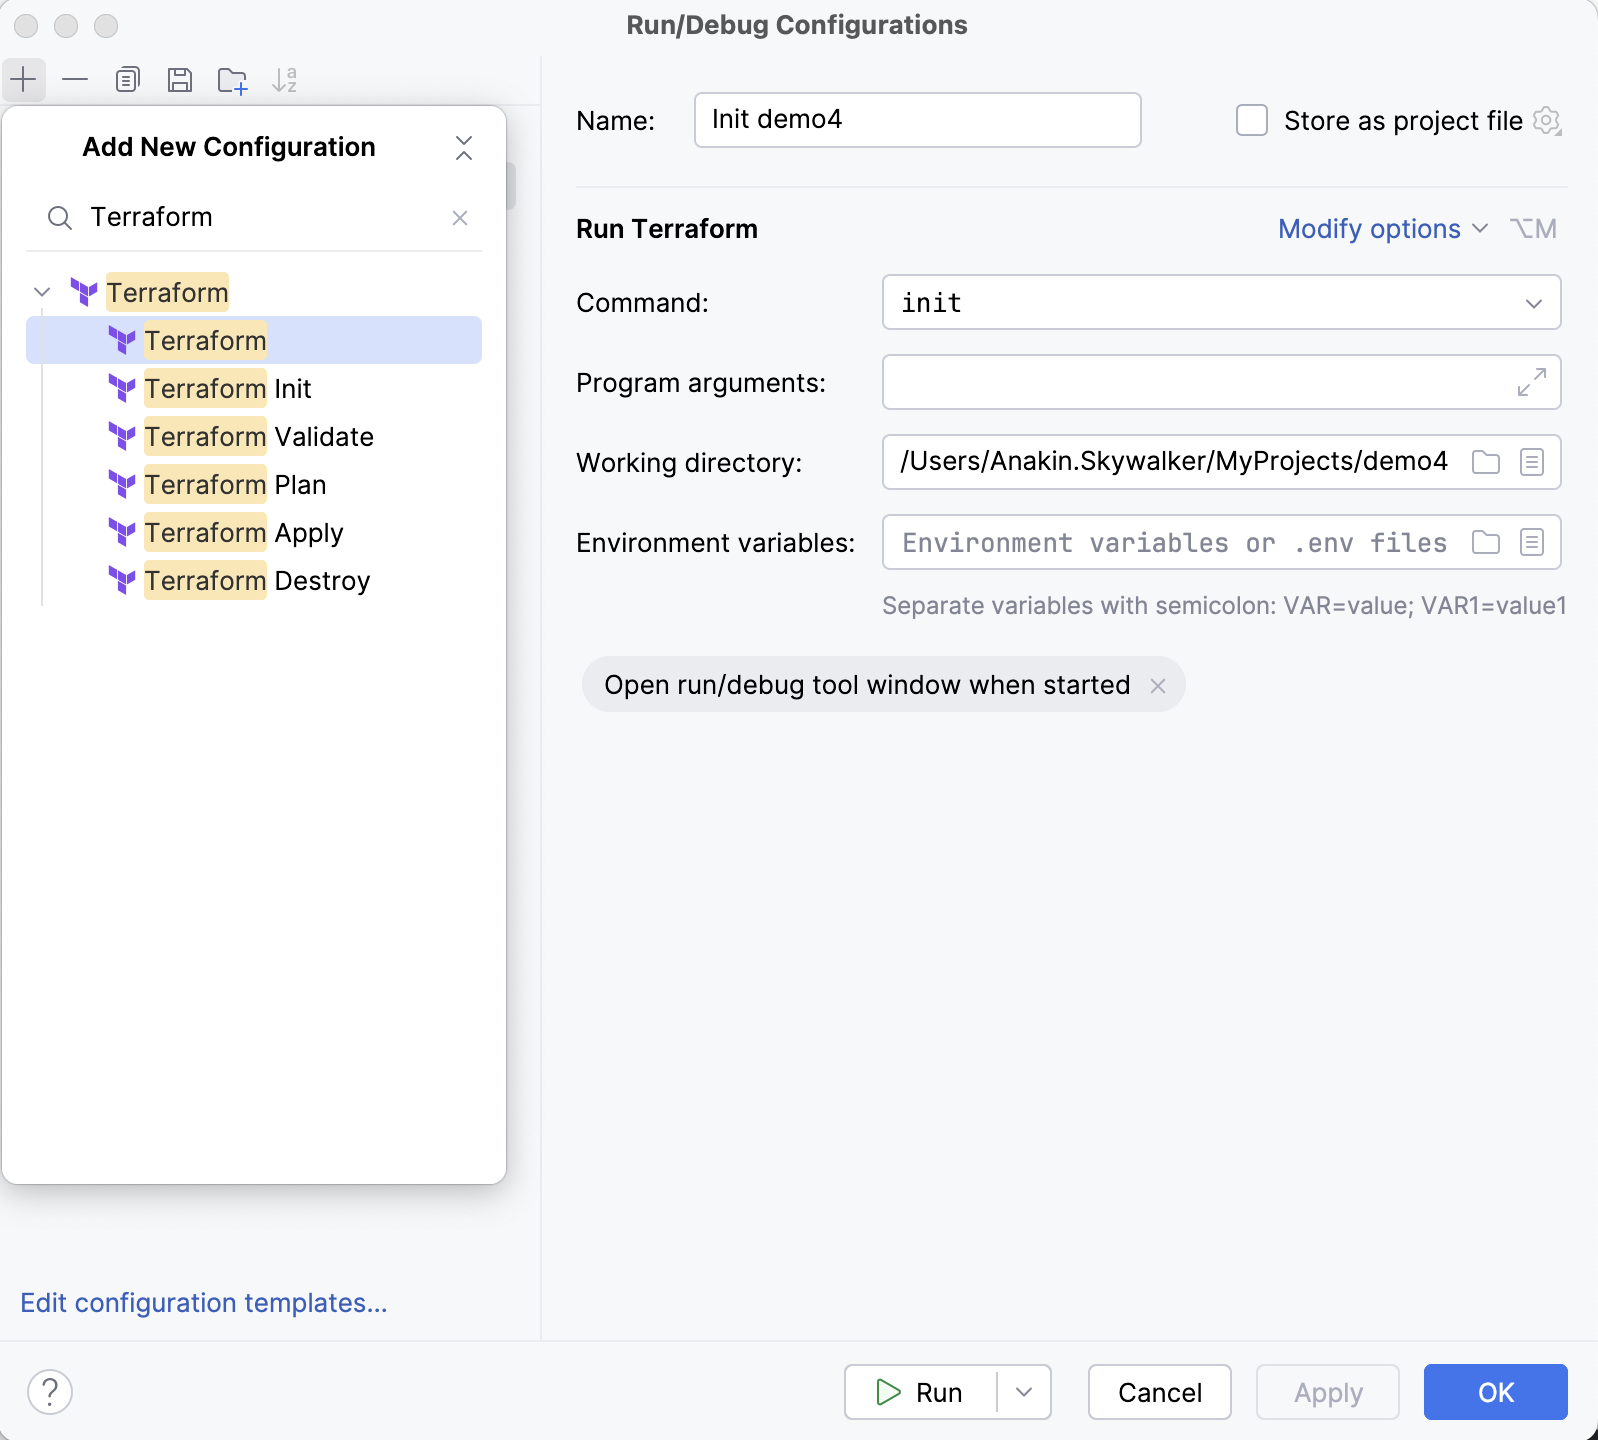
Select the Terraform Plan configuration type from the list.
Name the run/debug configuration, for example,
Plan S3 Bucket.In the Program arguments field, specify the
-out=tfplanargument.Click Run.
The execution plan details are displayed in the Run tool window. At the same time, because we specified the -out=tfplan argument, Terraform saved the plan to the tfplan file in the project root. After reviewing the plan, you can apply the configuration using this file to create an S3 bucket resource in your AWS account.
Apply the configuration
Similarly to the previous procedure, create a new run/debug configuration. Select the Terraform Apply configuration type from the list.
Name the run/debug configuration, for example,
Apply S3 Bucket.In the Program arguments field, specify the
tfplanargument.Terraform will use the execution plan stored in the tfplan file when creating the resource.
Click Run.
After applying the configuration, verify that the S3 bucket was created successfully in the AWS Management Console.
Clean up
Destroy the S3 bucket
In the main.tf file, click
Run Terraform in the gutter.Select the Destroy command from the dropdown.
After the process is finished, verify that the S3 bucket has been removed in the AWS Management Console.
Summary
In this tutorial, you have learned how to:
Configure the Terraform executable path and set up your AWS environment
Create a Terraform configuration in PhpStorm
Configure the AWS provider and define an S3 bucket resource
Run Terraform commands using gutter icons and run/debug configurations to initialize, plan, apply, and destroy infrastructure