Create and run your first Ruby project
This topic explains how to do the following in IntelliJ IDEA:
Create your first empty application
Create and run a Ruby file
Create and run your first Rails application
Add a JavaScript asset to a Rails application
Run your Rails application with the added JavaScript asset
Before performing the procedures below, download and install the Ruby distribution and set up your IDE.
We'll perform all procedures using IntelliJ IDEA installed on macOS.
Create your first application
In this chapter, you will learn how to create an empty application, add a Ruby file, and run it.
Create an empty application
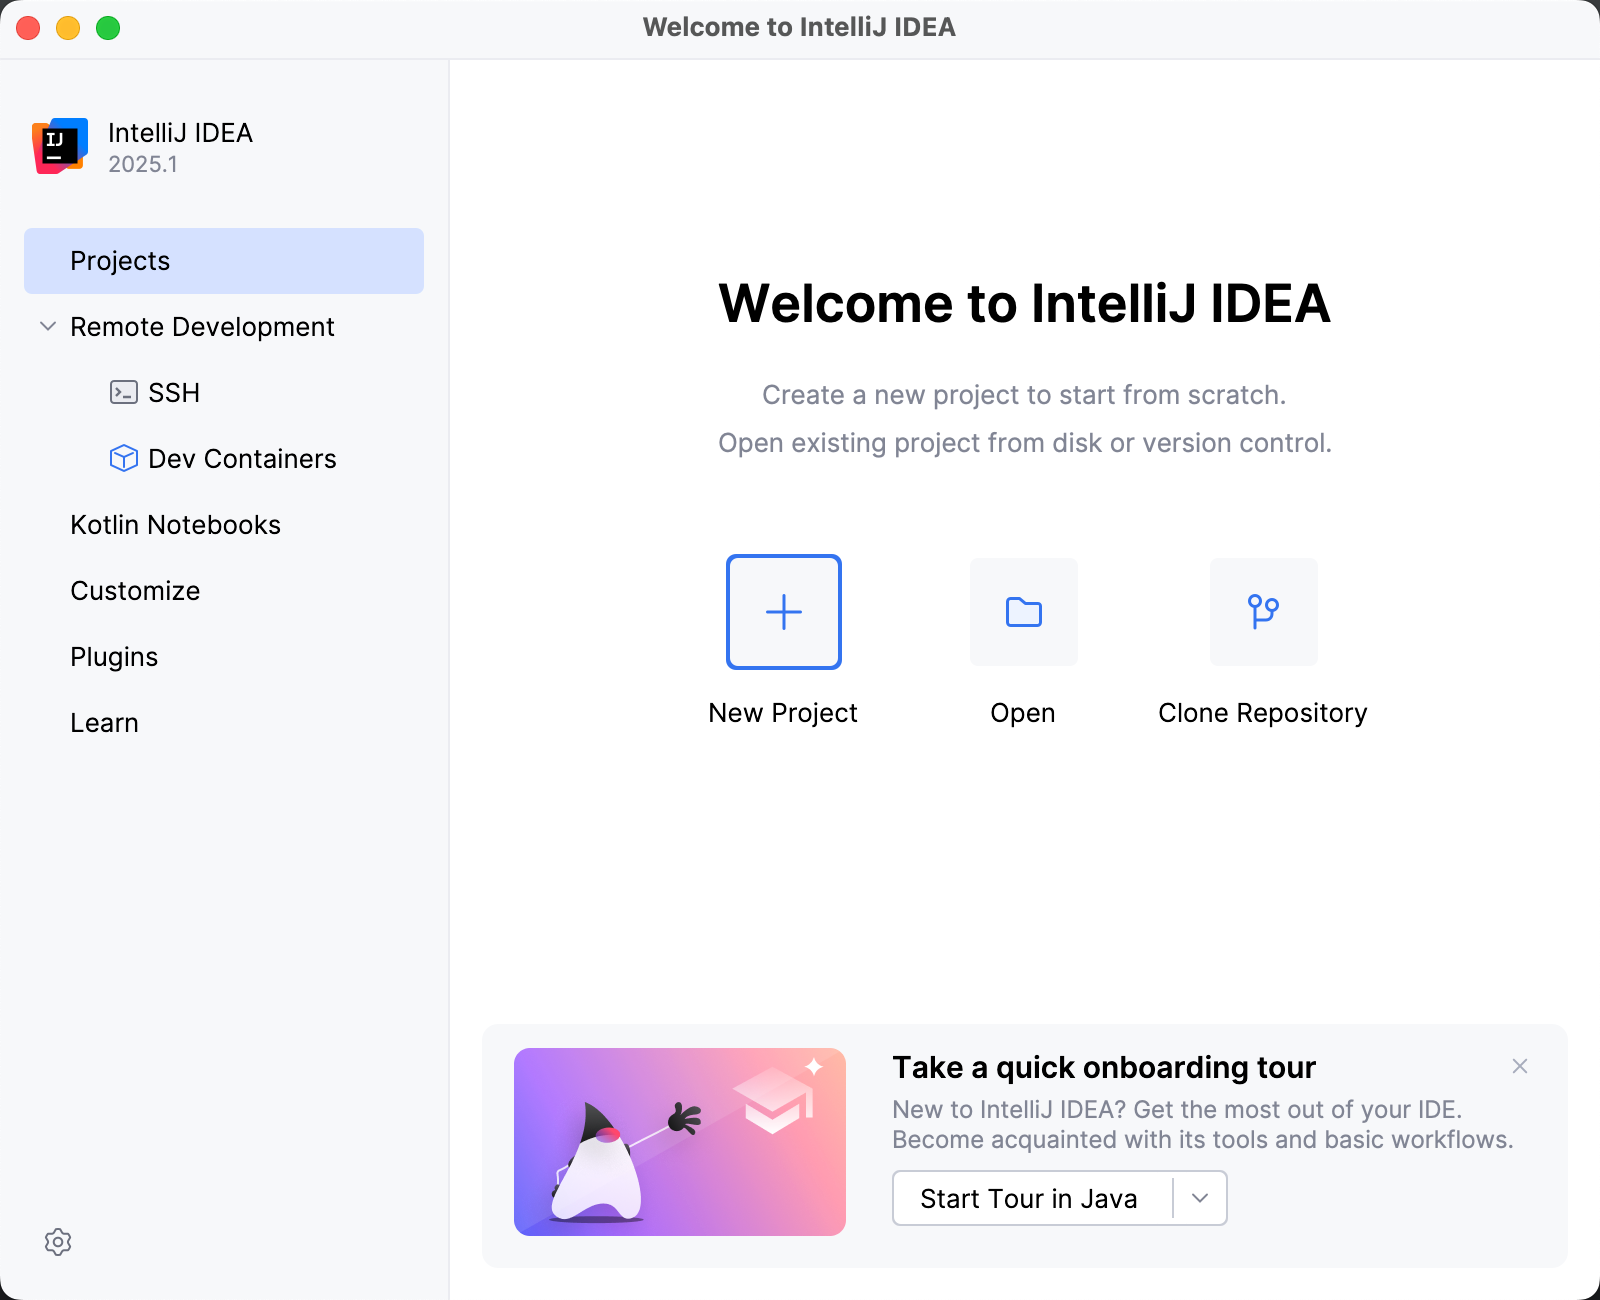
Run IntelliJ IDEA and click New Project on the Welcome Screen.
In the New Project dialog, select Ruby from the list on the left pane. Then, specify the following details:
Name: specify the project name.
Location: specify the path to the directory in which you want to create the project. By default, the IDE creates a directory with the same name as the project.
Create Git repository: check if you want to create a new Git repository for your project sources.
Ruby Interpreter: select the required Ruby interpreter installed on your system.
Add sample code: check if you want to add a sample Ruby file to your project.
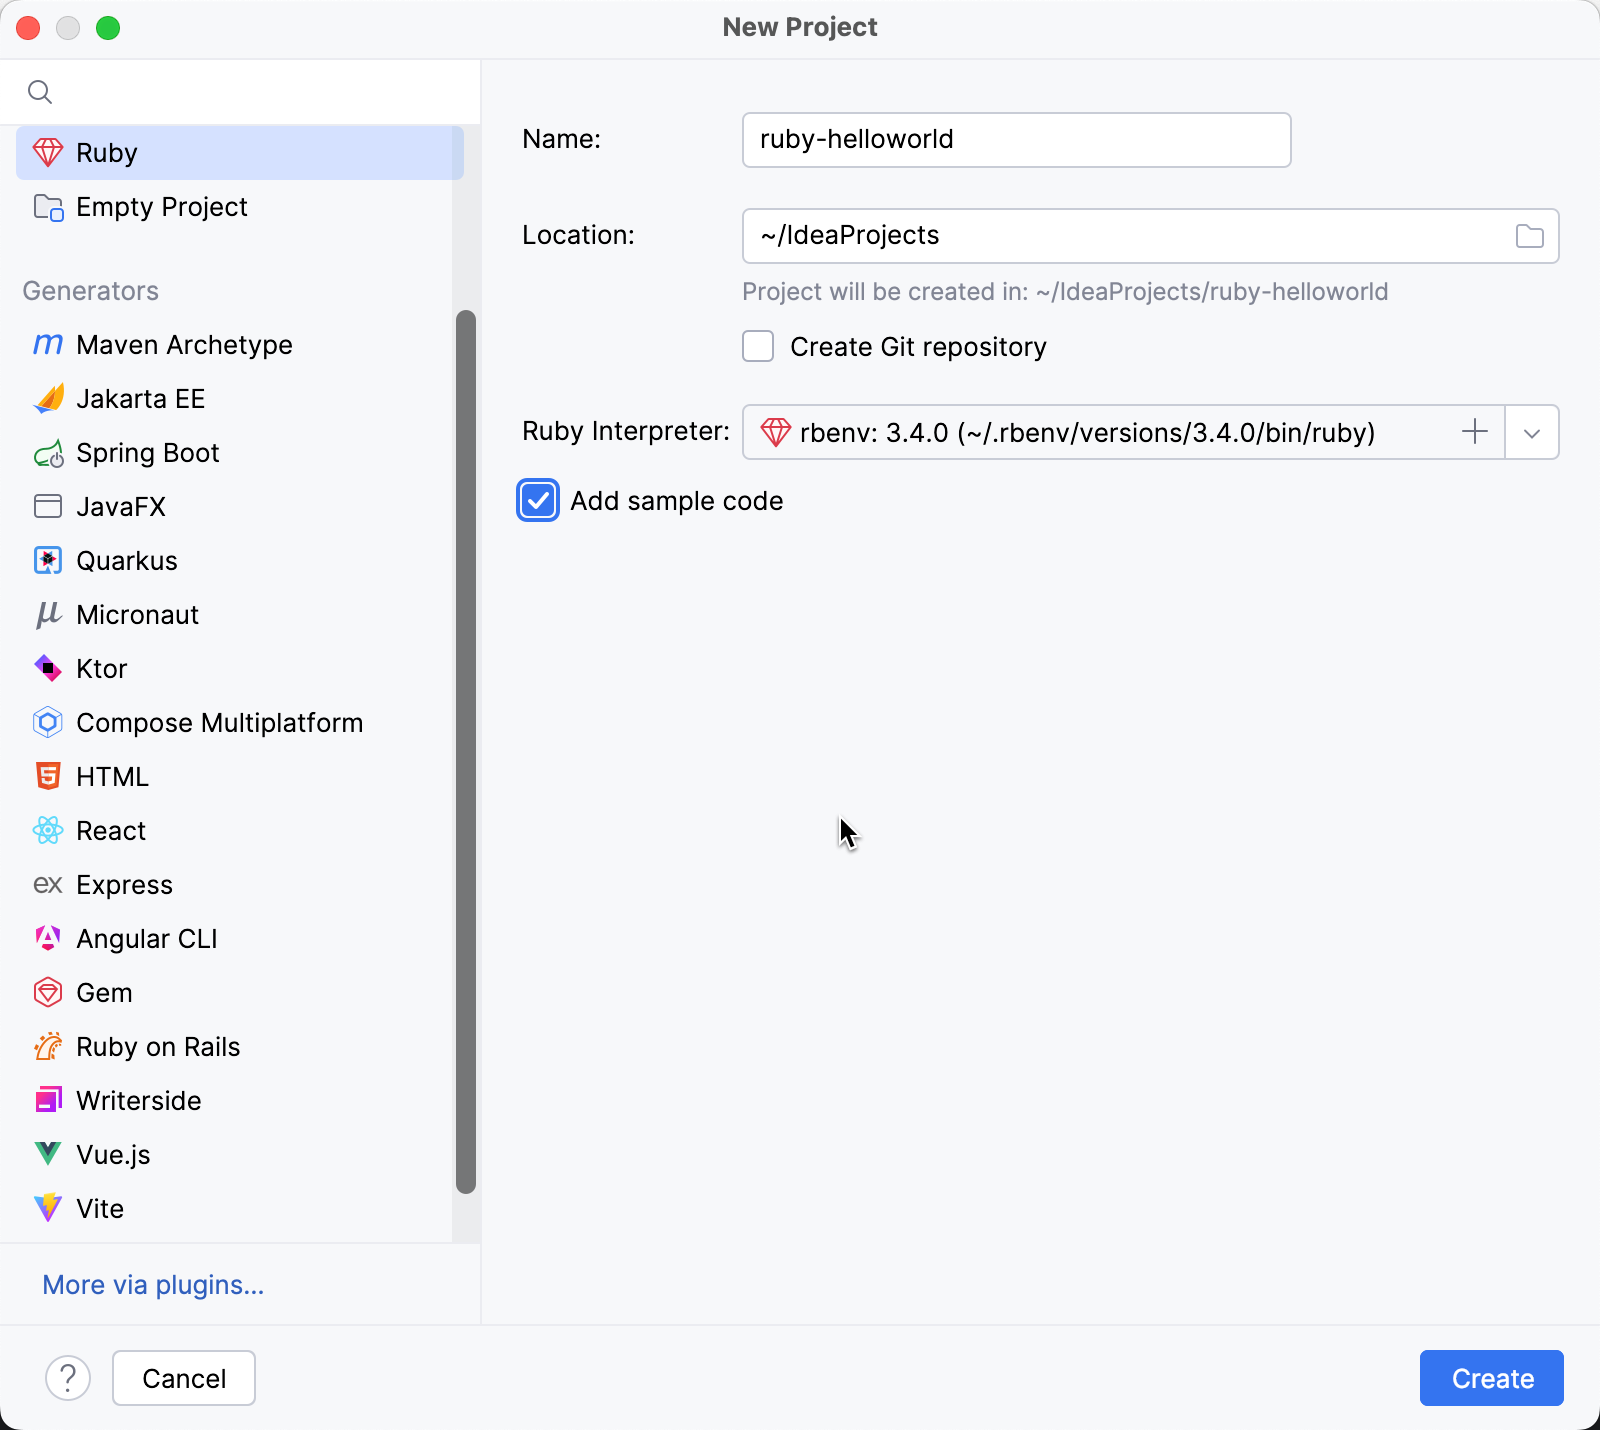
Click Create to continue.
Create a Ruby file
After creating a project, you will see its structure in the Project tool window on the left. To add a Ruby file, do the following:
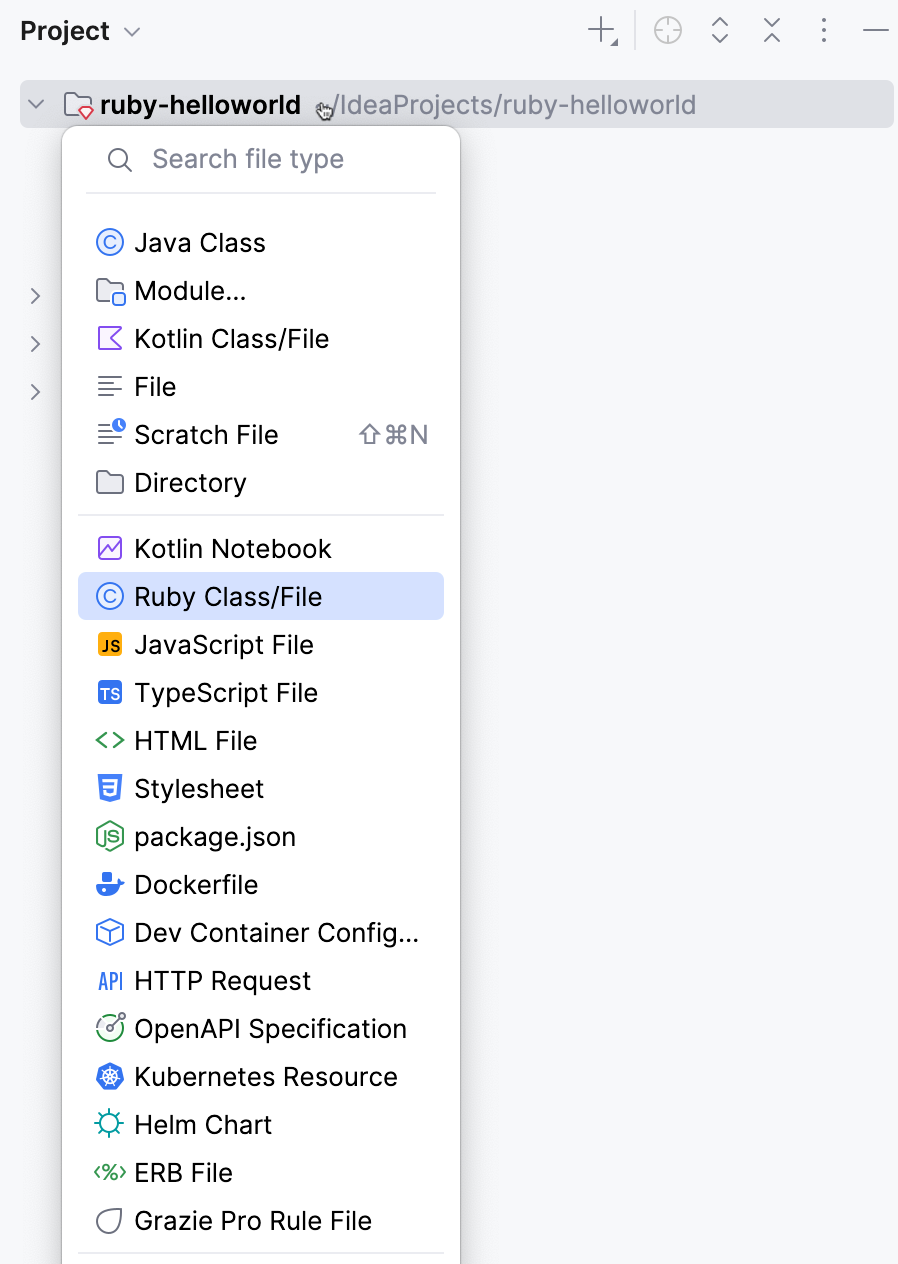
Select a project root in the Project tool window and press Alt+Insert.
In the invoked popup, select Ruby File/Class and press Enter.
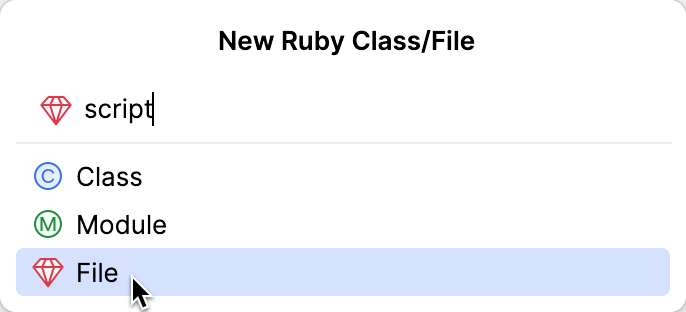
In the invoked popup, specify a script name (script in our case) and click OK.
In the editor, insert the following code:
puts "Please enter your name" name = gets.chomp puts "Hello, #{name}! I'm Ruby!"
Run the Ruby script
To run the created script, do the following:
Press Ctrl twice and type the following command:
ruby script.rbPress Enter.

In the Run tool window, type any name and press Enter to see a program's response.