Connect to a remote server from GoLand
Since working remotely became a necessity, GoLand offers the Remote Development functionality to help you code, run, debug, and deploy your projects remotely.
Connection via SSH
The connection to a remote server is done via SSH and can be started right from the GoLand home screen.
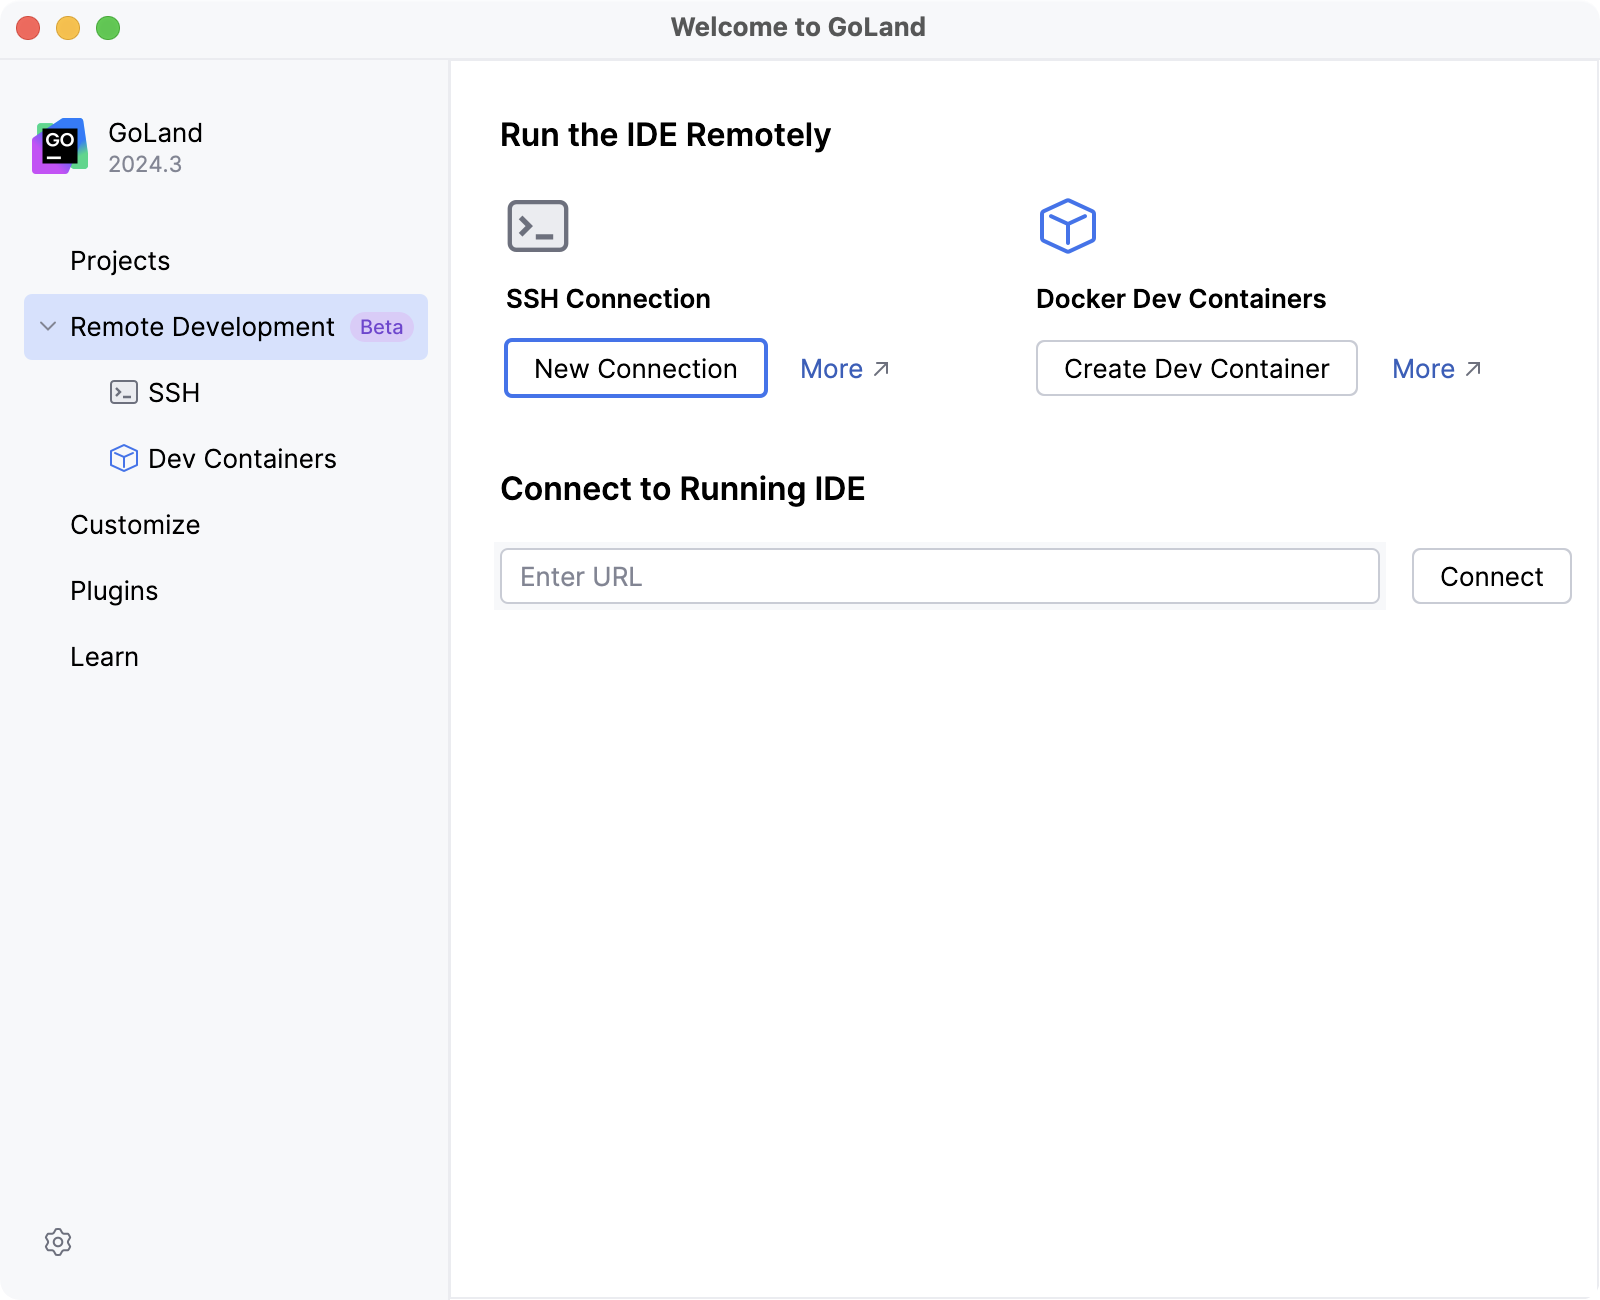
Connect to a remote server and open the remote project
Ensure you have the bundled JetBrains OS integration and Remote development plugins enabled.
On the GoLand Home screen, click Connect to Remote. Alternatively, go to in the main menu.
In the Connect to Remote window, click the SSH tab.
If you have the IDE already running on the remote server, and you have a connection link, you can click Link and add the actual link to the field under the Connect to Running IDE section.
If you do not have any recent configurations, from the drop-down, select SSH Configuration to open the SSH Configuration settings.
Configure the remote server connection parameters, click Test Connection to ensure the connection to the remote server is successful, and click OK to save the changes.
After the remote server configuration, add the SSH connection and click Connect.
Specify a project directory and click Open Project or Skip and Open IDE.
For the information on how to start working with a separate JetBrains Gateway installer, refer to JetBrains Gateway.
For more information about adding plugins or SDK, refer to the appropriate Getting Started section.
Connect to a project running on WSL2
You can configure your IDE backend to launch directly in WSL2.
Before you start connecting to WSL, check the system requirements for remote development and make sure the additional ones are met:
You have a WSL 2 distribution that meets the Linux requirements for GoLand.
You have WSL2 configured on your Windows machine. For more information, refer to the WSL2 configuration section.
Connect to WSL
Ensure you have the Remote Development Gateway plugin enabled.
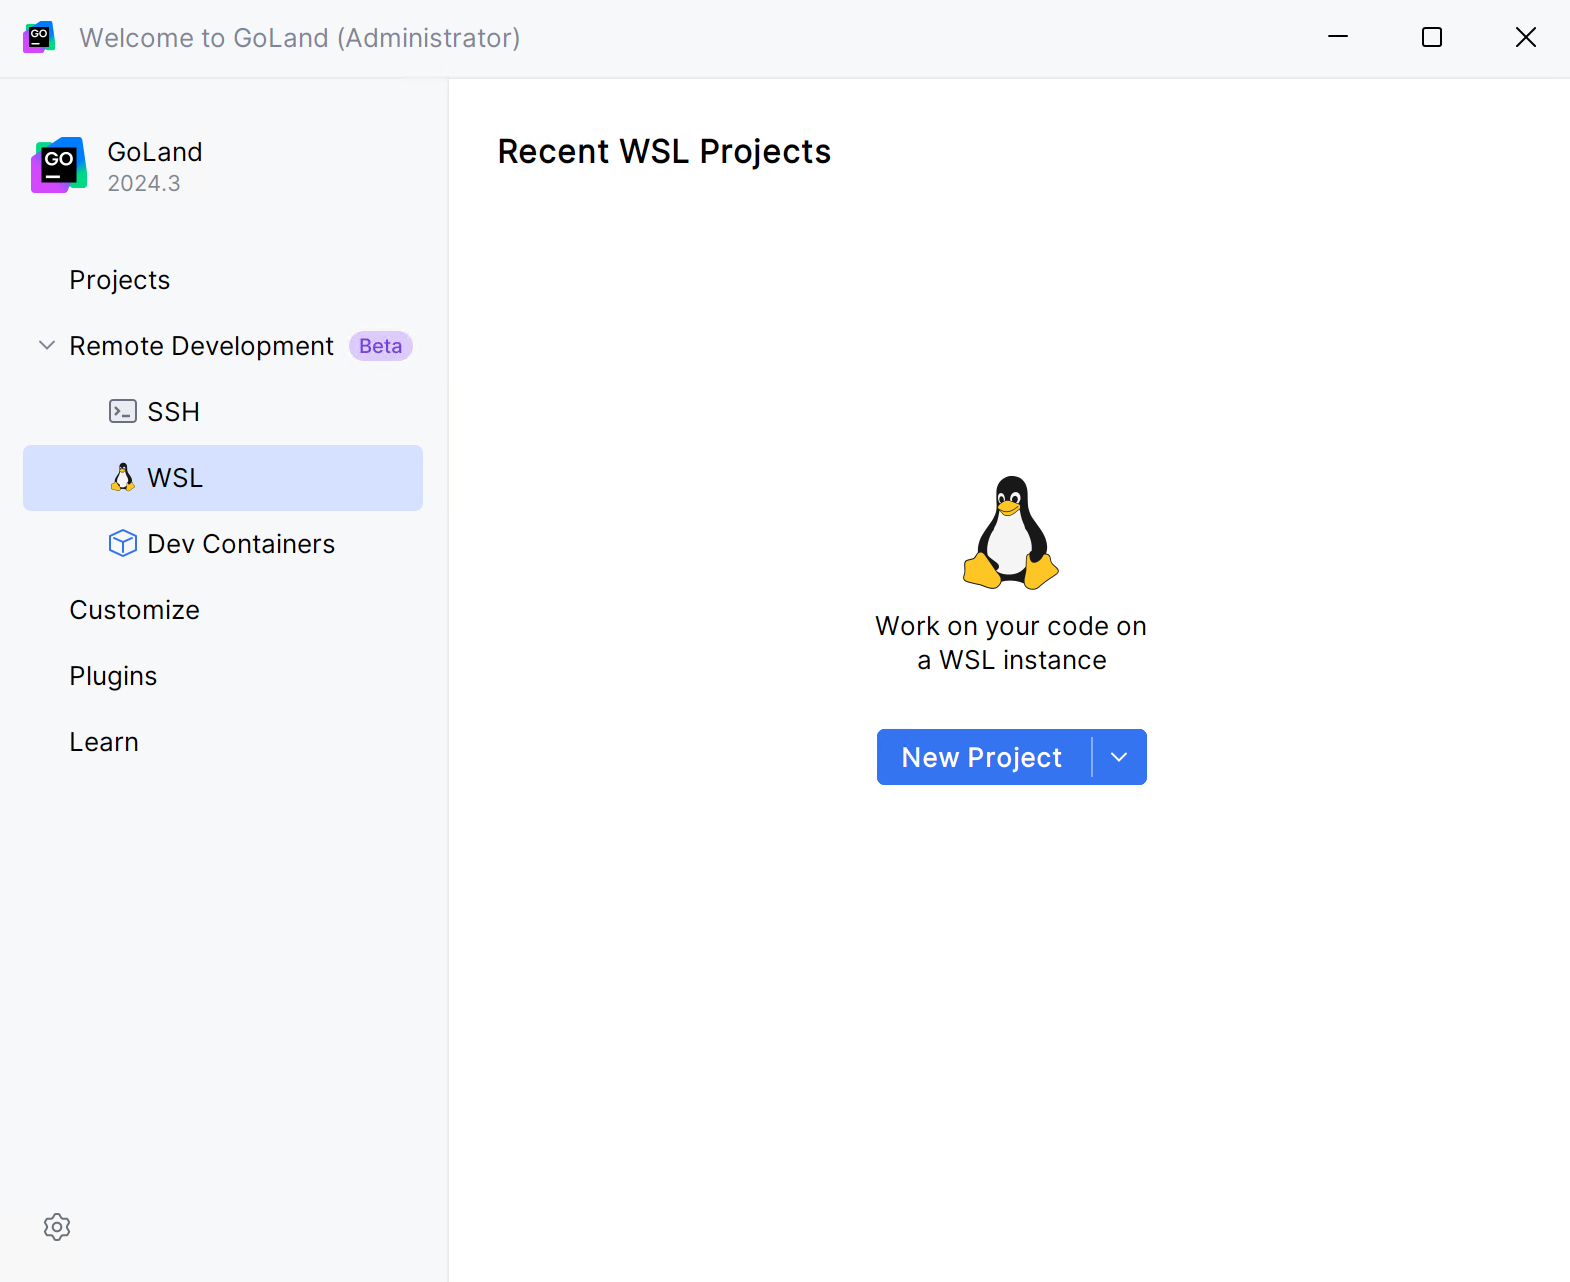
On the GoLand Welcome screen, select Remote Development.
Under Remote Development, select WSL.
Click New Connection.
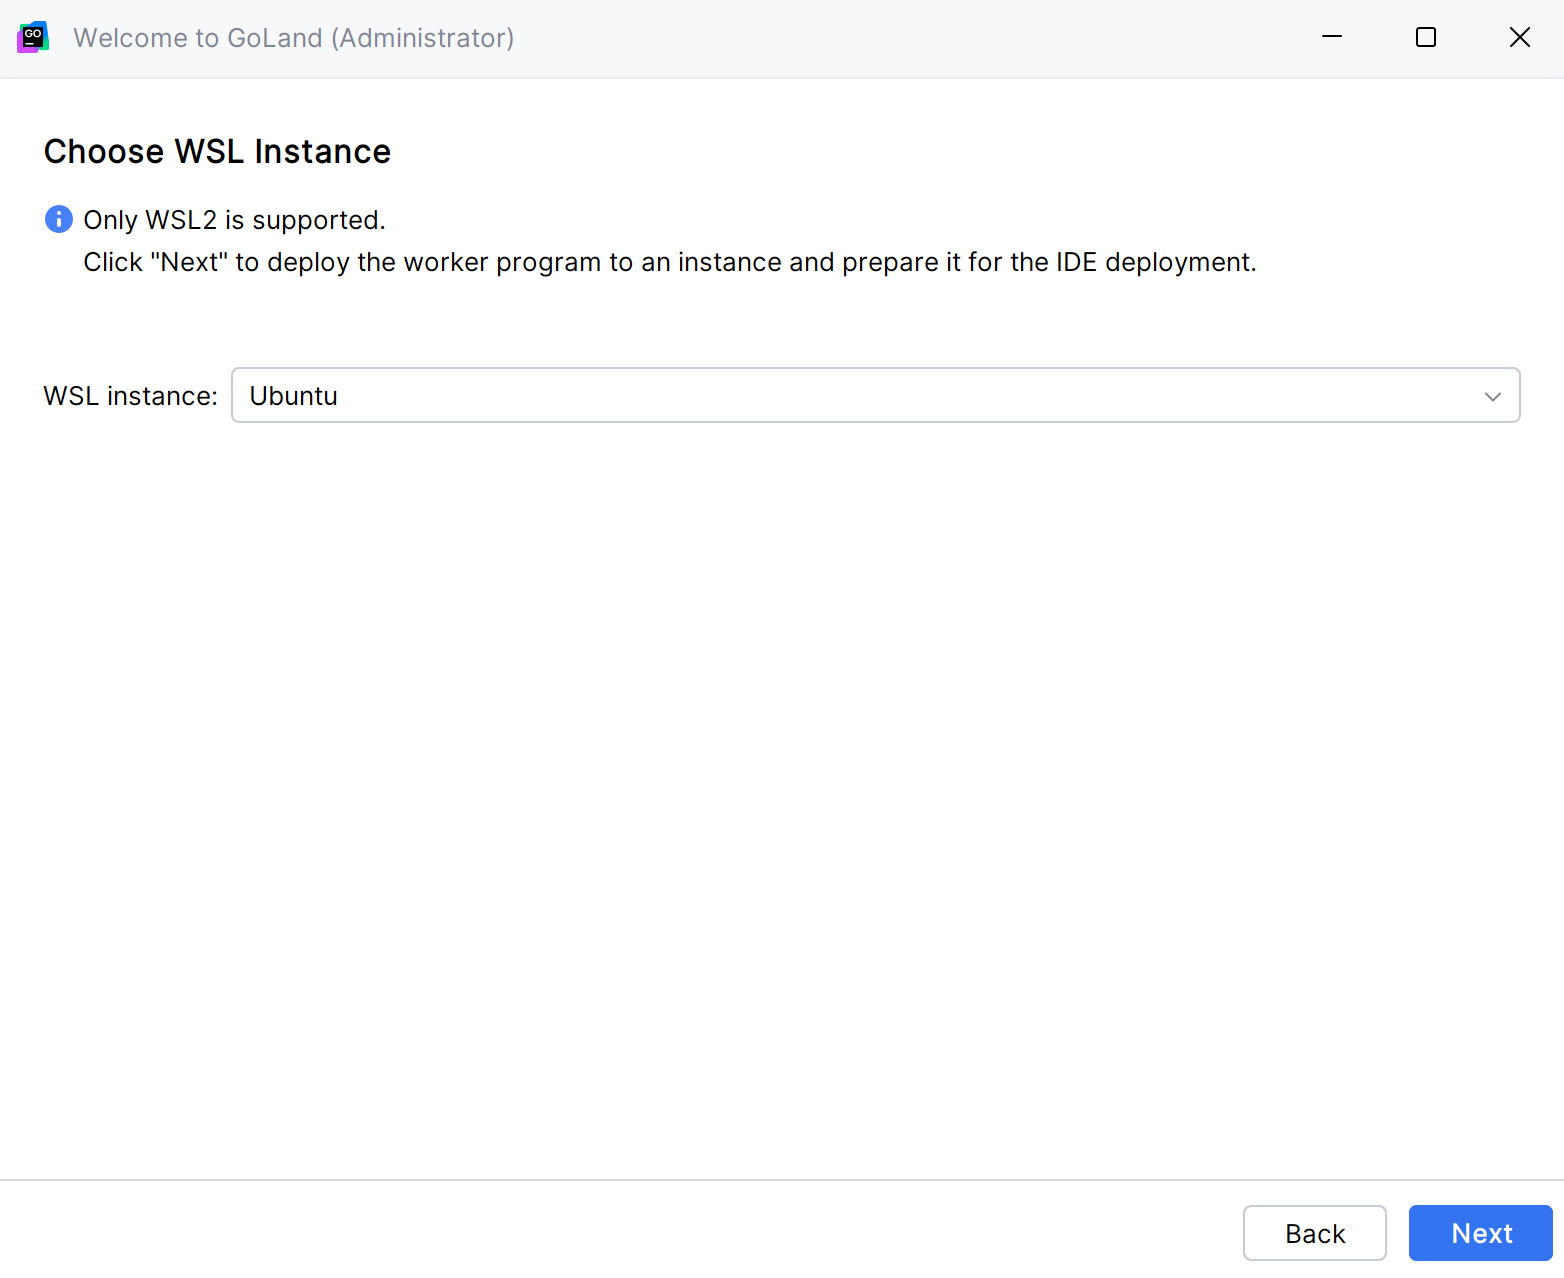
On the next page, select the WSL instance and click Next.
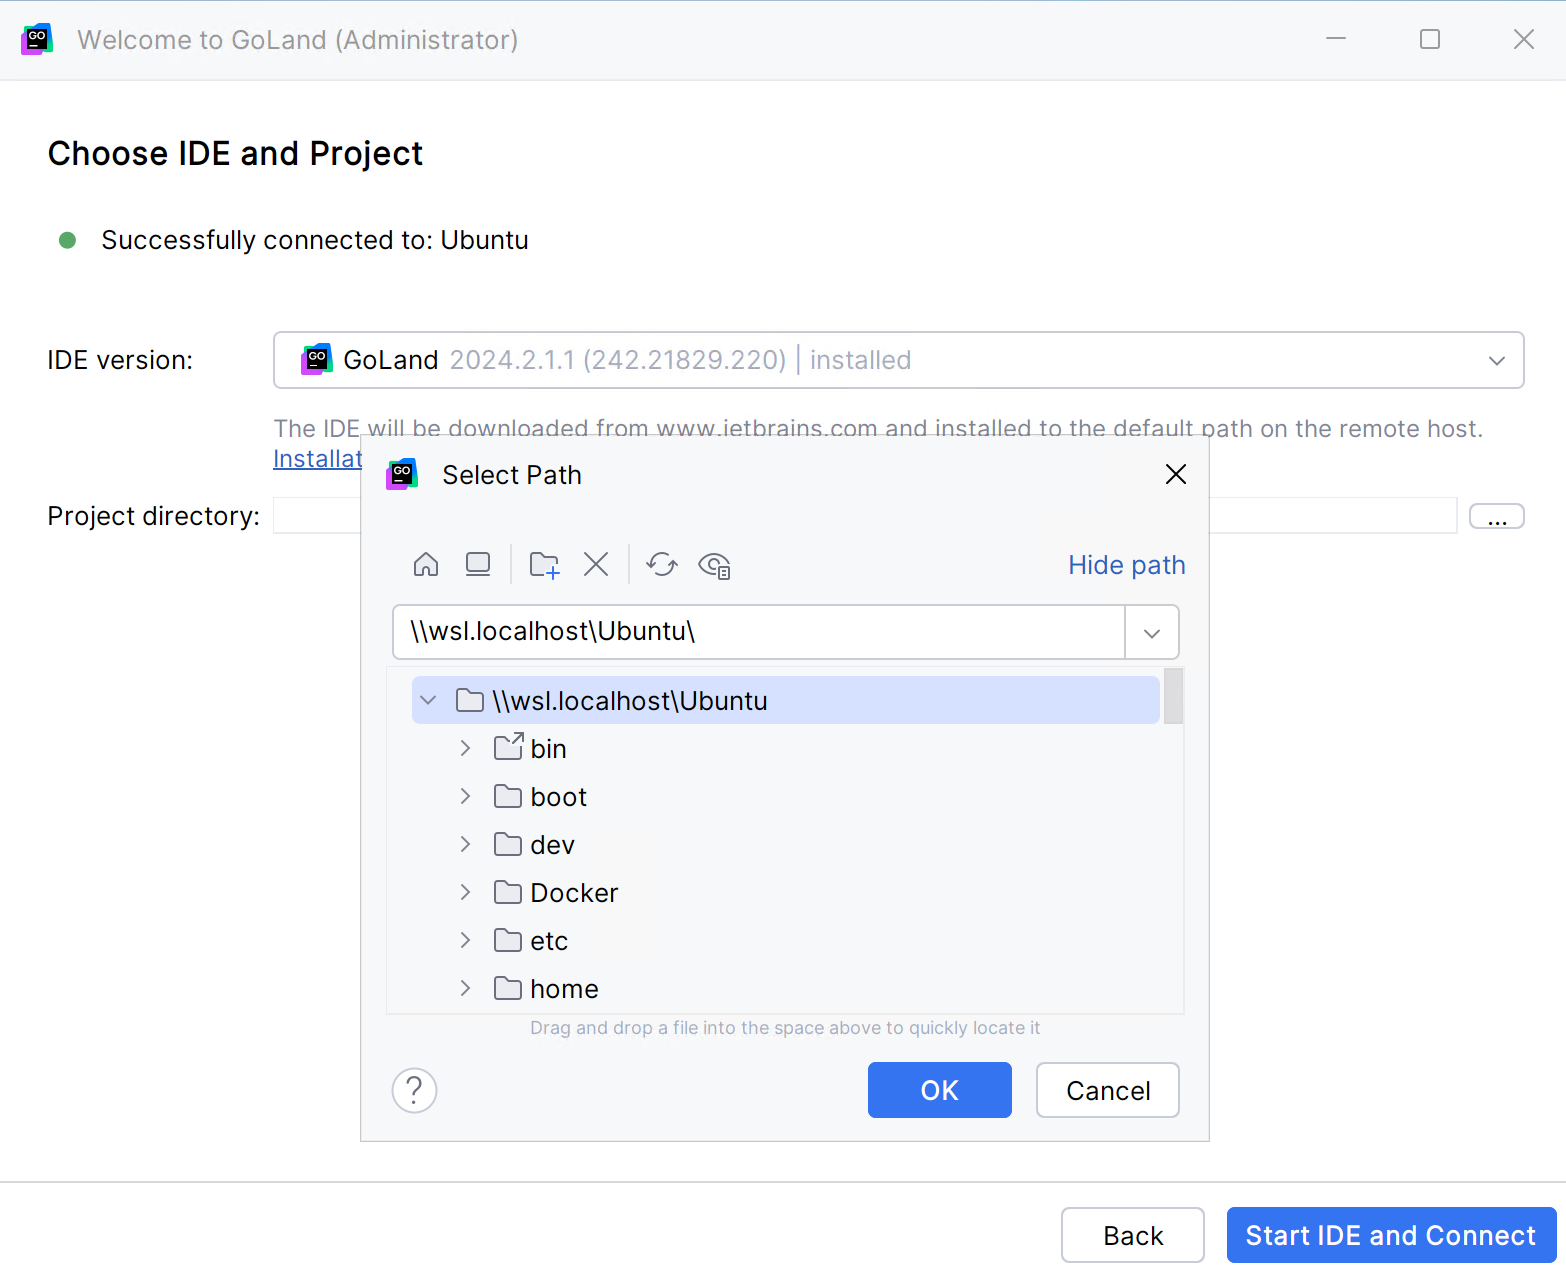
On the next page, select the IDE version and the project you want open. Click Start IDE and Connect.
The connection is established, the backend IDE is downloaded, and the project is opened in JetBrains Client.
JetBrains Gateway is used as an entry point to connect to a remote server via SSH. It launches JetBrains Client, which is a thin client that enables you to work with your remote project.
You can use one of the following ways to launch JetBrains Gateway:
Use the bundled plugin, install Gateway with the Toolbox App, or download the standalone launcher. For instructions, refer to Install JetBrains Gateway.