Connect to an S3 bucket
Connect an Amazon S3 bucket or S3-compatible storage to access its data directly from your notebook in Python, Scala, Kotlin, or R without intermediate exports.
Step 1. Create and configure an S3 connection
Open the New cloud storage connection dialog.
On the Home page, select the workspace where you want to add an S3 connection.
In the resource list, select
 Data and switch to the Cloud storage tab.
Click
 New cloud storage connection at the top right.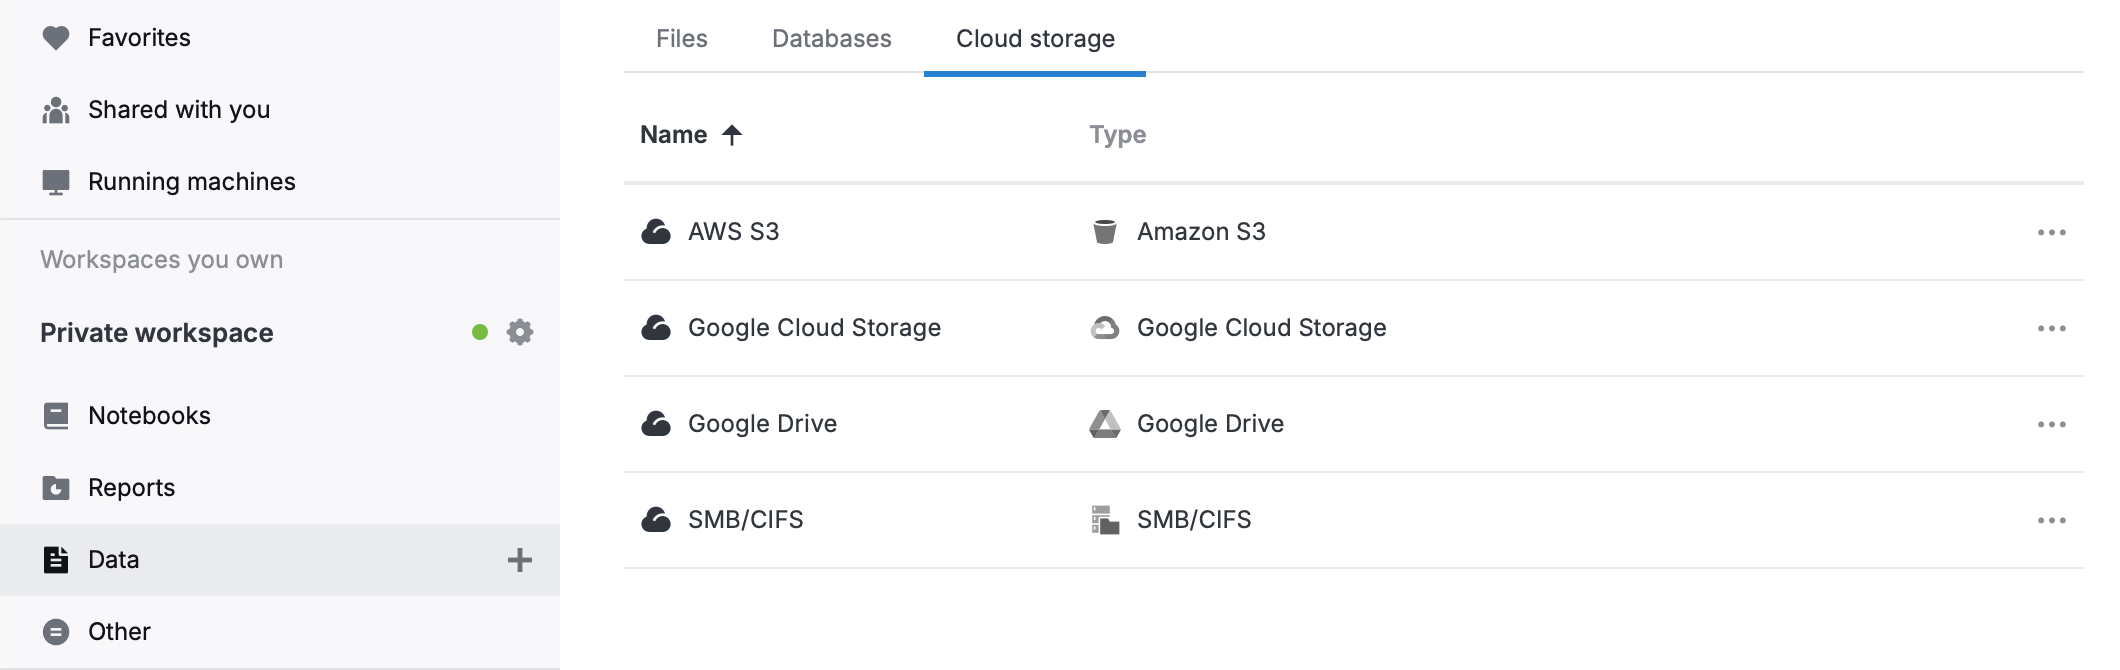
In the sidebar, select
 Attached data and switch to the Cloud storage tab.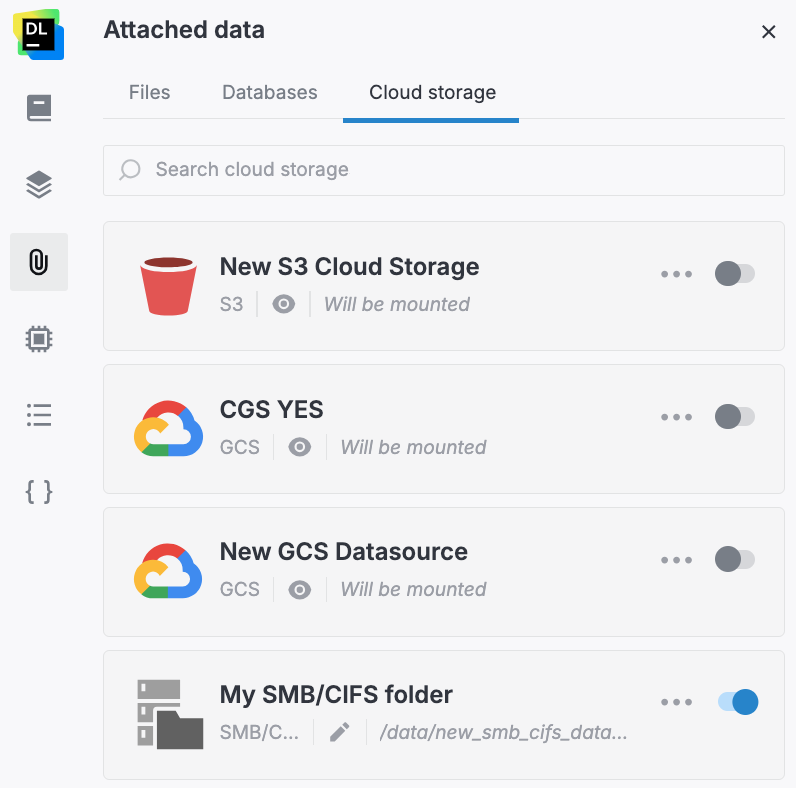
At the bottom of the tab, click New cloud storage.
In the New cloud storage connection dialog, select Amazon S3.
Fill in the following fields:
Display name: Enter the name for this data source.
Use default credentials: Select this option to authenticate with the credentials provided by the workspace service account instead of entering access keys. Learn more
AWS access key and AWS secret access key: Enter your AWS credentials.
Region: Specify your AWS region.
Amazon Bucket name: Enter the name of the bucket you want to mount.
Custom options: Add optional parameters. See the examples below.
Custom endpoint URL: Specify the endpoint URL for the bucket you want to mount.
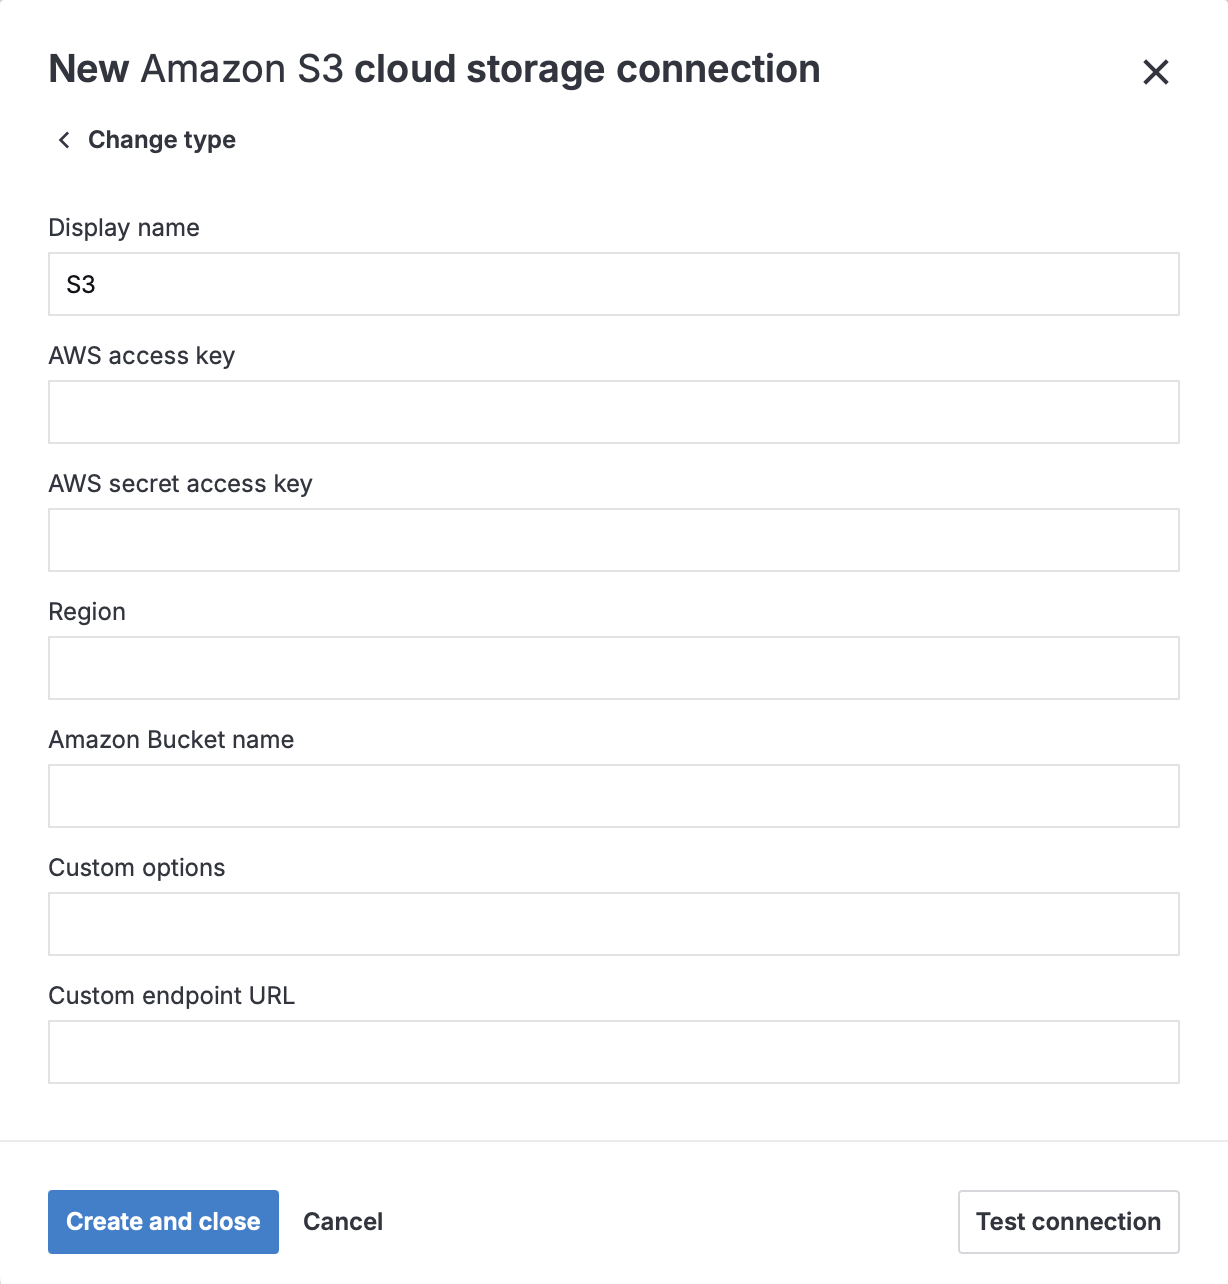
(Optional) Click Test connection to verify the provided parameters.
Click Create and close.
Step 2. Configure optional S3 connection parameters
Use Custom options to configure optional S3 connection parameters. The following are examples.
To enable SSE-C, add the following to Custom options:
use_sse=c:/path/to/keys/fileIn this example,
/path/to/keys/fileis the path to the file that contains the keys. Make sure its permissions are600.To provide access based on a role associated with that of an EC2 instance profile, add
public_bucket=0,iam_roleto Custom options.
Step 3. Attach the connection to a notebook
Open the notebook you want to attach the connection to.
In the sidebar, select Attached data and switch to the Cloud storage tab.
Enable the toggle for your S3 connection.
In the sidebar, select Attached data and switch to the Cloud storage tab.
Enable the toggle for your S3 connection.
Step 4. Use the connection in a notebook
After the connection is mounted, access files in the S3 bucket from your notebook code:
Use default credentials
Instead of providing an access key and secret access key, you can enable Use default credentials to authenticate the connection with the credentials provided by the workspace service account.
Use this option when Datalore runs with an ambient IAM identity provided by the underlying platform. The bucket is then accessed without storing long-lived access keys. The identity is resolved from the workspace service account, which is bound to a cloud IAM role.
The exact mechanism depends on where Datalore runs:
On AWS, use IAM roles for service accounts (IRSA) or EKS Pod Identity to associate an IAM role with the Kubernetes service account.
On Google Cloud, use Workload Identity Federation for GKE to let the Kubernetes service account impersonate a Google Cloud service account.
Configure a workspace service account
Click your avatar at the top right and select Admin panel.
In the sidebar, select Manage workspaces.
Next to the workspace where you want to add the service account, click
 (More) and select Edit identity bindings.
In the dialog, enter the service account name in K8s agent service account and click Save.
Next steps
Learn how to manage or delete cloud storage connections in a workspace and in a notebook.