Bazel
Bazel is an open-source build and test tool developed by Google. It is designed to manage large codebases with complex dependencies across multiple languages and platforms. Bazel automates the process of compiling code, linking dependencies, running tests, and deploying artifacts.
Install the Bazel plugin
Bazel support is provided by the Bazel for CLion plugin, which you can install from the IDE.
Press Ctrl+Alt+S to open settings and then select .
Open the Marketplace tab, find the Bazel for CLion plugin, and click Install.
Restart the IDE to activate the plugin.
Open a project
Open a Bazel project
Click Open on the Welcome screen.
Alternatively, go to in the main menu.
In the dialog that opens, specify the path to the project sources.
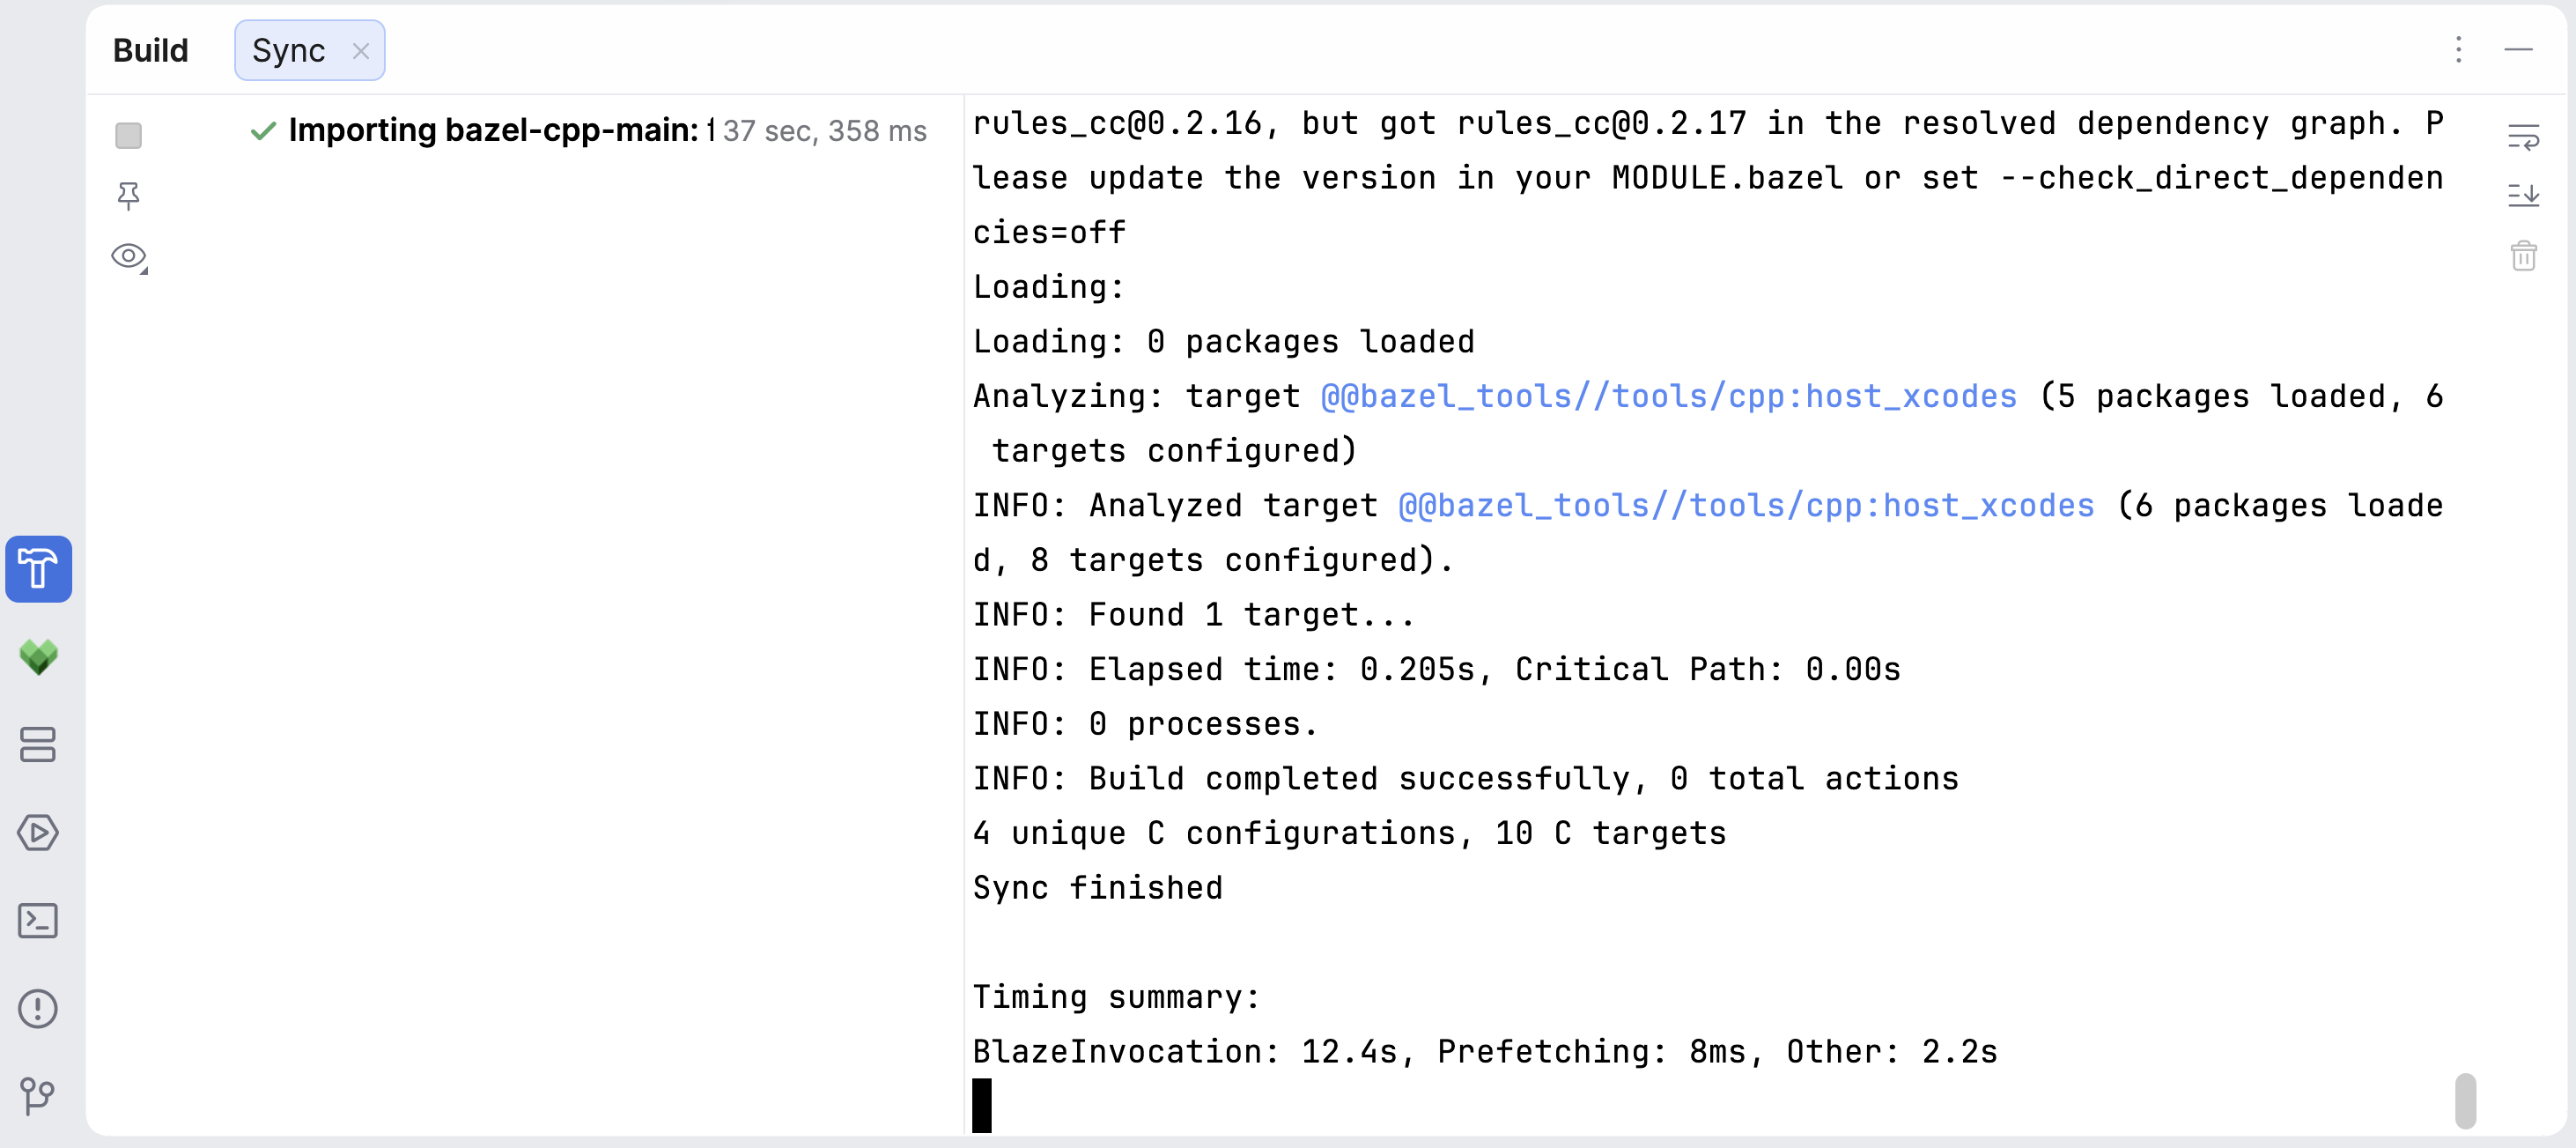
You can watch the process of importing the project in the Build tool window:
Configure a project view
CLion uses a .bazelproject file to determine which part of a Bazel workspace to load and to provide its source files with code insight features. Each file is a self-contained project configuration: it describes which directories and targets are imported and which build flags are forwarded to Bazel when CLion syncs and resolves the code.
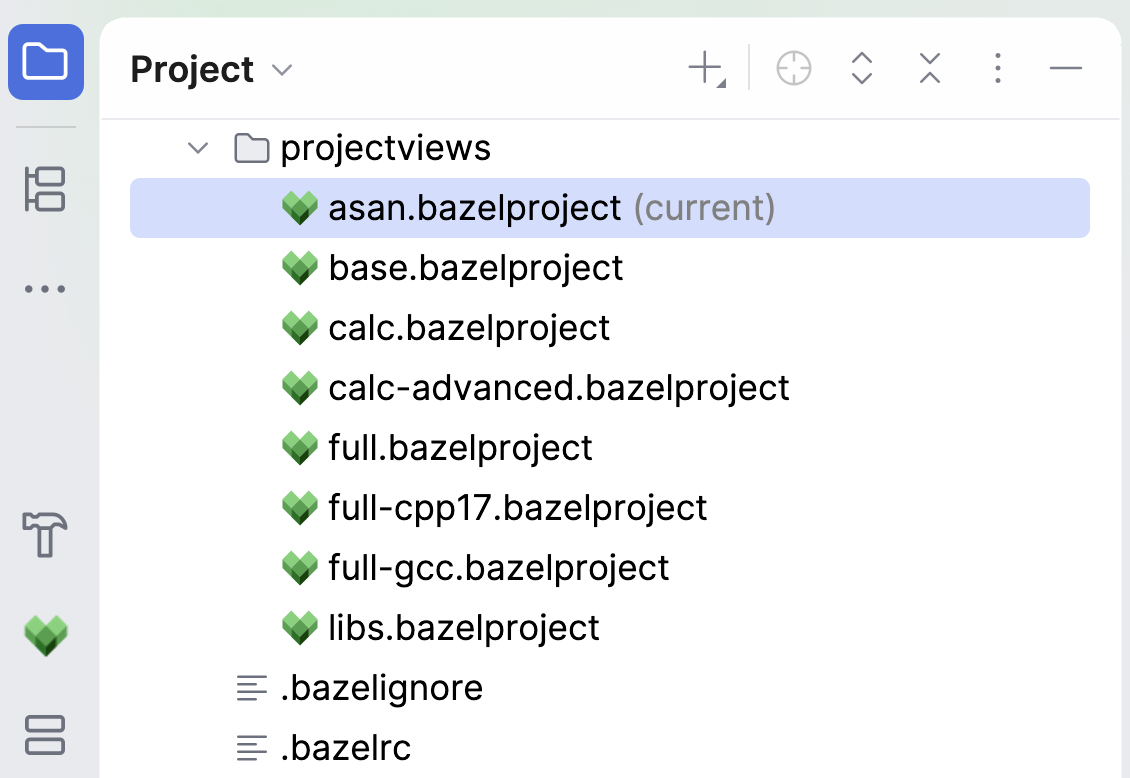
After a Bazel project opens, CLion creates the default project view file located in the .clwb folder. This file loads the whole workspace. Besides this auto-generated file, you may already have existing project view files, which you can switch to. An active .bazelproject file is marked as current in the Project tool window.
Here is an example of the contents of such a file:
Section | Description |
|---|---|
| Specifies the workspace directories that CLion should include in the Bazel project. You can use |
| If set to |
| Specifies Bazel targets that CLion should import and sync. Use this section to explicitly control which build, run, and test targets are available in the IDE. CLion supports target patterns such as |
| Specifies additional Bazel command-line flags that CLion passes to Bazel build invocations. Use this for options such as configurations, defines, platforms, or toolchain-related settings. |
You can start with only directories and targets and add more sections if you want to further tweak your IDE workspace.
Choose a sync mode
CLion supports three key sync modes available in the main menu ():
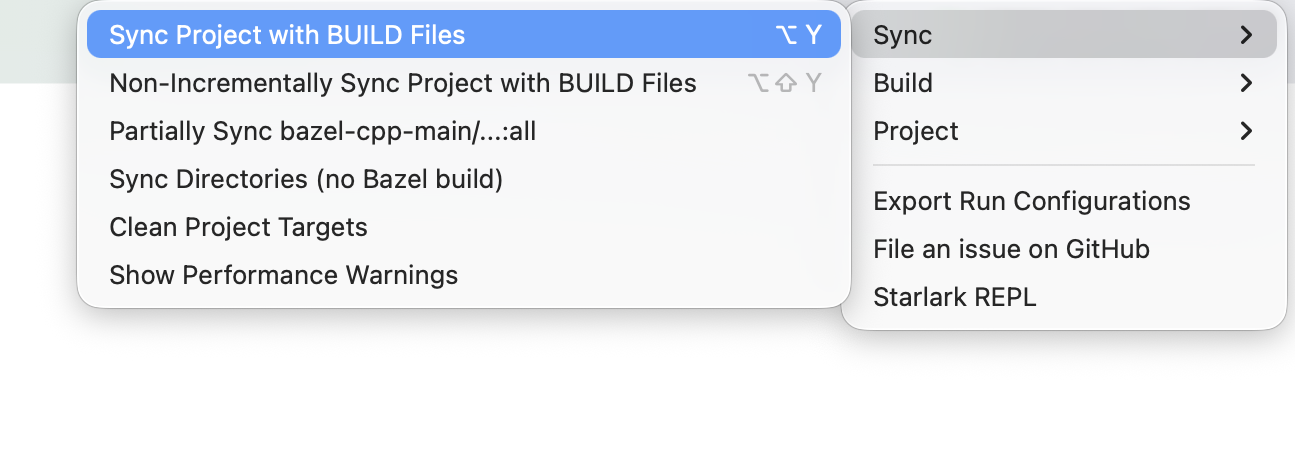
- Sync Project with BUILD Files
The default sync mode. Use it for most day-to-day changes.
To sync, you can also click the
 Sync Project with BUILD Files button in the toolbar:
- Non-Incrementally Sync Project with BUILD Files
Discards the sync cache and reimports the project from scratch. Use it as a first troubleshooting step.
- Partially Sync
Reimports a single directory. Use it when you change build definitions in one directory only. The action is also available from the context menu when you right-click the corresponding directory in the Project tool window.
Switch an active configuration
CLion tracks one active project view at a time. To switch, right-click the required .bazelproject file in the Project tool window and select Switch Project View.
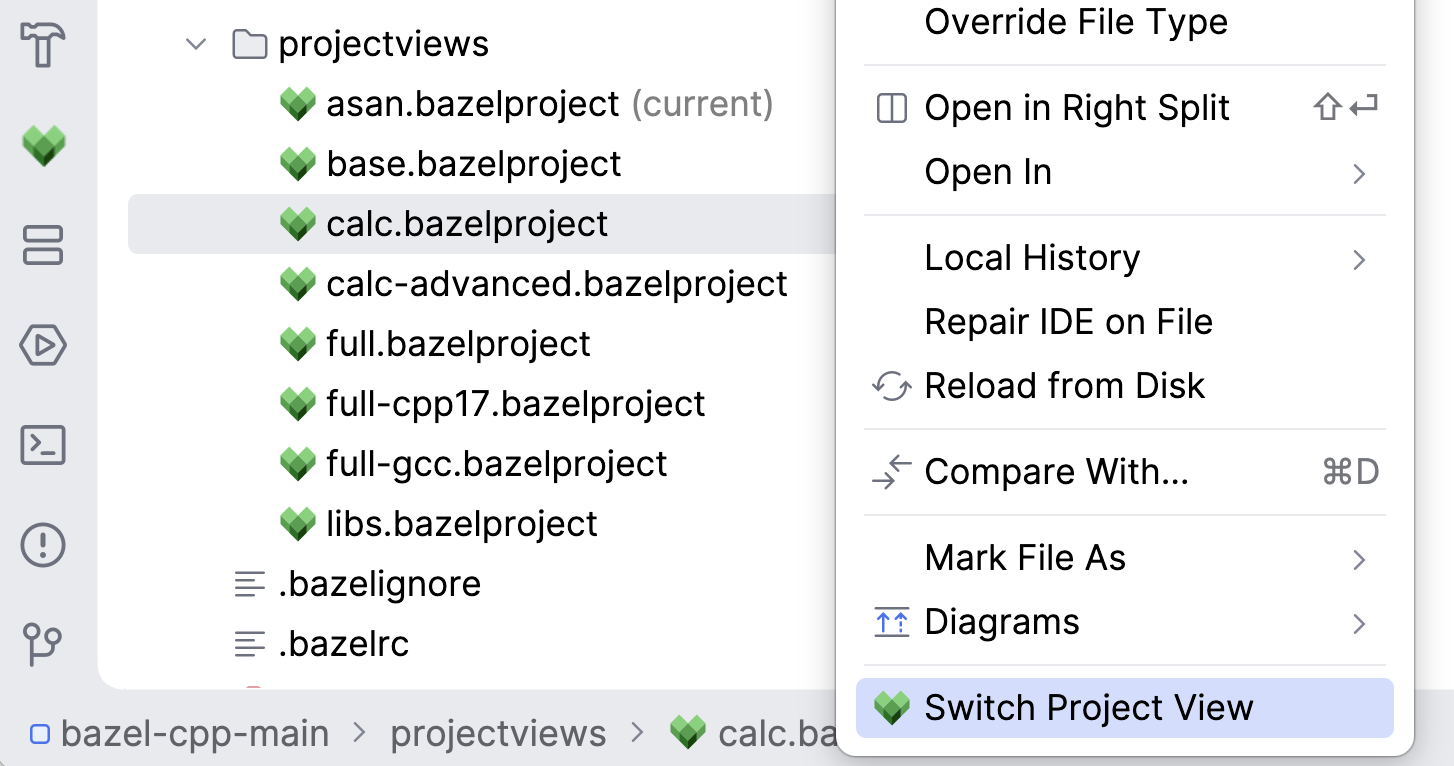
This triggers a resync: CLion reimports the selected scope and resolves the corresponding source files again.
Here is an example of switching to the appropriate configuration, after which the code resolves and the gutter buttons appear next to TEST:
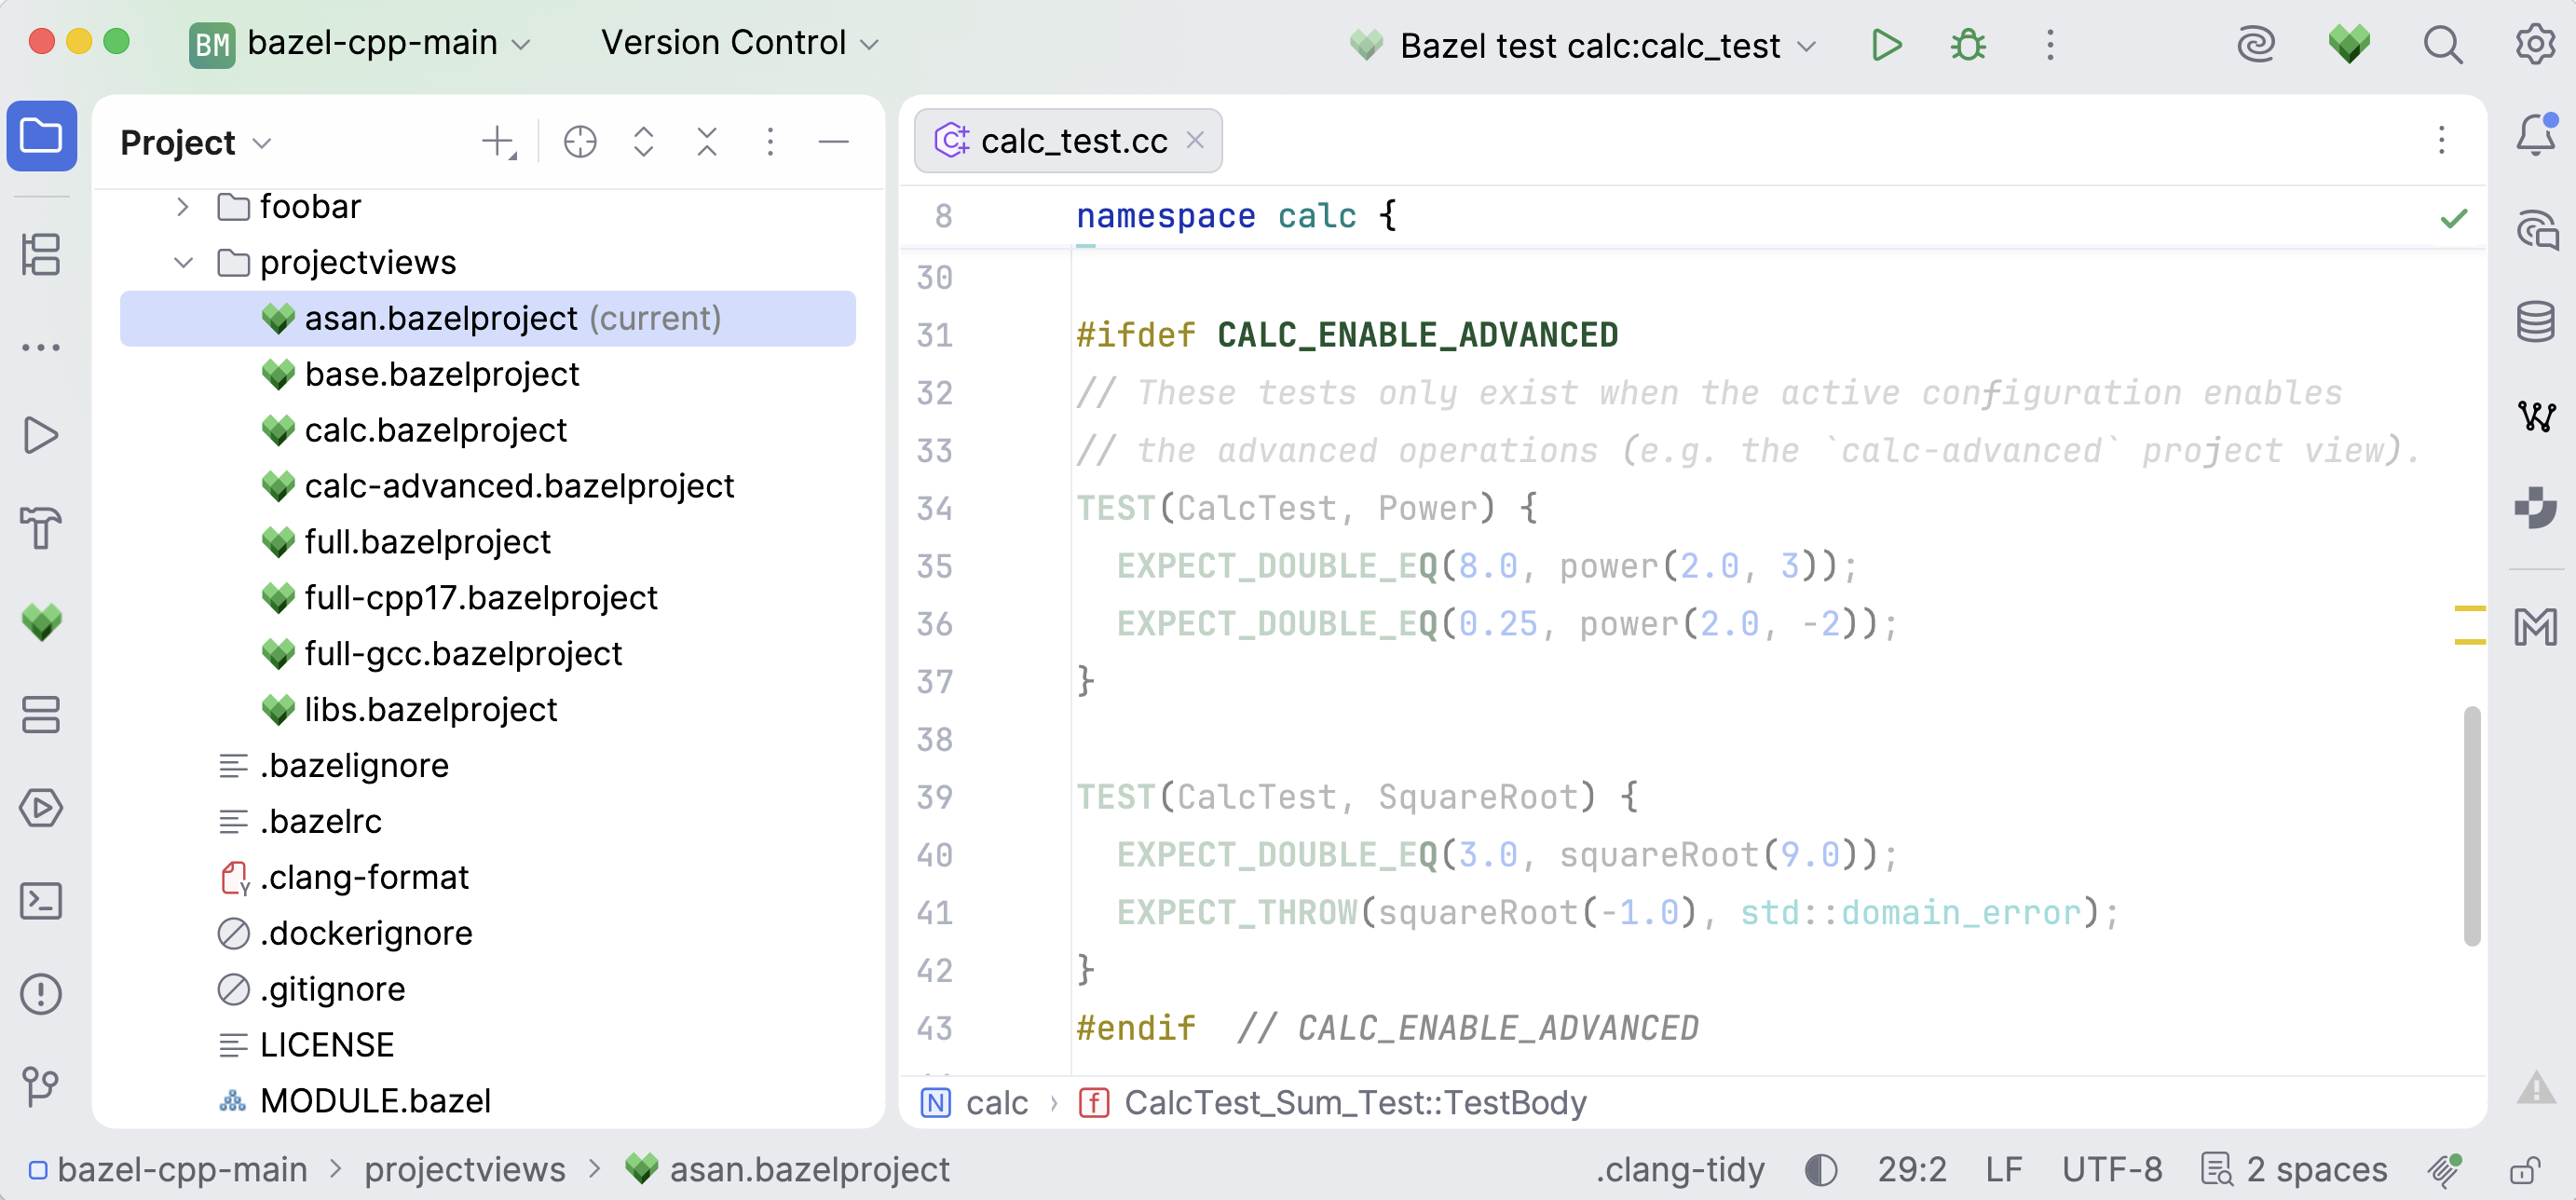
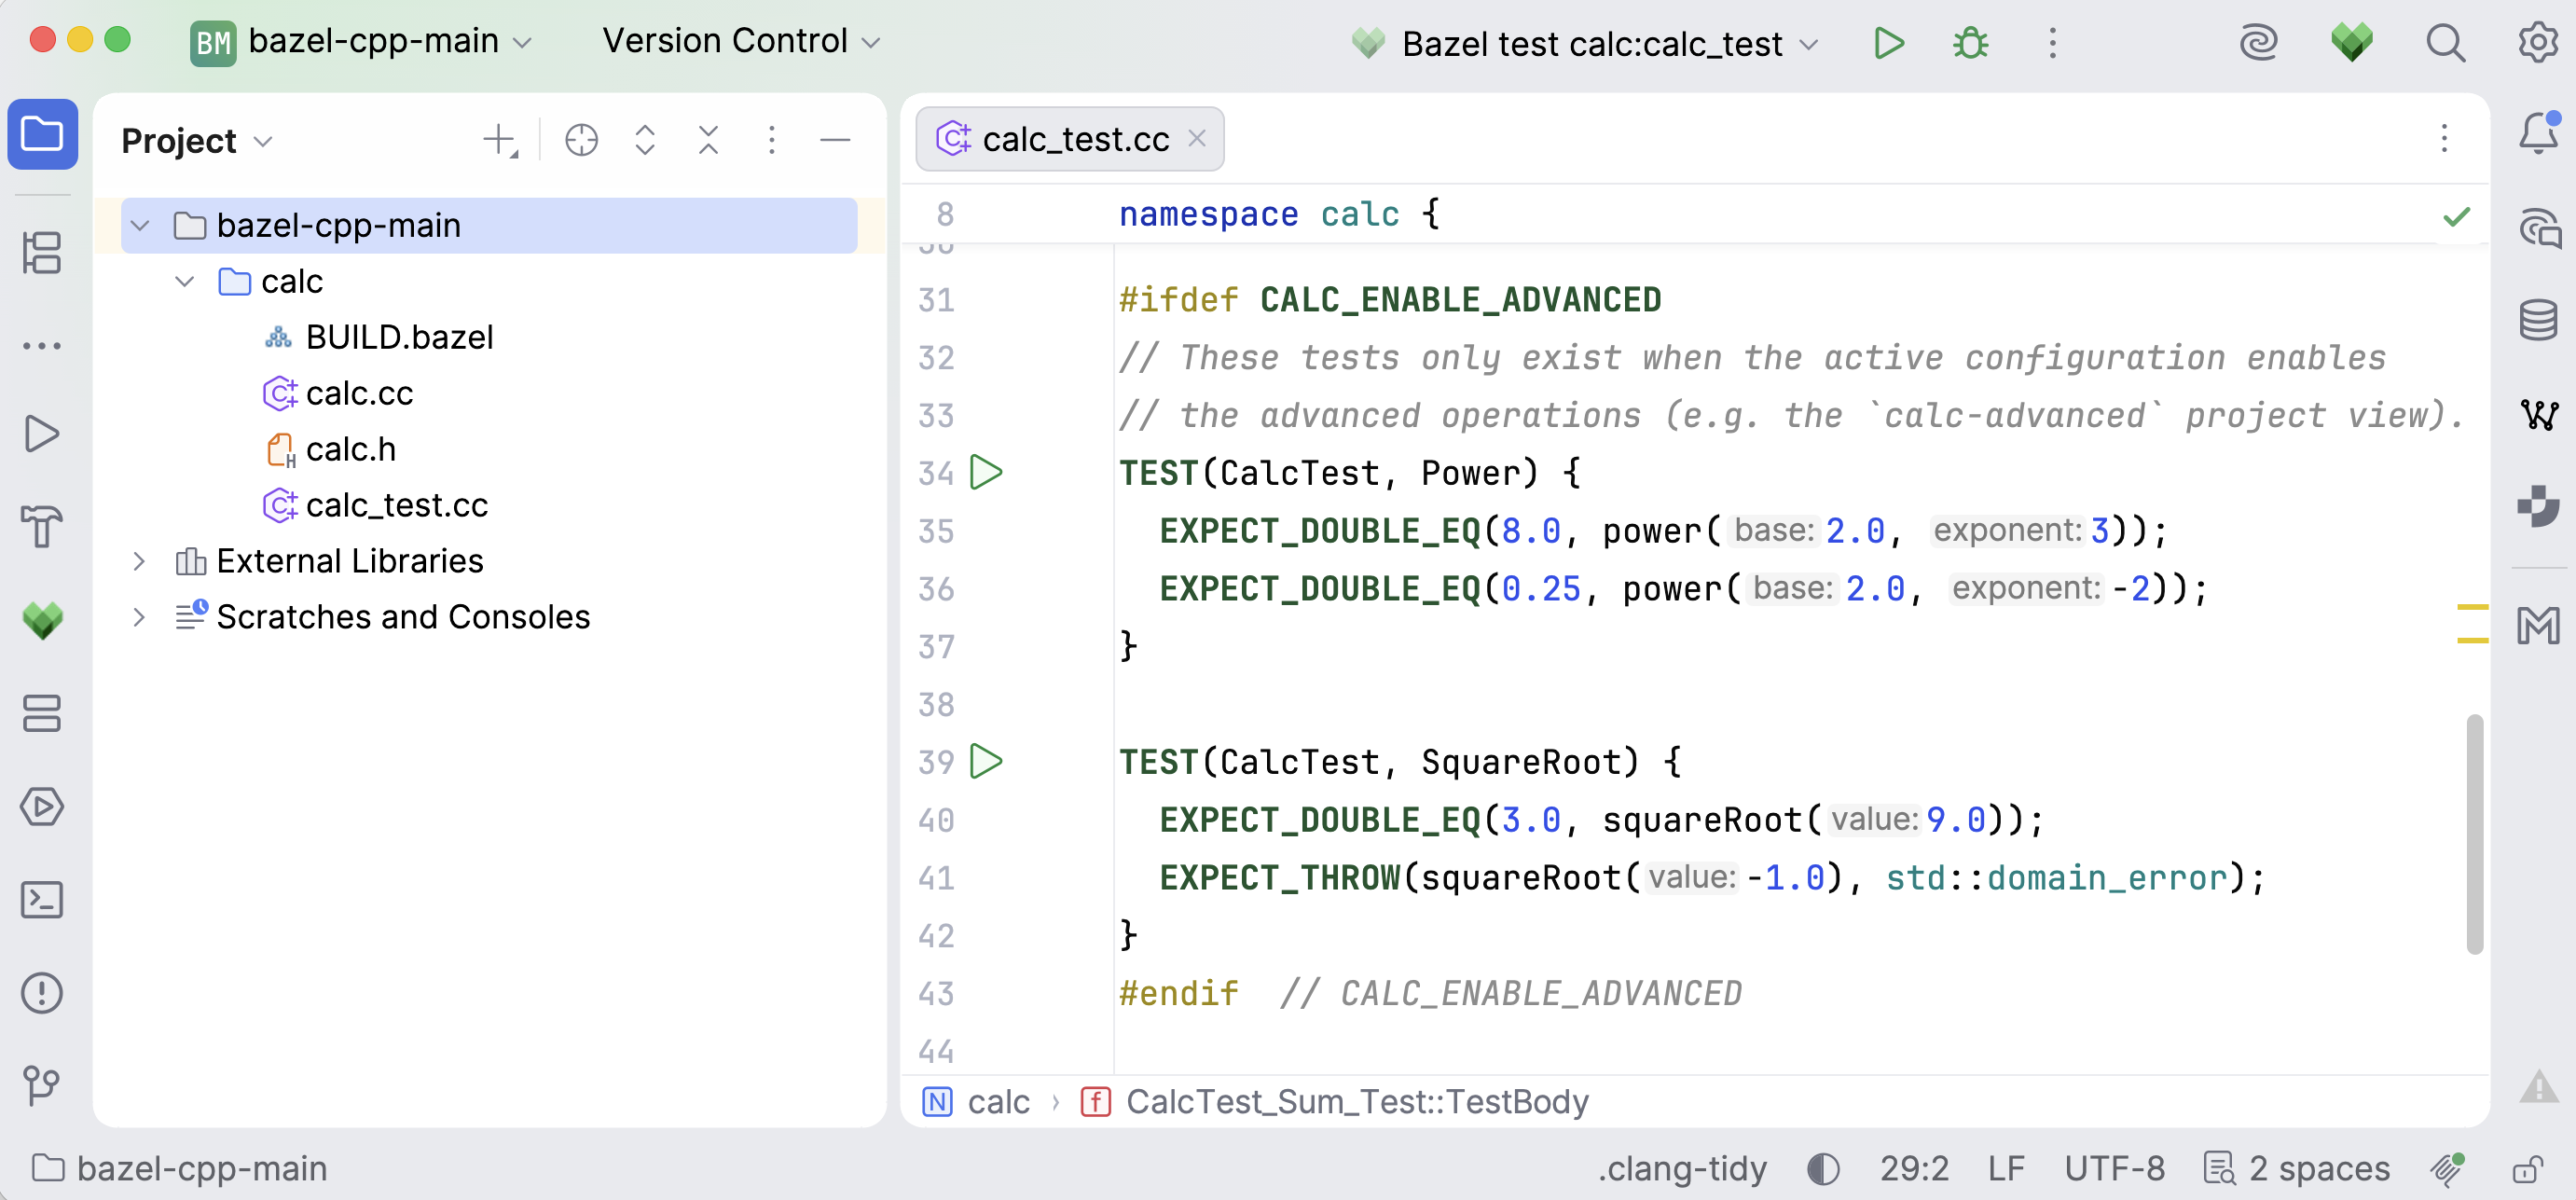
After switching, only the directories listed in the calc-advanced.bazelproject file appear in the Project tool window.
Run C/C++ Bazel targets
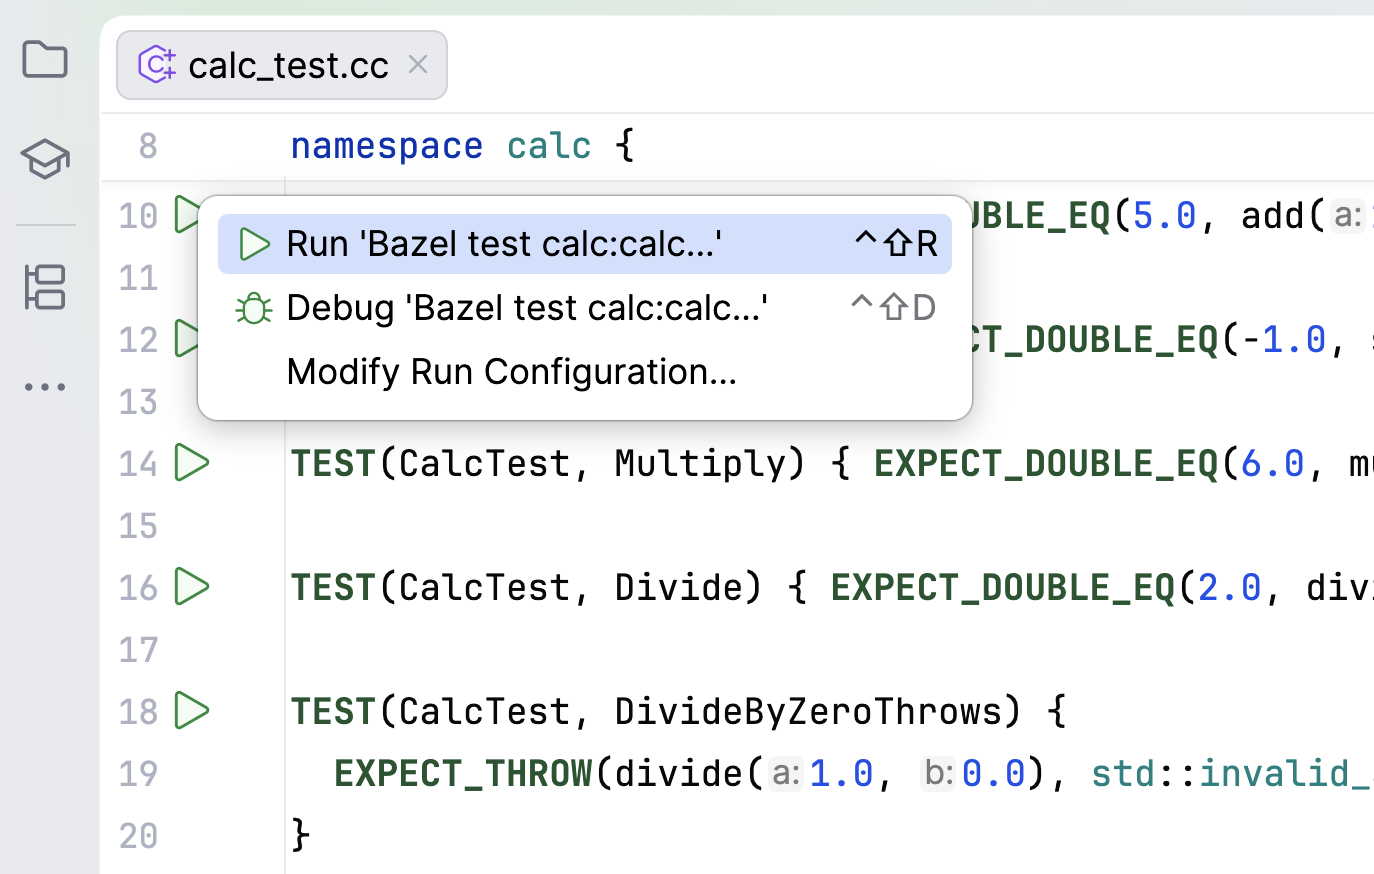
To run an individual test, open its source file and click the  Run icon in the gutter next to the test:
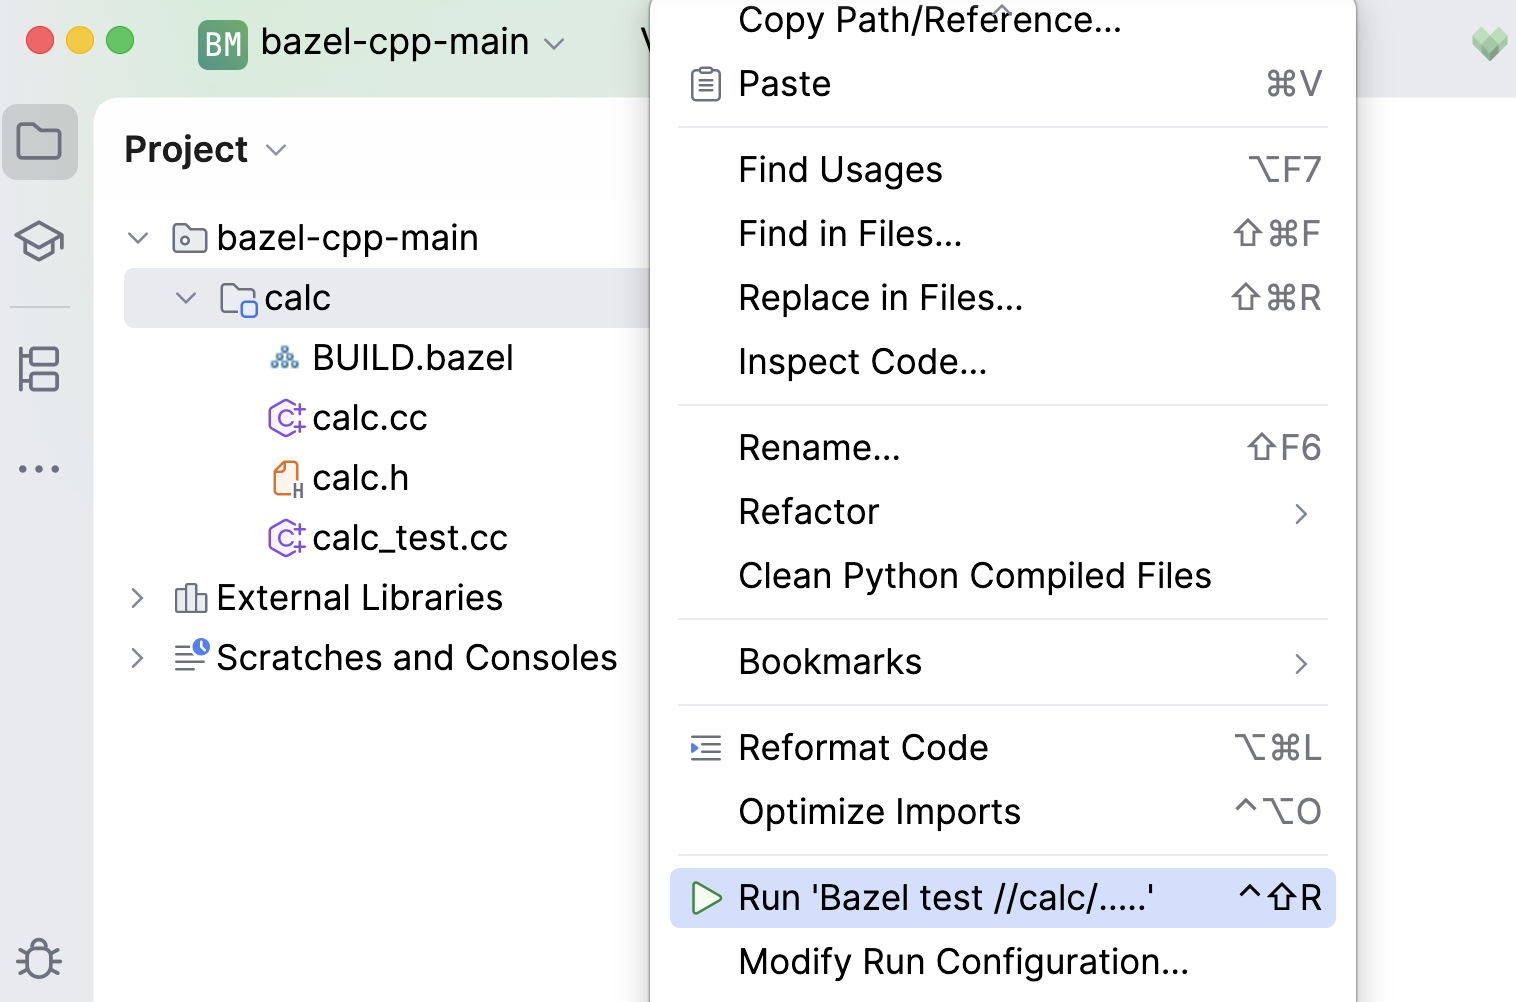
From the Project tool window, you can also run all test targets at once. Right-click a directory and select Run 'your_Bazel_target'.
Debug C/C++ Bazel targets
CLion checks whether your project is built with debug symbols instead of automatically injecting debug flags. If the compile and link arguments that Bazel records do not contain the flags the debugger needs, CLion shows a Debug Info Warning dialog after you launch the session.
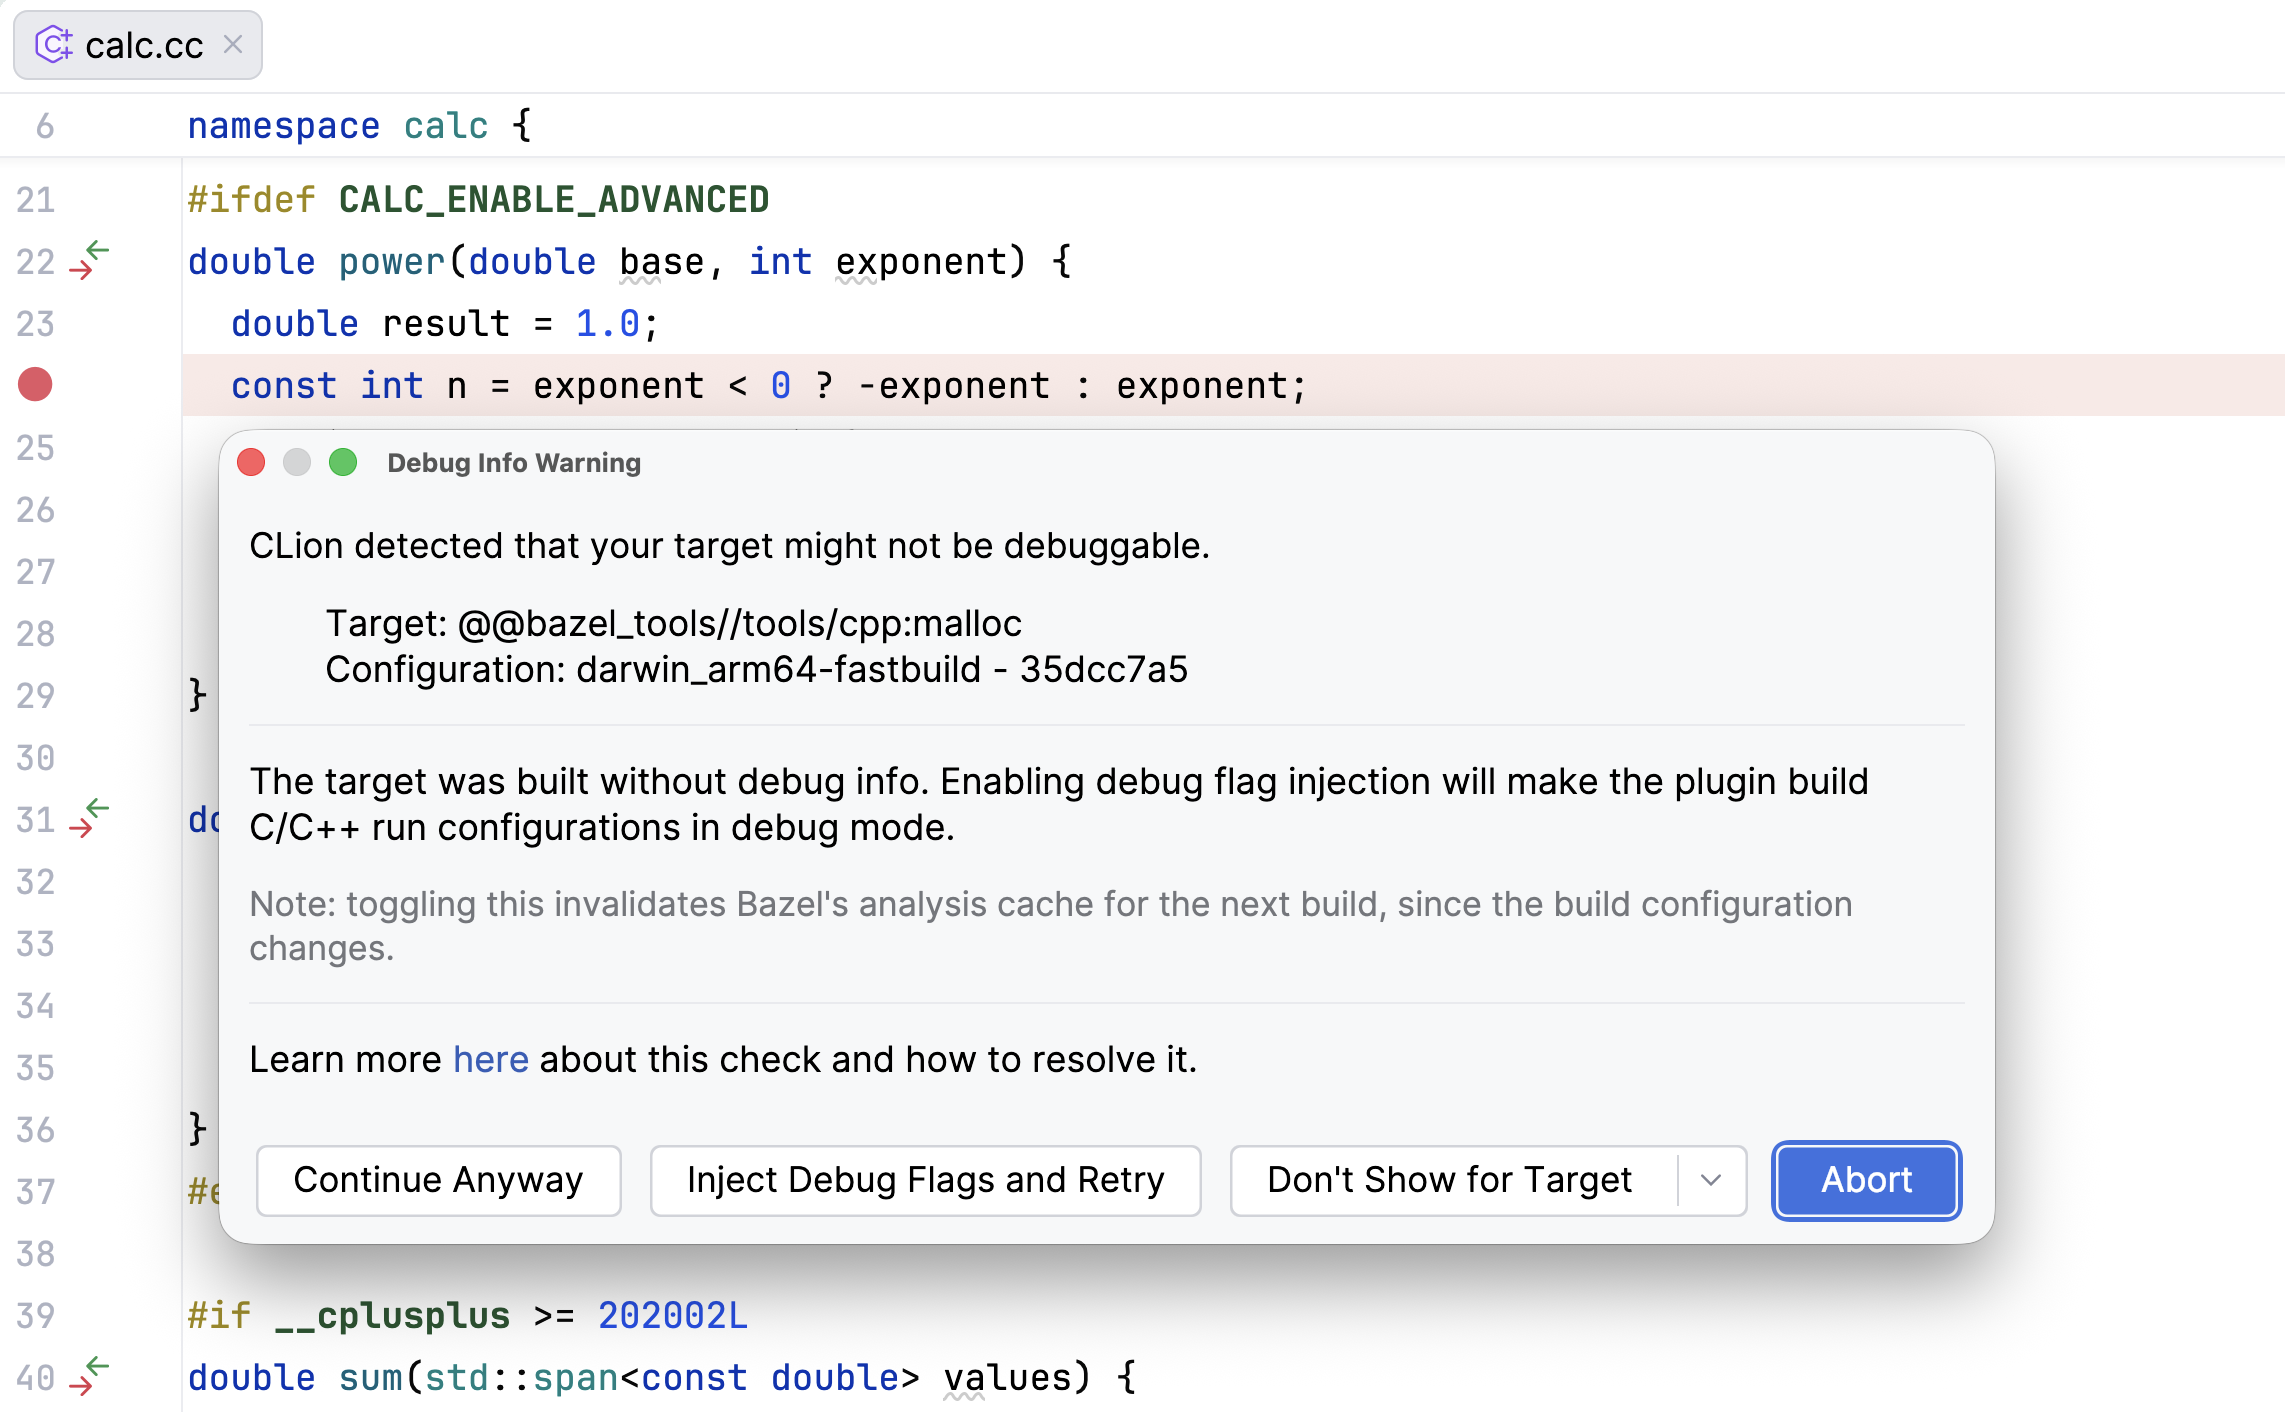
You can inject debug flags directly from this dialog by selecting Inject Debug Flags and Retry, and the debug session will then continue. Note that with this option selected, CLion has to rebuild your project, which takes more time the larger your project is. This also implies that CLion injects flags that it assumes you are missing, and these flags may not match every project's build setup. This is why the default option is Abort, which lets you specify build_flags in your .bazelproject file manually.
To revert to the default CLion heuristics, add inject_debug_flags: true to your .bazelproject file.
Learn more about this mechanism in the GitHub documentation.
Starlark support
Starlark is a small, Python-like configuration language that Bazel uses to define build targets, rules, macros, and extensions, typically in BUILD, BUILD.bazel, and .bzl files. In CLion, you can debug Starlark code and use REPL (Read-Eval-Print Loop), an interactive interpreter that evaluates Starlark expressions or statements.
Debug Starlark code
Set a breakpoint in your .bzl file.
In the BUILD file, click the
Run icon in the gutter next to the debug configuration and select Debug Starlark: 'your_Bazel_target'. 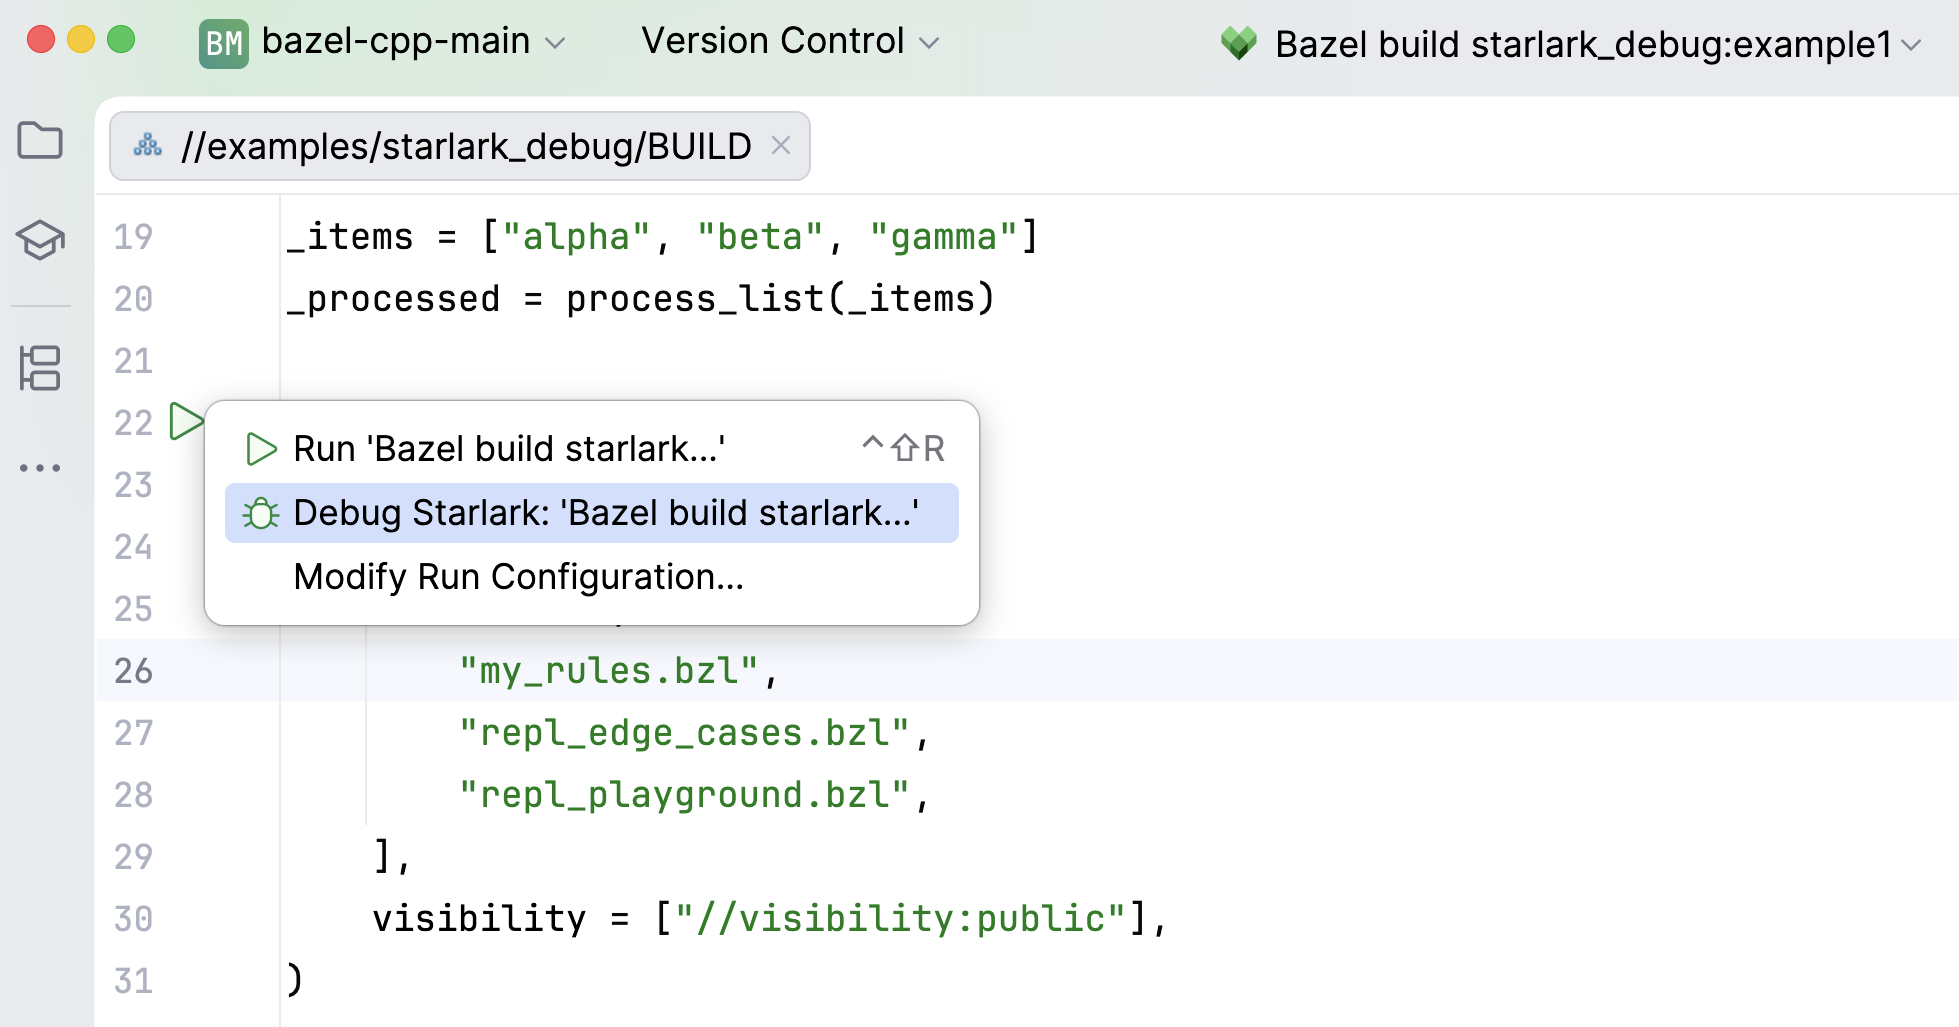
The debug session starts and stops at the breakpoint, and you can then inspect your code, for example, a Starlark macro.
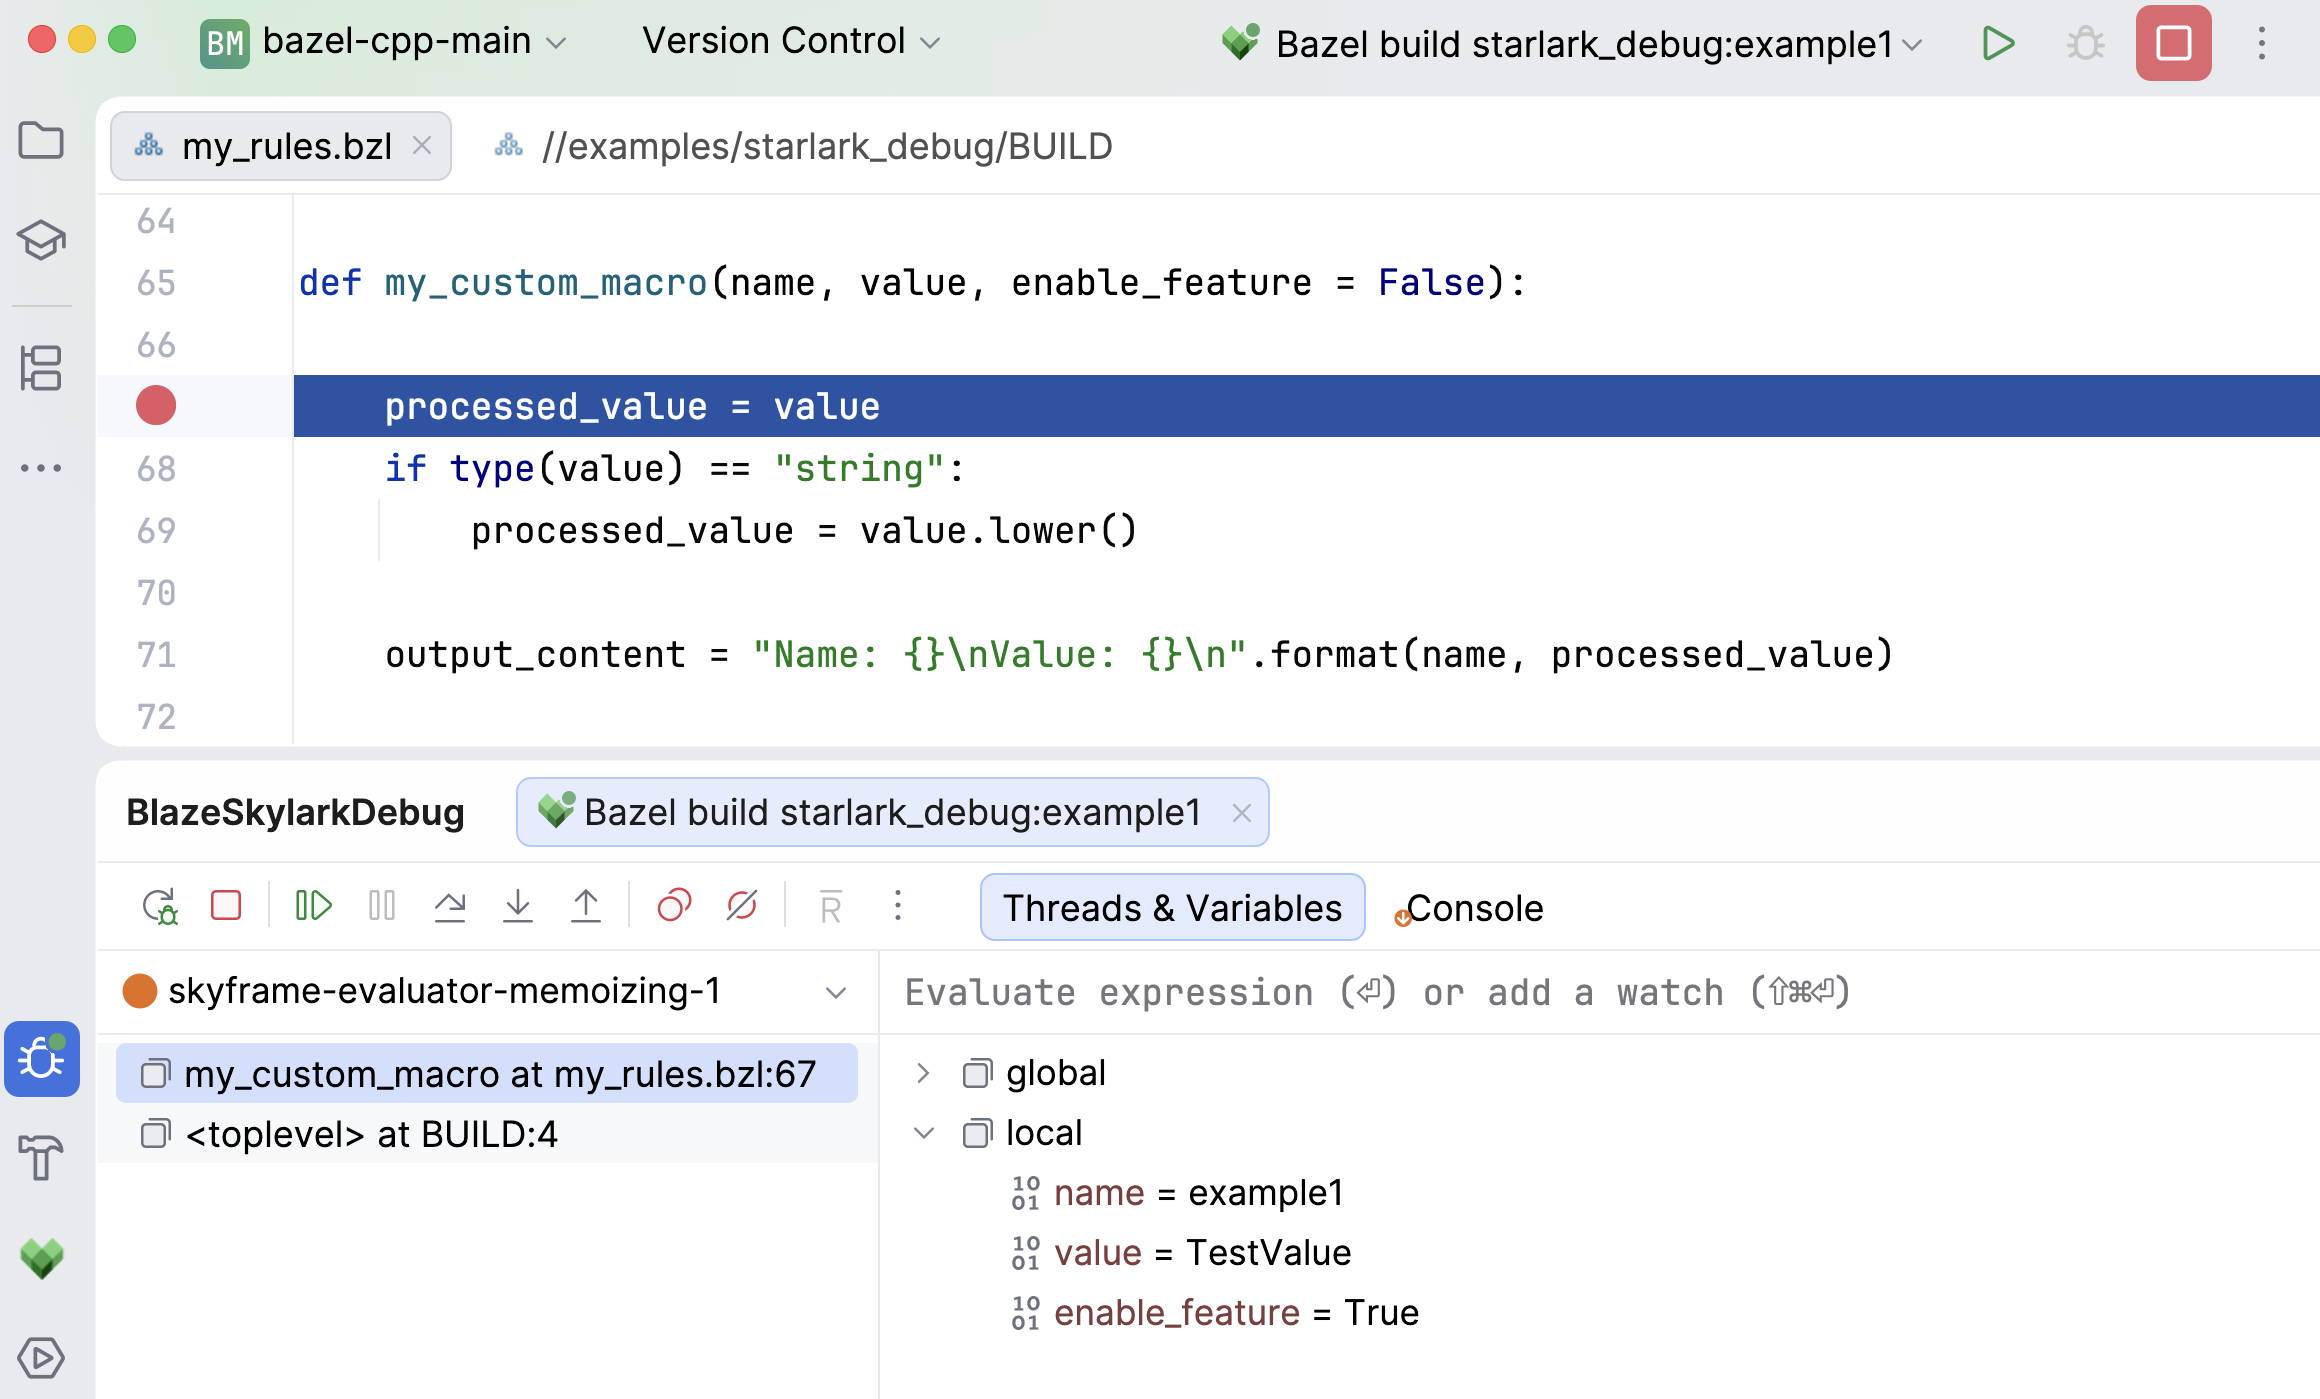
Use REPL
REPL is useful for quickly checking Starlark syntax, trying small code snippets, or experimenting with functions without creating a .bzl file.
Go to in the main menu and select Starlark REPL. The tool will open in the Run tool window.
Insert a Starlark expression or statement and press Enter to evaluate it.